Something a little different, a Majestic Models NBR/LNER Floor Cloth Wagon

Continuing on the NBR theme, I put this together once I had finished the brake van.

It’s a Majestic Models NBR/LNER Floor Cloth Wagon. aside from the etched strapping strips it only consisted of about a dozen individual parts so it went together in no time at all. In the absence of any detailed information on this I built it straight from the box with little deviation from the instructions.

Floor Cloth Wagon 001 Floor Cloth Wagon 002 Floor Cloth Wagon 003 Floor Cloth Wagon 004 Floor Cloth Wagon 005

What I need, if anyone can provide the answer is the placement of the lettering pre 1937. George Dawson had struggled to find this information and had guessed at post 1937 livery (according to his notes with the kit).

A couple of hours yesterday saw the brake van complete (or as complete as I plan to make it). I deviated from Jim’s build methods by using some WEP compensation units, although I have fitted other vehicles exactly as Jim suggests without issue before.

I rolled some microbore tube in my rolling bars to ensure that all four sand pipes were to the same profile and then made the distinctive safety loops for the brake yokes from fine scrap etch. Besides painting the only things to complete are the springing of the coupling hooks/buffers.

NBR Brake Van 001 NBR Brake Van 002 NBR Brake Van 003 NBR Brake Van 004 NBR Brake Van 005 NBR Brake Van 006

As with the other Connoisseur wagons that I have built, this was a joy to put together even if you don’t want to add any additional details.

Sand Boxes and no beach in sight

What an interesting and enjoyable build this is turning out to be.

While researching in Tatlow and reviewing a drawing supplied by a friend, I picked up that up to 1931 these vans had quite prominent sanding gear. Having resized the drawing to 7mm scale and taken dimensions for the sand boxes from it I deduced that the ones in the veranda compartment would be visible when viewed from normal model railway viewing angles – above and to either side.

So I gathered some bit’s of scrap etch from the turntable and made a couple. I made the hinges and soldered them onto the lid using the microflame. I had just nicely got to soldering the lid onto the box using sprung tweezers as clamps, when it all sprung apart and one of the hinges dissapeared into thin air….

An hour later when I had made up a new one and the boxes were fitted to the floor, my good lady found the one lost in space.

NBR Brake Van 012


NBR Brake Van 004


NBR Brake Van 006


NBR Brake Van 011


NBR Brake Van 007


NBR Brake Van 002

I also beefed up the brake yokes. The photo’s that I am working from show the main cross bar of the yoke to be quite substantial so once again scrap etch to the rescue. That was done after this set of photos was taken so they will probably be on when I show pictures of them.

Proper Grab Rails And Some Extra’s To Boot!

A busy couple of days ultimately meant that I didn’t get the handrails fitted on Thursday night, despite my best intentions.

Today has seen them and the additional lower handrails added.

NBR Brake Van 002 NBR Brake Van 003

Although I haven’t taken a photo yet, Thursday did see the rain strips fitted to the roof.

Jim’s instructions have you using 0.7mm round brass rod. However I found a short length of 0.8mm square nickel rod in my stash which was just long enough to do the two rainstrips.

I ran them through my rolling bars to get the curves even while matching the dimensions quoted by Jim.


Connoissuer NBR/LNER 20 Ton Brake Van

Work on the turntable has come to a temporary halt. It’s almost ready for painting but I need to change the filters on my spray booth extractor.

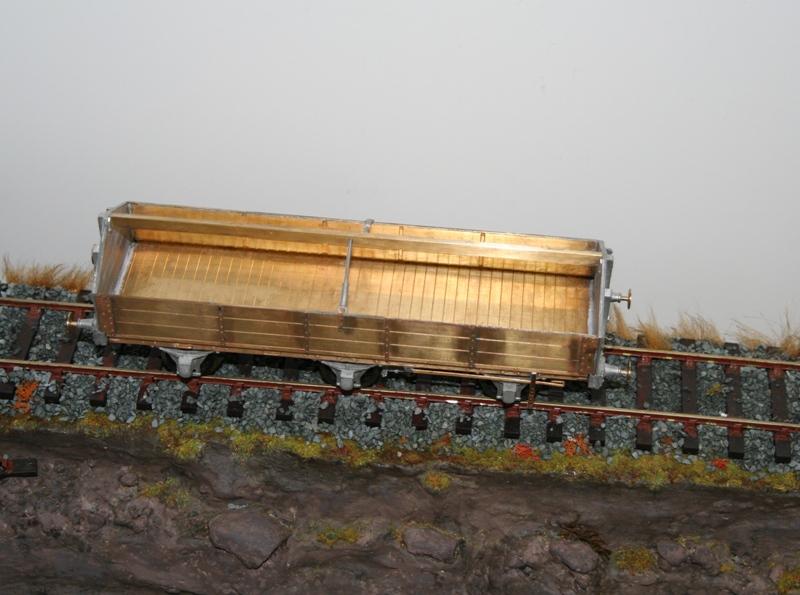
So to keep my hand in, I started this kit on Saturday. It’s one that my good lady bought me for Christmas last year – a Connoisseur North British 20 ton brake van.

NBR Brake Van 004 NBR Brake Van 003 NBR Brake Van 012

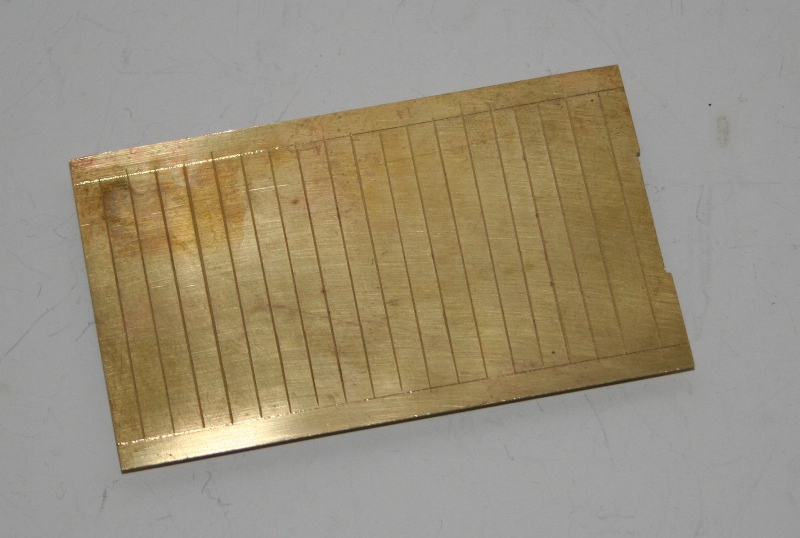
Jim only provides a floor for the veranda section (not really a veranda on this one but you get the idea). So I made one up from some brass sheet. To bring it to the same level as the other floor I used some spare angle bracket from the turntable. Waste nowt!

NBR Brake Van 006 NBR Brake Van 007

And inside the van

NBR Brake Van 011 NBR Brake Van 010 NBR Brake Van 005

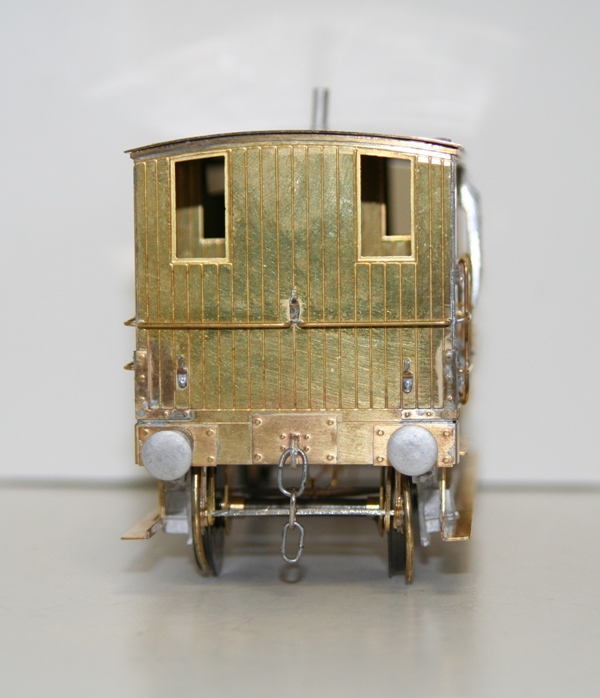
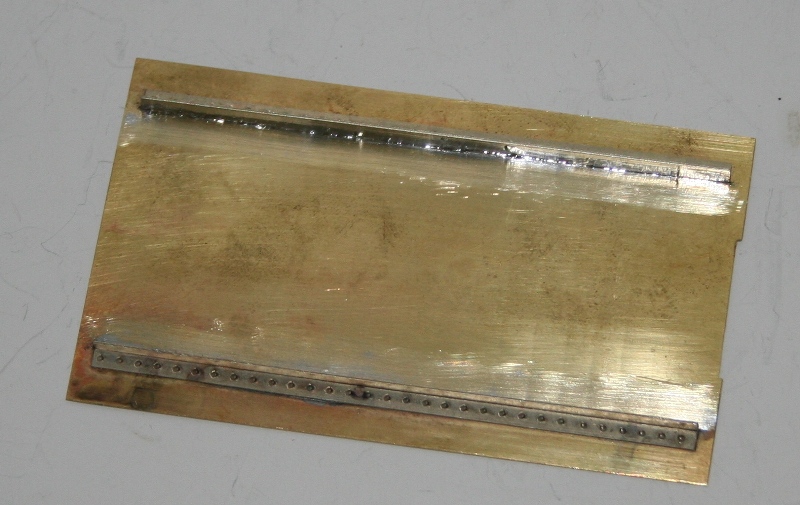
I reinforced the roof with some square section nickel bar to make it clip into the roof. I will also add some longer springy bits down the sides to help the middle sit down properly.

NBR Brake Van 014

I also added some scrap etch strip to the back of the step supports and the brake brackets.

NBR Brake Van 013

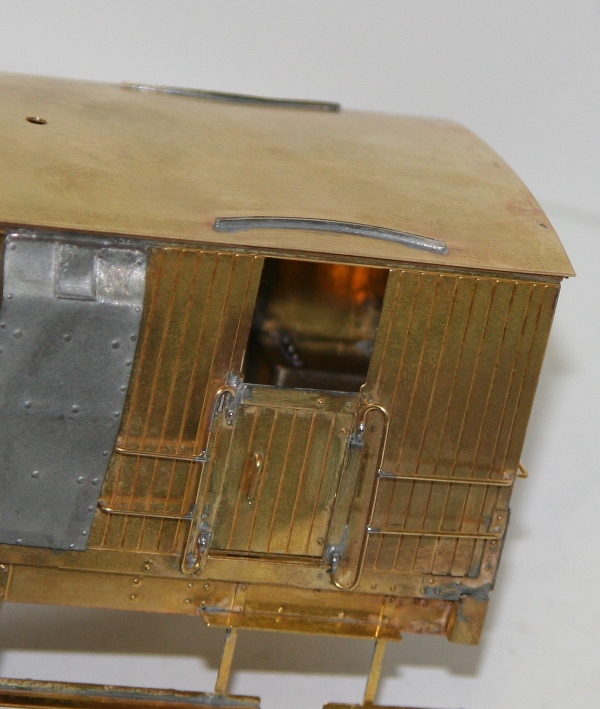
This is where I got to last night.

Today while sitting in the smallest room in the house, I had the thought. [i]”I wonder if I have any photo’s in my Tatlow LNER Wagons volumes that might give me any missing details.”[/i] Have you ever wished that you’d had that thought earlier……?

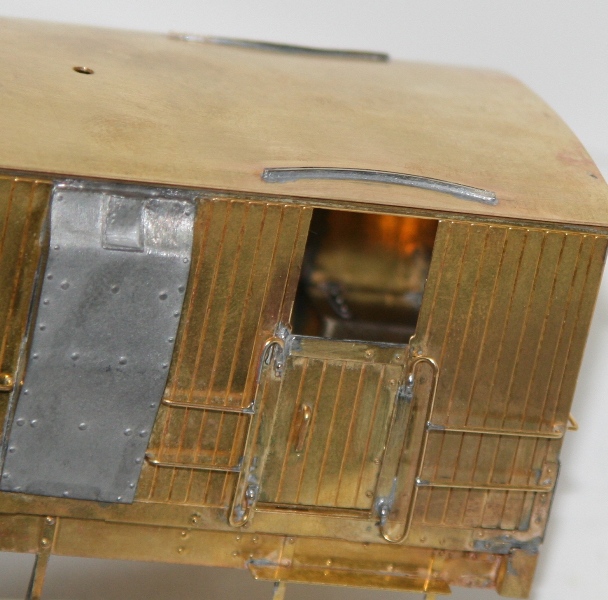
Tatlow revealed a second set of handrails below those on the non veranda end. Not too difficult to add thought I. Then I noticed the very distinctive curved ends to the vertical handrails and the fact that they don’t sit at 90% to the side of the van.

NBR Brake van

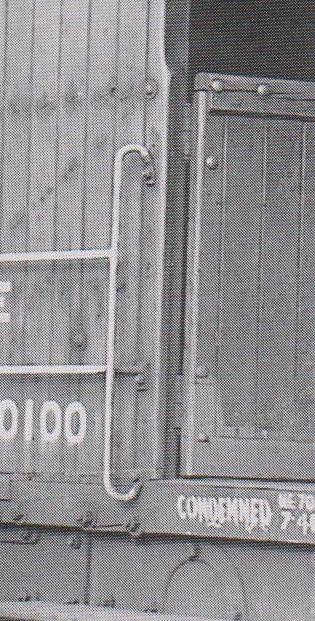
Oh Bovver!!! Says I.

So the next job tonight is to see if I can make a jig to bend 4 of those – before I take the ones I made earlier off.

All in a day’s work – or rather a day off work

A couple of days off work has seen a lot more progress on this. Having made up all the supports and cleaned up/opened out the stanchion castings ready for the rails last night, today saw them fitted and the handrails too.

It was all quite straightforward apart from having packed the tops of the supports that fit under the winding platform so that the winding platform, was at the same height as the deck. I realised that my hand rail whould then come out at a different height from the rest at that point.

After a bit of head scratching I soldered a thin strip of scrap etch along the outside edge where there was no support (the supports not coming out that far from the deck)

I then drilled through for the base of the stanchion and opened out the copper clad to sink the stanchion base into it and bring them back to the level of the rest.

Giving this..

I still need to fasten the guide wheels on but that’s a job for tomorrow.

Support and Guidance, if you will for give the pun…

I spent yesterday and part of today putting together the support frames/guide wheels that allow the bridge to rotate. This has been the hardest bit of the build so far and that wasn’t hard so much as fiddly. It took a few goes to get the end U sections soldered square across the I beams with the right width at either end and that’s despite having a template to bolt across it. The instructions suggest assembling this on a piece of glass which I did I still ended up stripping the wheels/bearings back of one of these to give it a further rub down to ensure that the guide wheels rotate freely.

Then most fiddly of all was getting all the 16ba screws/nuts on – all 48 of them. The instructions suggest having the nuts uppermost as being most prototypical.

How I managed this was to feed a couple of 16ba screws through from below. I used some short pieces of coffee stirrer wedged in to hold them in place while I fit the brass bearing in place over it. You need to be careful that you pair these up correctly of they don’t fit – guess who had to take some of and start again to discover this……

Not having any 16ba nut runners I folded a loop on a piece of brass wire that passed through the nut. I used this to pick up and place the nut and then prodded,/tightened the nut onto the protruding thread with a cocktail stick finally tightening with a pair of pliers.

Which gave me these.

I also managed to get all the handrail/walkway support brackets folded and soldered up. The next job is to clean up all the cast brass handrail pillars and then open out the holes in the brackets to accept these.

The clear plastic plates are to insulate the guide wheels from the bridge