NBR Open Wagons

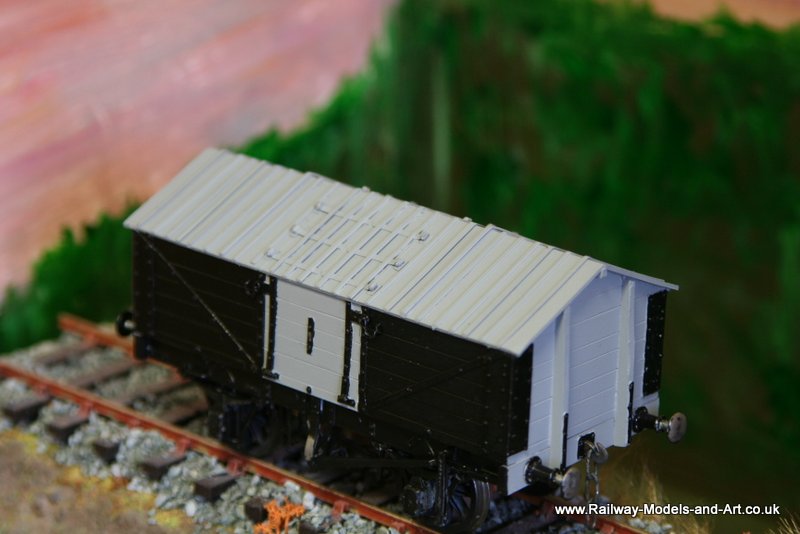
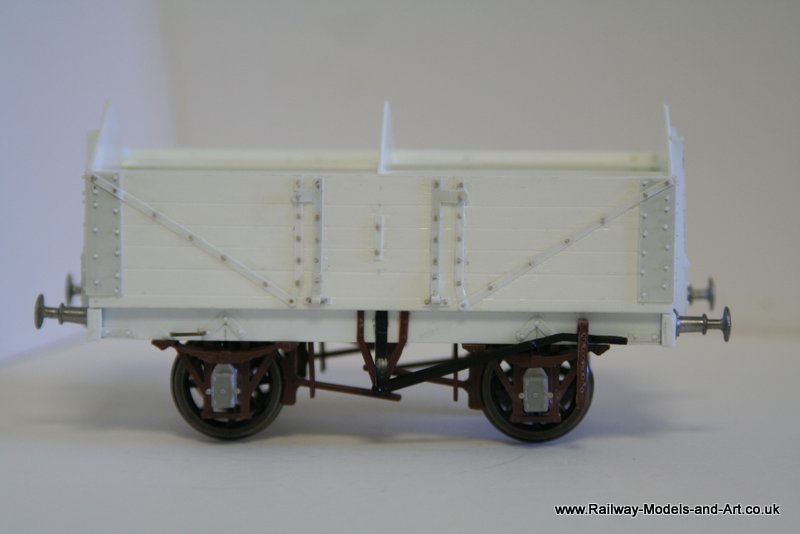
This weekend’s endeavours was the build of a Parkside NBR 4 plank open wagon with side doors.

A look through Tatlow volume 3 revealed that these wagons came as 3 and 4 plank, fixed sides, drop sides and the side door versions which is a nice amount of variety – and prompted me to make a start on the body of drop door version. My idea is to buy some set of underframe sprues from Parkside (and perhaps some buffer sets). The kit itself is a nice kit if a little basic which works for me – again Tatlow revealing more details to be added from plastic strip etc.

IMG_7475

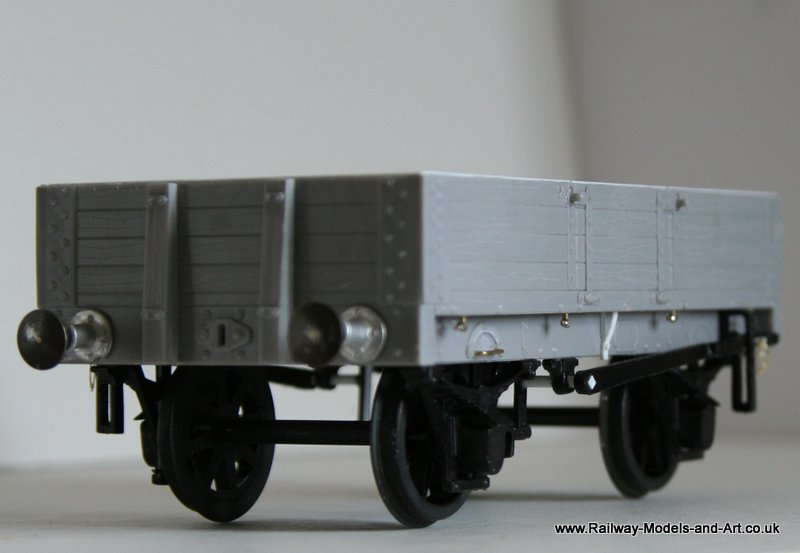
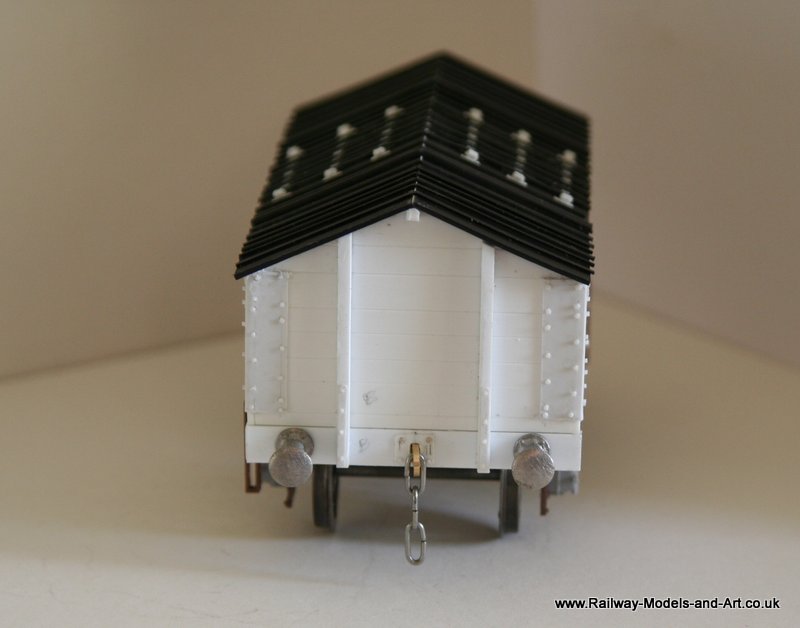
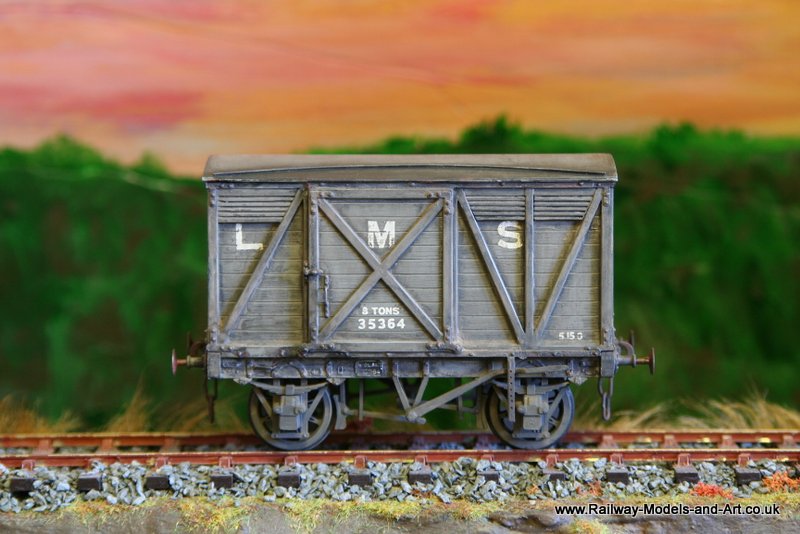
The rope hooks are made from some brass pins that I bought a few years ago that have odd shaped heads. Odd shaped in the the heads are lop sided and no amount of turning will make them round and sat square on the ends of the pins for use as bolts or rivets etc. A recent experiment had me annealing the head, then squashing it in a pair of smooth jawed pliers before drilling a hole in the end and using them as eye bolts. In this case a cross pin was soldered in to give a representation of the rope hooks. I also carved off the moulded horse hooks and added a piece of bent wire.

IMG_7471

The chain and pin for the brake lever guard are made from plastic rod/fine brass wire – again the end squashed and cross drilled. What is interesting is that on many of these wagons the chain is attached to the lever itself at one end.

IMG_7470

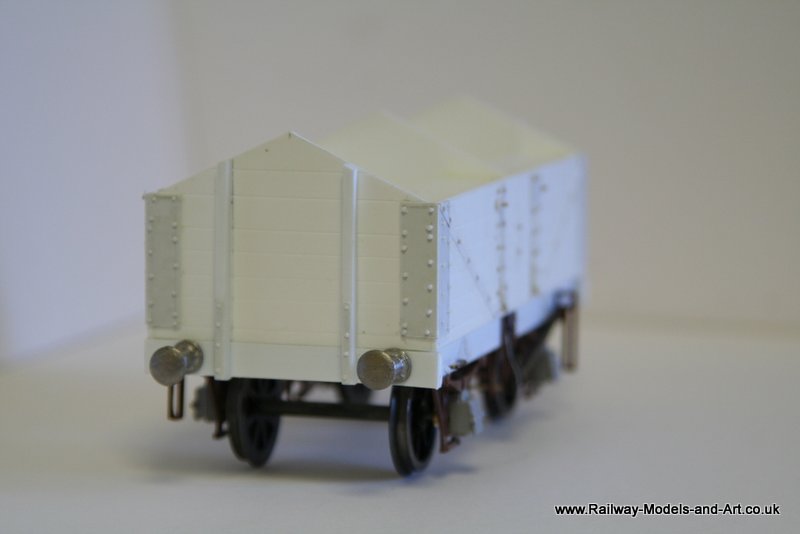
More plastic strip was added for the top capping.

IMG_7469

IMG_7467

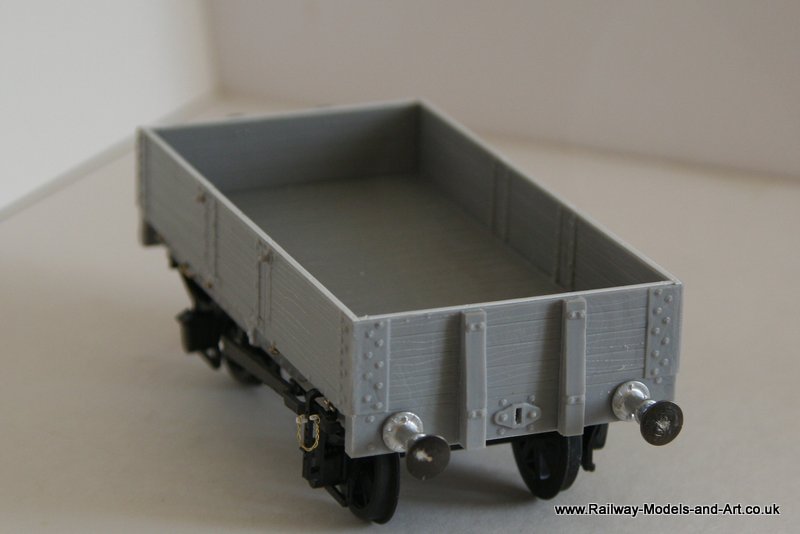
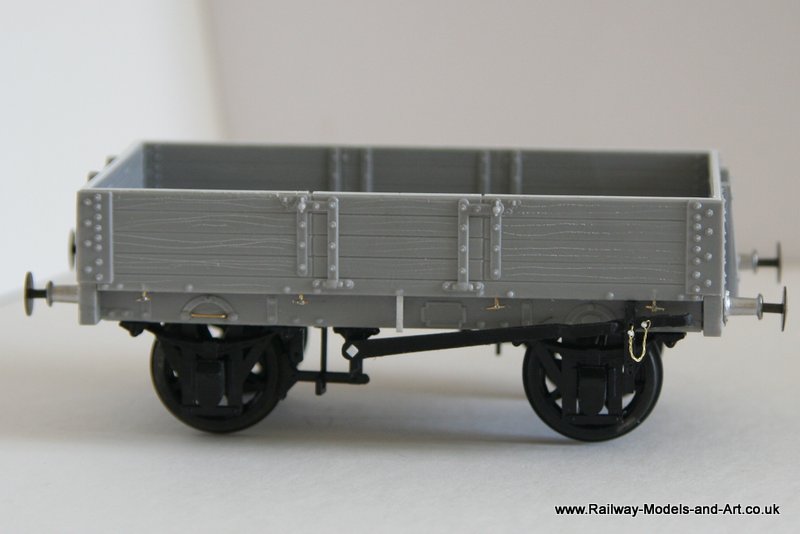
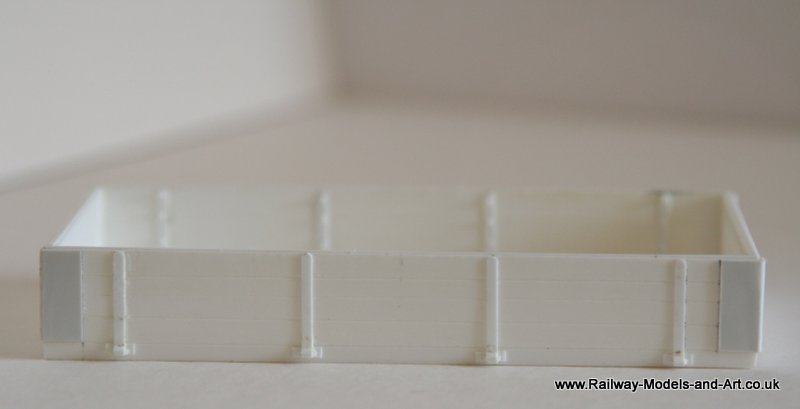
And finally a couple of shots of progress on the dropside version

IMG_7472 IMG_7473

This Lime ain’t sour!

Over the weekend I managed to get the lime wagon ready for it’s transfers – I just need to make them…

Scratch Built PO Lime Wagon in 7mm scale Scratch Built PO Lime Wagon in 7mm scale Scratch Built PO Lime Wagon in 7mm scale Scratch Built PO Lime Wagon in 7mm scale Scratch Built PO Lime Wagon in 7mm scale

On Saturday Chris and I had a wander down to Shildon to see Doug, Graham and the gang who had their test track up. I took Severn and my Y6 along for a run both of them pulling the lime wagon.

Timber Wagon Loads from Coffee Stirrers

While at a recent show (O gauge North West at Manchester I think) I noticed a demo of a Gent making a timber load from strips of Microstrip which looked quite interesting. It gave me an idea for a use for a box of coffee stirrers that I bought from eBay a few years ago.

Before seeing the demo to make such a stack of timber I would have cut some coffee stirrers to length and then glued them all together into a stack. What this gent did was make a hollow stack with short pieces in place at the ends. In terms of what I planned it would not only use less coffee stirrers but also allow me to make use of the cut rounded ends which would otherwise be surplus.
I started by using a 7mm scale rule and a square to cut 14 stirrers to a scale 16’ long (they were a scale 20’ overall allowing for 2’ to be cut from each end. These were then stuck together 2 high by 7 wide to make a base. To glue them together I used Crafters Pick PVA superglue. This is much thicker than normal PVA and gives a good grab for all sorts of things.

Timber wagon load from Coffee Stirrers
Next using the cut rounded ends and some lengths of some sticks that were not straight/flat I built up the ends and some inner supports


Timber wagon load from Coffee Stirrers Timber wagon load from Coffee Stirrers

Finally finishing with a lid the same as the base.

Timber wagon load from Coffee Stirrers Timber wagon load from Coffee Stirrers Timber wagon load from Coffee Stirrers

The stirrers that I used for this trial scale out at 11” wide boards and I plan to make some more with smaller scale boards using the same techniques but scoring the top boards and the ends to represent narrower finished boards.

Pipes!

In between progressing the lime wagon last weekend I also finished painting my last Skytrex wagon load which is a set of pipes.
Skytrex Wgon Load - Ceramic Pipe s Skytrex Wgon Load - Ceramic Pipe s
I have struggled to get some decent photos that show that they do actually look like ceramic pipes – achieved by painting them with artists acrylic terracotta (which I managed to get to spray without problem by thinning with Tamiya thinners). This was then painted with a couple of layers of Johnsons clear to get that deep sheen that you get on glazed ceramic pipes.
I may need to scratch build a pipe wagon (if I can find a shortish prototype – the load is designed to fit a 10′ wagon). I have a Connoisseur Pipe wagon kit in the stash but having looked at the size of one when built up this load would be dwarfed by it I think.

Almost there with the Lime Wagon

This weekend saw much progress on the lime wagon – the light was so poor I didn’t try to do any painting or weathering, with one small exception. I painted the sole bars of the lime wagon once I had finished them in an attempt to make photography easier. I am not sure that I succeeded though…..

Scratch Built Lime Wagon Scratch Built Lime Wagon

I still need to trim back the roof lathes and make the retaining chains for the door catches but then fingers crossed it a coat of primer.

Scratch Built Lime Wagon Scratch Built Lime Wagon Scratch Built Lime Wagon

I found it quite therapeutic filing up all the details for the solebars – all were done holing the part in smooth jawed pliers while filing with a small emery board (the type that ladies use for their nails – I get packs of them for about 60p from Boyes Stores).

Scratch Built Lime Wagon

Carboys but no indians

I mentioned previously that I took advantage of a Skytrex wagon load offer over Christmas. Among those that I bought were a couple of loads of carbouys. I sprayed them a while ago with a base coat of Vallejo matt earth but it took until last weekend to get any detail paint on them.

The look that I wanted was the dark green glass that I remember from my youth.

In the flesh I think that I have achieved it but they were quite difficult to photograph. I used Vallejo bronze green covered over by a couple of thick coats of the original Johnsons Klear – I stocked up before they changed the recipe. The woodwork and straw packing is Vallejo Bleached Bone with a drop of Model Air New Wood mixed in.

Skytrex Carbouy Wagon loads Skytrex Carbouy Wagon loads

Scratch Building in Plasticard – PO Lime Wagon

Over time I have built up a reasonable collection of drawings – mostly locos but some wagons. Amongst them is a drawing for a PO Lime wagon by Skinley.

Spurred on by my recent detailing of the LMS open wagon and having run out of plastic kits to build I decided to have a go at scratch building a Lime wagon.

Here are a few photos of progress to date – still a way to go though.


Scracth Built PO Lime Wagon Scracth Built PO Lime Wagon Scracth Built PO Lime Wagon Scracth Built PO Lime Wagon

A touch more weathering

A couple more wagons have passed through the weathering bench.

Parkside SR Meat Van Parkside SR Meat Van

This one I have been tinkering with for 6 or 8 weeks in total – doing something at it each week but not being satisfied with it until now.

Slaters MR 8 Ton Fruit Van Slaters MR 8 Ton Fruit Van