
In my last post I mentioned that bending the full thickness nickel was a bit of a bu**ger. The front drop section proved doubly so.
The handicaps on the front section being that it’s physically shorter so less metal to get leverage with to make the bend and all those rivets that I didn’t want to flatten in the process.
I folded a sheet of printer paper (an old invoice which I keep for scribbling notes on the blank rear side) several times to give me a nice thickness of padding and started to make the bend. To my relief like the back one, having tried it against the side of the valence, I had got it pretty near on the first go.
Then I tried it sat on top of the valance and you can understand my complete and utter dismay! when I noticed the recesses for the lamp irons were sat up under the front of the footplate.
I had somehow managed to turn it around when I wrapped it in the paper and I had nicely created the curve in the wrong end. I am surprised that they didn’t hear my exclamation of Oh sh*t! in York. The only saving grace was that it was a bend not a fold and I hadn’t started to further the bend to get it to fit flush under the front of the footplate.
The good news is that I managed to recover it and re-bend it at the right end.
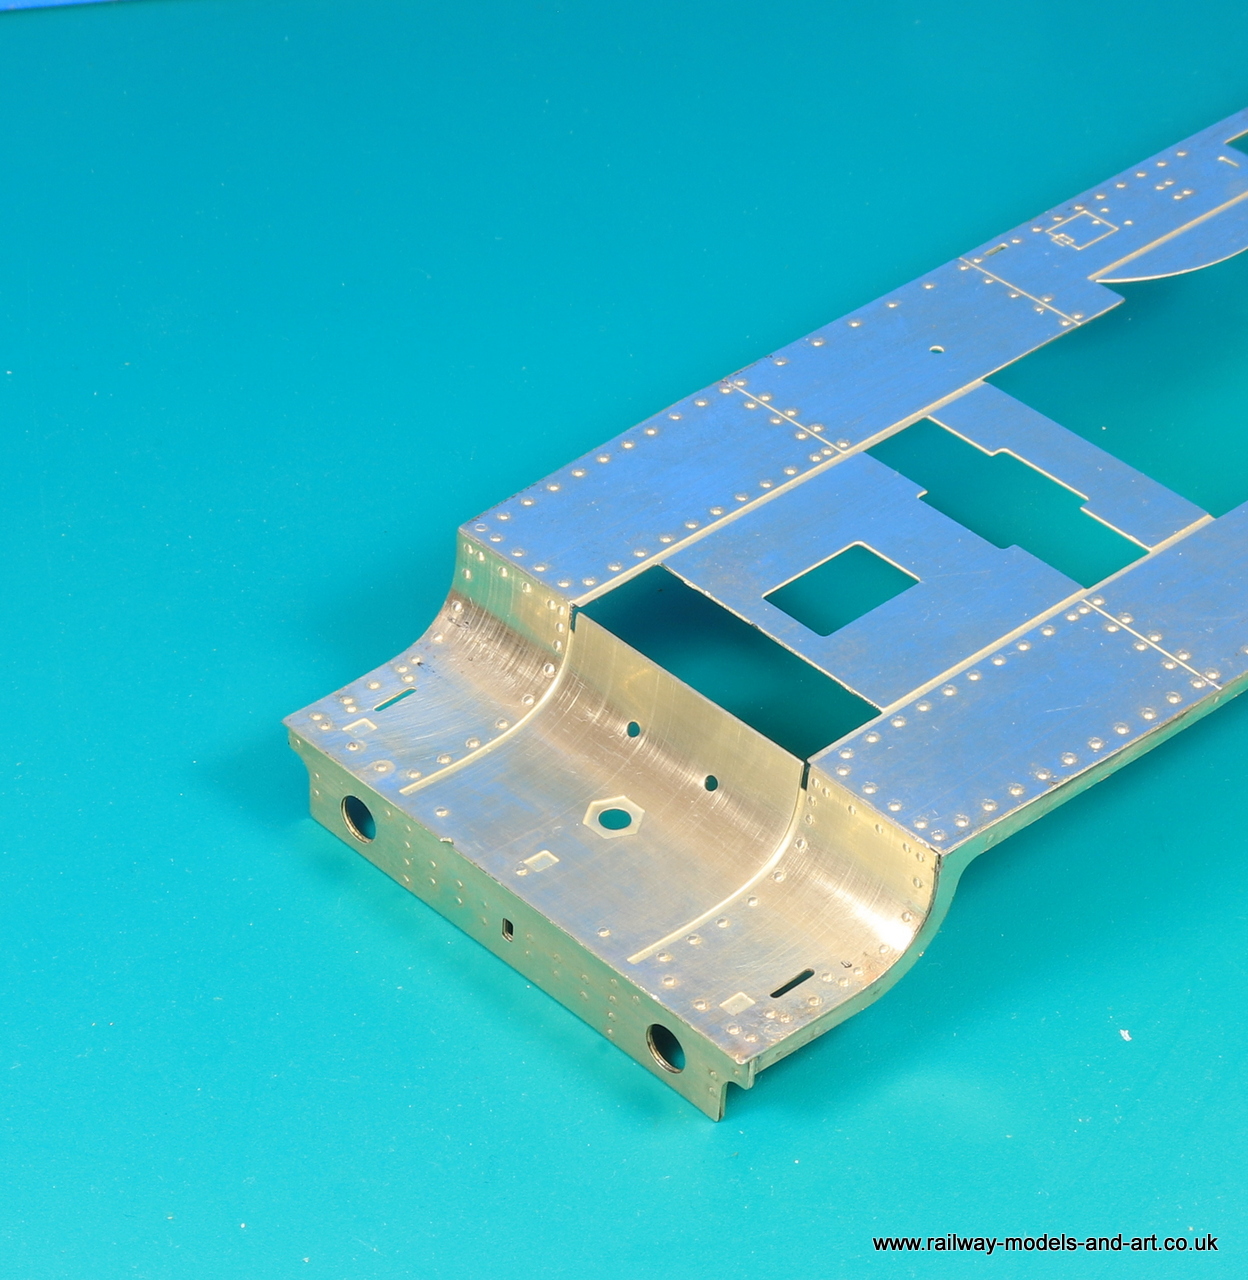
These two photos show it after straightening and re-bending at the right end and a dry fit before soldering


These are of it fitted along with the buffer plank.


Finally, the weapons of choice used to get me out of my self-created mess.

Plus, the all-important ‘how I did it’.
It’s worth mentioning right from the outset that I didn’t anneal it, nor did I consider doing so.
My workbench is partly covered with a sheet of toughened glass, while the other ‘half’ has a cutting mat. I usually use the glass section for soldering and making sure that things are flat/square.
I put the dropped section rivet face down on the folded paper on the toughened glass and gently tapped it with the rubber mallet to start to reduce the curve. Once this had been reduced some. I moved over on to the cutting mat with a 6” x 6” square of hard acrylic sheet that came with my hold and fold.
Its primary use is a firm base for cutting parts from etches. But it in this instance it provided a firm base where I could tap a bit firmer without risking breaking my glass sheet.
I managed to get quite a bit of the curve back out it before moving to the vice and after fitting one side with the soft jaw (the black angle piece in the photo) I started to bend the curve again at the right end.
Once I had the curve in and seated against the footplate, the front end still had a slight curve left in it (see the first photo). To remove this, I placed the part rivet side down on top of the vice jaw with the curved section overhanging.
Then using the length of 10mm brass bar in the photo, I laid it along the length of the curve and gently tapped with the mallet until it took most of the remaining curve out and then I finished of by putting a piece of green pan scrubber under the paper to allow a bit of give and then used the brass bar to ‘roll out’ the remainder of the curve. Making sure to stop before it started to curl the other way.
I share this in the hope that it will give someone else the confidence to have a go at recovering from a wrongly bent piece at some point.