
The next kit across the bench was one of my Christmas pressies (well you have to don’t you)
Along the way I picked up a new technique along the way that helped tremendously on this one with the overlays and I thought it worth sharing.
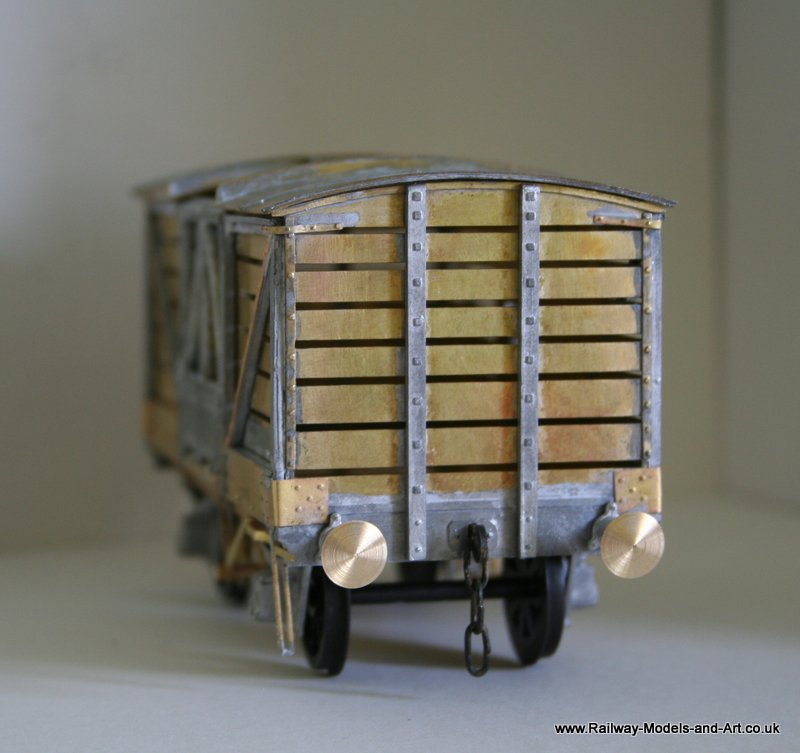
First I would like to offer my thanks to Geoff Stratford of Gladiator for sending me some more end stanchions after I melted one. Such customer service will be missed in your well earned retirement Geoff!
I planned from the outset to glue the etched overlays onto the cast frames on the sides but as I was tinning the various body sections to allow me to add the cast parts with 70 degree solder and subsequently melting one of the end stanchions I started to think ahead to the bits that I might struggle with later – in terms of either melting them or bit’s dropping off.
I decided to try tinning the overlays with 145 degree and then tinning them again with 70 degree over the top of the 145. I then placed the overlay on the cast frame applied some flux and ran my lower temp iron down the side of the overlay and hey presto it was stuck fast.
I even used the same process on the corner brackets on the bras to brass bit’s where they covered the cast frames.

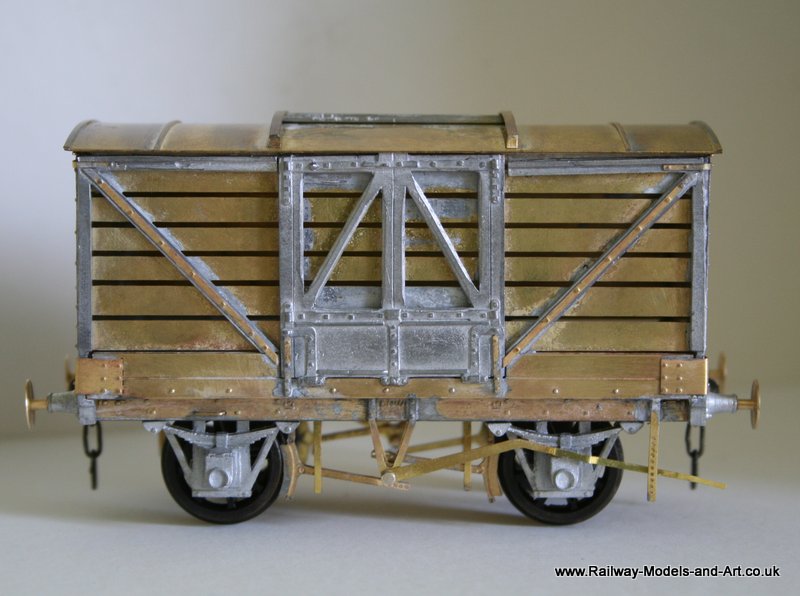


In terms of the kit itself I made it up as per the instructions with the only deviations in the form of adding a brass floor and a couple of 14ba nuts on the outsides of the brake levers where they attach to the V hangers.
I also made the roof removable to aid painting.