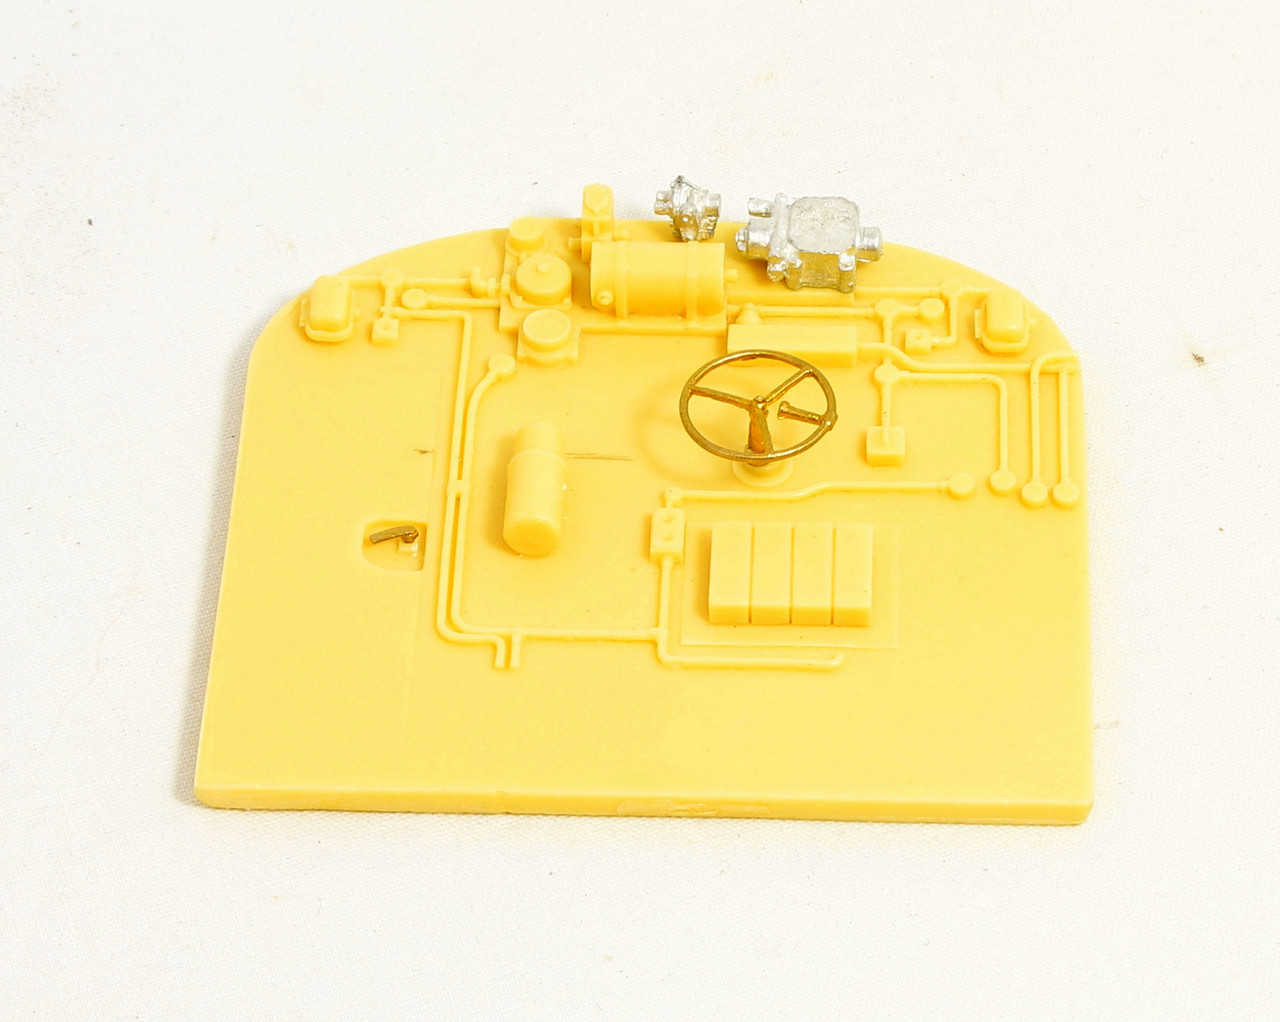
Moving steadily along next I did the cab detailing and this is where things started to go a little pear shaped.
The castings in the kit are excellent with the minor exception of a couple of whitemetal ones which would do at a pinch but I made new ones because they were very undersized.
The instructions on the other hand are very basic. I am sure that if you are a diesel modeller they are probably quite adequate but for someone who has no idea of the subject matter I really struggled. I did manage to find a number of photos but of course they don’t show you everything. In fairness to Fred the sketches included do show where to add much of the detail but where I went wrong was the cab interior. The sketch shows how the control desks are laid out in the cab and the seats in relation to the floor etc.
Warship Drivers consoleWarship Secondmans cabinet
They fit together like this, so as you might expect the first thing that I did was stick them together with epoxy. Once they were dry next day I test fitted them in the cab and realised that there was no way that they were going to fit. I dropped Fred an email to ask what I was missing and he kindly gave me his phone number and said give me a call and I will explain how they fit into the cabs.
Warship Cab front consoles
They fit like a 3D puzzle, you slip one of the desk in first and hook the angled section at the edge of the desk over the window ledge. Then you slip the second on in and do the same, but you need to have this a little way behind the first desk to allow them to fit side by side then you slide the two together and they hold each other in place.
Warship Bulkhead
I made a couple of turning s for the hot plates as I struggled with the whitemetal castings. I also soldered up that loose joint before fixing them to the bulkhead just to the left hand side of the brake wheel.