Finally the bit that you have all been waiting for, this is what it looked like when it went for paint. I confess that being so big I really struggled to get it all in shot and in focus
Fred Phipps WarshipFred Phipps WarshipFred Phipps WarshipFred Phipps Warship
The right hand side buffer at each end as you are looking at it from the front has a step attached to it. I had made up the steps back in 2017 but hadn’t attempted to fit them to the buffer castings and I am glad I didn’t because I didn’t have a mill back then. On the basis that there are a couple of small gluing points, the attachment to the buffer casting would be the crucial bit. as they cam I couldn’t workout how I might get them all attached consistently while still maintaining the integrity of the steps. The solution was to mill a small flat on the bottom of each buffer casting to give a good base to solder to.
At this point I was left with these castings which I had no idea where they fitted. A quick email to Fred pointed me in the right direction. Although he told me where they fitted he said refer to photos. But on all the photos that I had at the time (I have kindly been provided with a number of really useful photos since I started posting the build by a kind Gent on RMWeb) the cab steps obscure them so they are not visible.
I also had a photo of a bogie which had been removed from the loco but although they fit on top of the springs they had been removed so that photo while clear on may other details didn’t help.
Finally this is them fitted to the springs.
Being Gauge 1 I also took a punt on the fact that it would be battery powered so I didn’t attempt to fit any pickups before it went for paint. It turned out to be a good guess.
Moving steadily along next I did the cab detailing and this is where things started to go a little pear shaped.
The castings in the kit are excellent with the minor exception of a couple of whitemetal ones which would do at a pinch but I made new ones because they were very undersized.
The instructions on the other hand are very basic. I am sure that if you are a diesel modeller they are probably quite adequate but for someone who has no idea of the subject matter I really struggled. I did manage to find a number of photos but of course they don’t show you everything. In fairness to Fred the sketches included do show where to add much of the detail but where I went wrong was the cab interior. The sketch shows how the control desks are laid out in the cab and the seats in relation to the floor etc.
Warship Drivers consoleWarship Secondmans cabinet
They fit together like this, so as you might expect the first thing that I did was stick them together with epoxy. Once they were dry next day I test fitted them in the cab and realised that there was no way that they were going to fit. I dropped Fred an email to ask what I was missing and he kindly gave me his phone number and said give me a call and I will explain how they fit into the cabs.
Warship Cab front consoles
They fit like a 3D puzzle, you slip one of the desk in first and hook the angled section at the edge of the desk over the window ledge. Then you slip the second on in and do the same, but you need to have this a little way behind the first desk to allow them to fit side by side then you slide the two together and they hold each other in place.
Warship Bulkhead
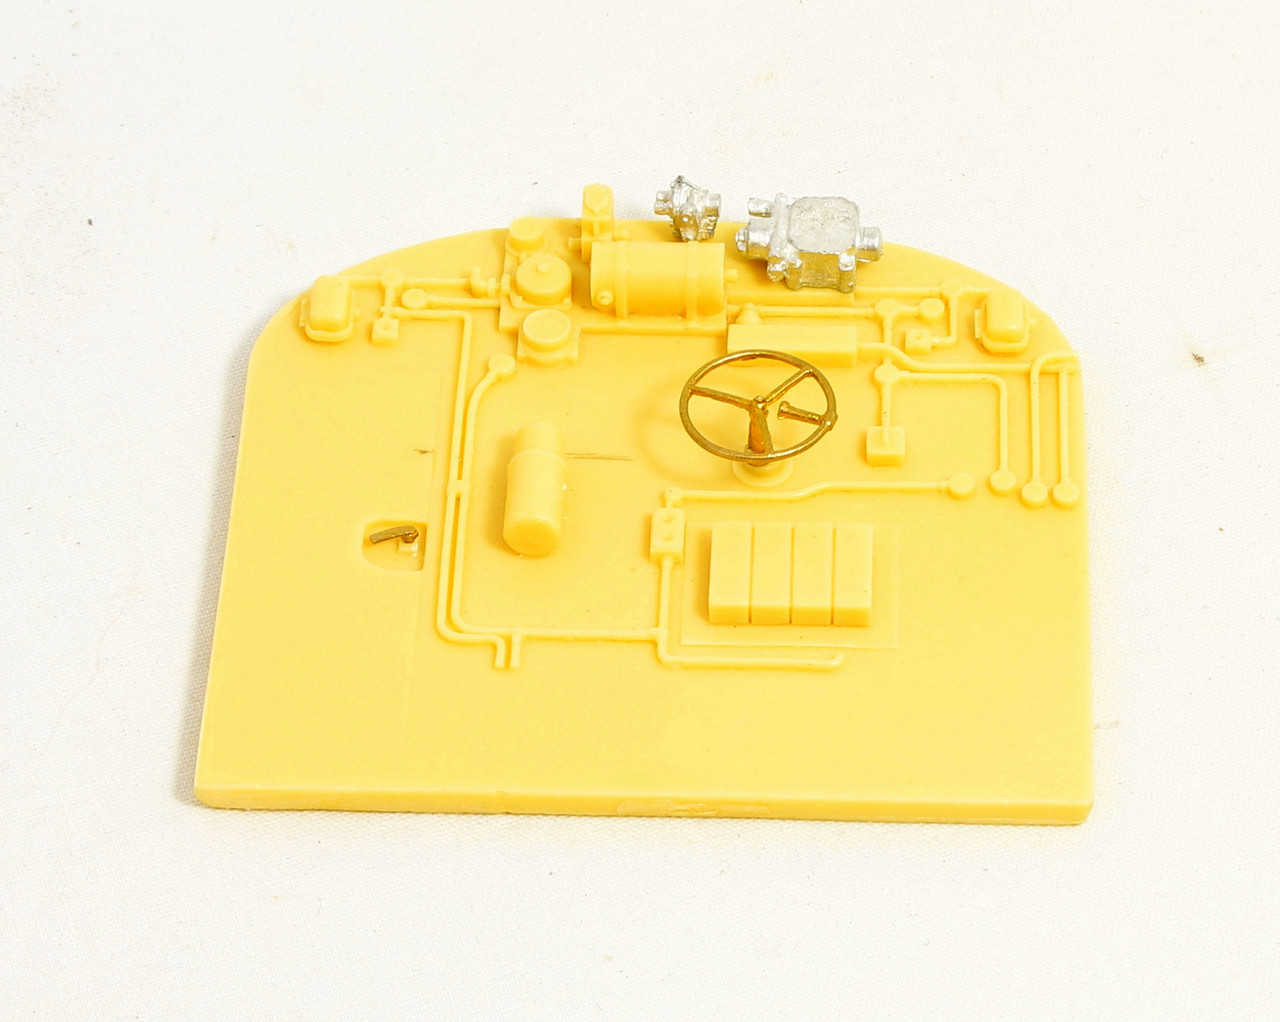
I made a couple of turning s for the hot plates as I struggled with the whitemetal castings. I also soldered up that loose joint before fixing them to the bulkhead just to the left hand side of the brake wheel.
Once I had the basic bogies assembled and the motors in place the next job was to assemble and detail side the resin frames.
The springs although nice castings had cast spigots which were fine on some but odd shapes on the others so I snipped them off and replaced them with some 1.6mm brass rod
Warship Springs
Then it was time to bend up the brake pipes which although all are identical they are handed so it was a case of make four up on one hand then another four of the opposite hand. I really surprised myself in bending all eight one after the other without making a mess of any of them or having to make any extras. All the whitemetal parts were then stuck to the resin with epoxy.
Something a little different from me. I have been quite for a few weeks because I was focusing on building this for delivery at Stafford. I started this way back in 2017 but the kit was supplied with came with ex San Cheng motor and gearboxes which were quite popular at the time. The minor issue with them was that the retaining collar on the final drive was very thin and in order to get the grub screw to clear the gear above you needed to file a slot in the axle. This is all very well if you are using solid axles like those provided with Slaters wheels but the kit came with Mark Wood wheels mounted on telescopic axle which are not good for filing slots in.
San Cheng final drive gear
Having discovered the issue I sent the motor and gearboxes back, explaining the issue and asking for some different motor and gearbox units which didn’t require a slot cut in the axle.
After chasing it up a couple of times without response it was ultimately placed in a cupboard and forgotten. When I moved house I recalled that I still had it but it wasn’t until after covid that I got in touch with the guy and reminded him that I had it. It then took another couple of years or so to actually get suitable gearboxes (we had tried some Slaters axle mounted bogie units but they were not suitable either – for the life of me I can’t recall what the issue with those were now).
I finally received suitable units last year but I was in the midst of building the Princess and having waited so long I didn’t want to just drop everything to do the Warship.
Fast forward to about 4 weeks ago and I decided to try to get it finished for delivery to Stafford.
I had made the chassis and bogie frames back in 2017 so the first job was to fit the motor and gearboxes to make sure that they would indeed fit.
Warship bogie Motor fitted underside
I used the mill to neatly enlarge the slots for the motors and then heaved a sigh of relief when they went in as planned.