The NBR BG has been on hold for a while because I have been waiting for a friend to sort out a roof for it (who was in turn waiting for another friend etc.) I collected it at Telford earlier this month so I will progress that once the CCT leaves the bench.
In the meantime to wet appetites I thought that I would share another Telford acquisition which came quite out of the blue from a chance query.
Earlier in the year I bought a set of etches for a Gresley Restaurant triplet set from CPL and I was in discussions with both Rupert Brown and Peter Dobson about etches for the underframes and roof parts etc. I can get some of Rupert’s underframes from Wizard Models but Andrew needs to sort them out and Peter Dobson although having wound up newbould models as a business is still supplying bits and pieces and had done a test etch for the underframes but had never progressed them. I had arranged with Peter to bring some Gresley bogies to Telford for my CPL set and he said would I like to see his test etch underframes to which I said certainly.
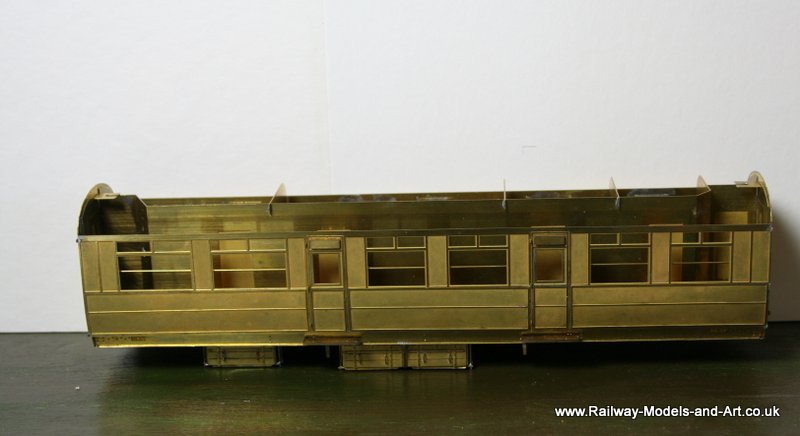
It turned out that not only had he done a test etch for the underframes but also for the bodies as well but he had taken them so far an then popped them aside. Having had a look at them I asked since he hadn’t touched them for quite some time, if he would sell them ‘as is’ and a deal was struck.
This is what I got for the money:


Also included were the remaining partitions for the restaurant cars and some etched tables. And hidden away under the tissue paper in one of the boxes was a very nicely finished Kemilway roof – so now I know what they should look like and can be made to look like…. note to self must try harder!