Not much modelling done over the weekend due to a combination of not feeling well on Saturday and a trip to Pontefract show on Sunday. Which was very enjoyable even if I did come back with etches for 4 Pullman coaches which Chris spotted and encouraged me to buy that I hadn’t planned on…
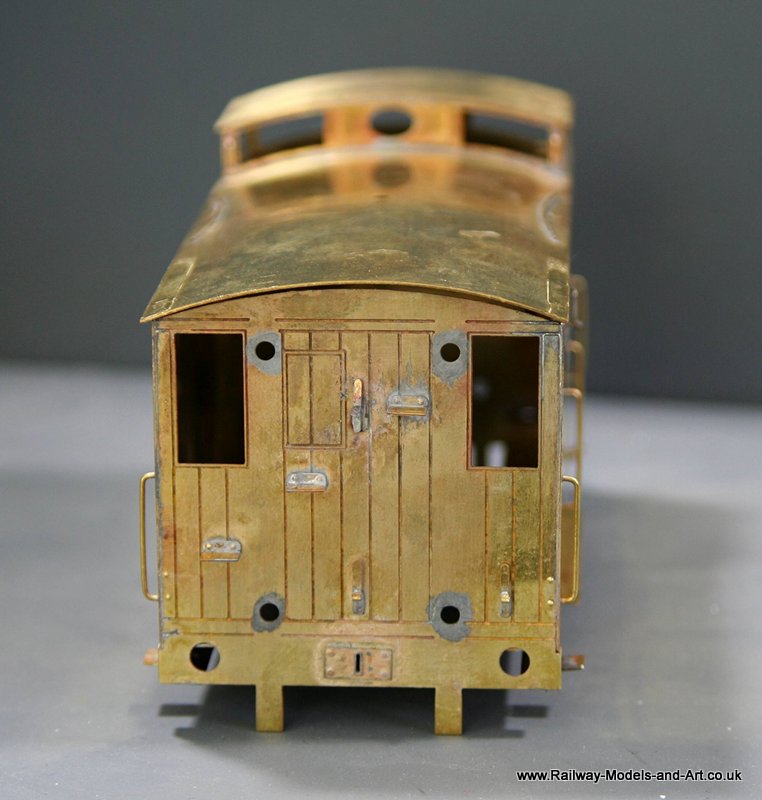
A few hours last night had the first van almost complete (I had thought it complete until I remembered that I hadn’t fitted a couple of hand rails or any guard irons under the brake yokes.

Modified by CombineZP

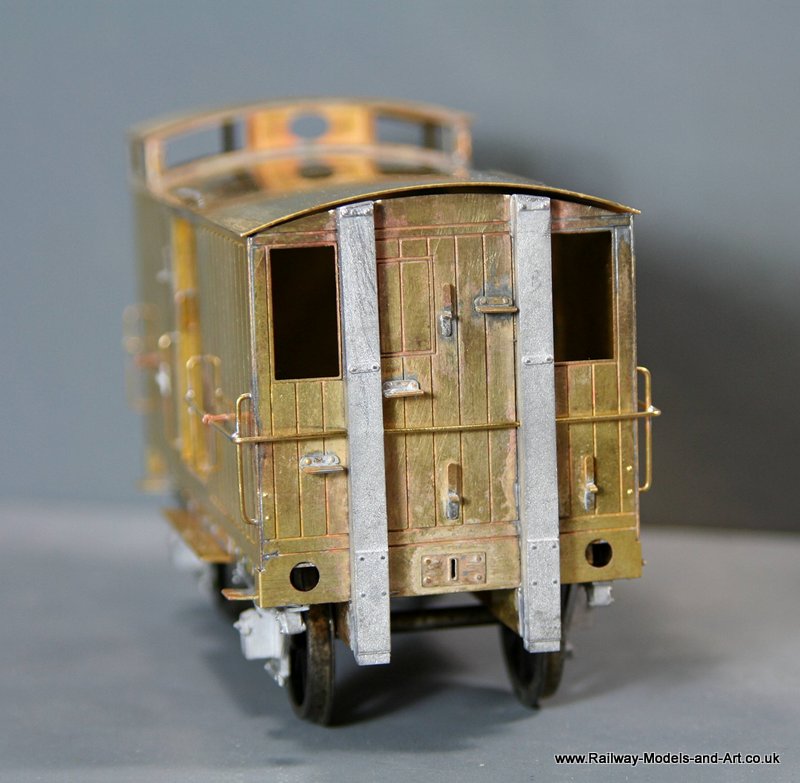
Connoisseur NER Birdcage Brake Van – Hand rails fitted
The hand rails that are missing are the two small ones above the wrap around rails in this view – the other end should have similar fitted about a quarter of the way up the windows.

Modified by CombineZP

Modified by CombineZP
I didn’t fancy trying to drill out the rather nice cast chimney because it’s very slender so I scratched a pair of replacements from telescoping tube and a cover plate from the spares box, completed them.
I also noted on the drawing that the sliding doors had a hasp so I made a couple from scrap etch.

Modified by CombineZP