Nellie, looking like she is earning her living….

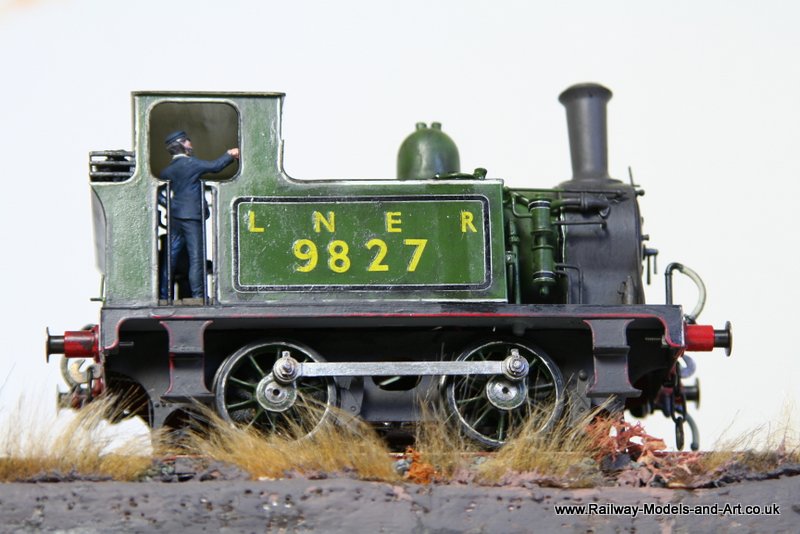
At the risk of getting boring by posting so many of my weathering efforts, and in anticipation of weathering the A3 I had a trial run on Nellie.

And because I can I have posted lots of photos….. Enjoy!

IMG_6105 IMG_6106 IMG_6107 IMG_6108 IMG_6109 IMG_6110 IMG_6112 IMG_6113 IMG_6114 IMG_6115 IMG_6116 IMG_6117 IMG_6118 IMG_6123 IMG_6124 IMG_6125 IMG_6126 IMG_6127 IMG_6128 IMG_6129

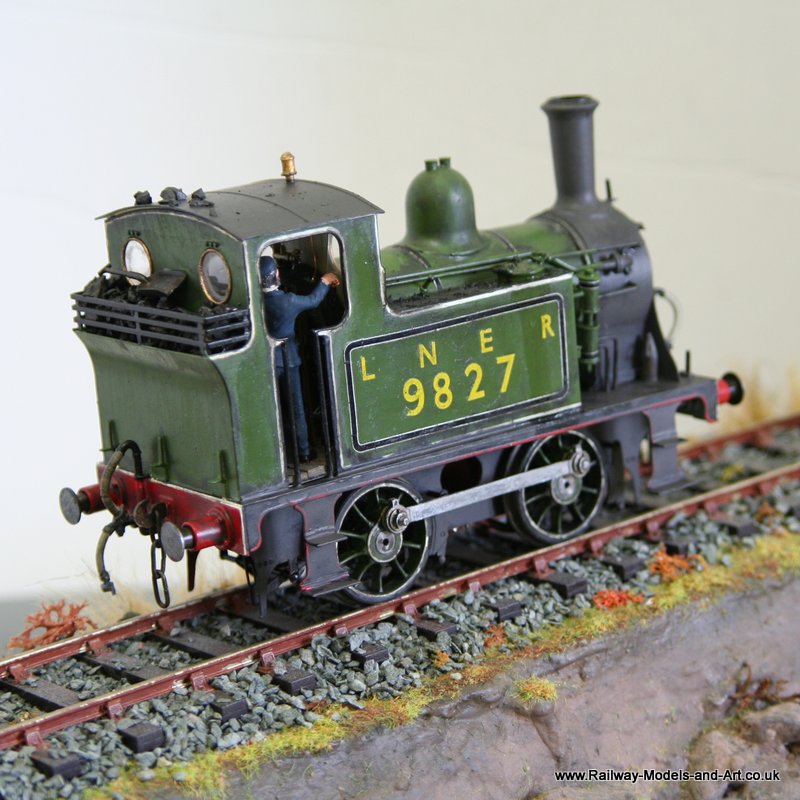
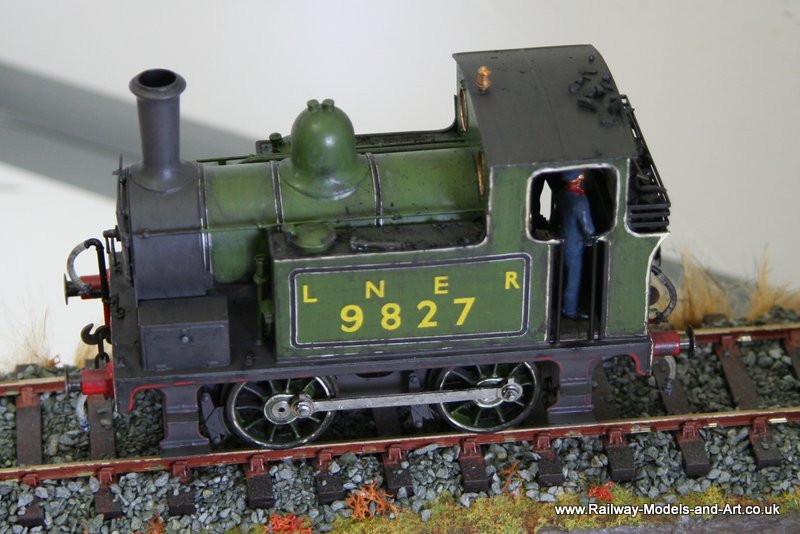
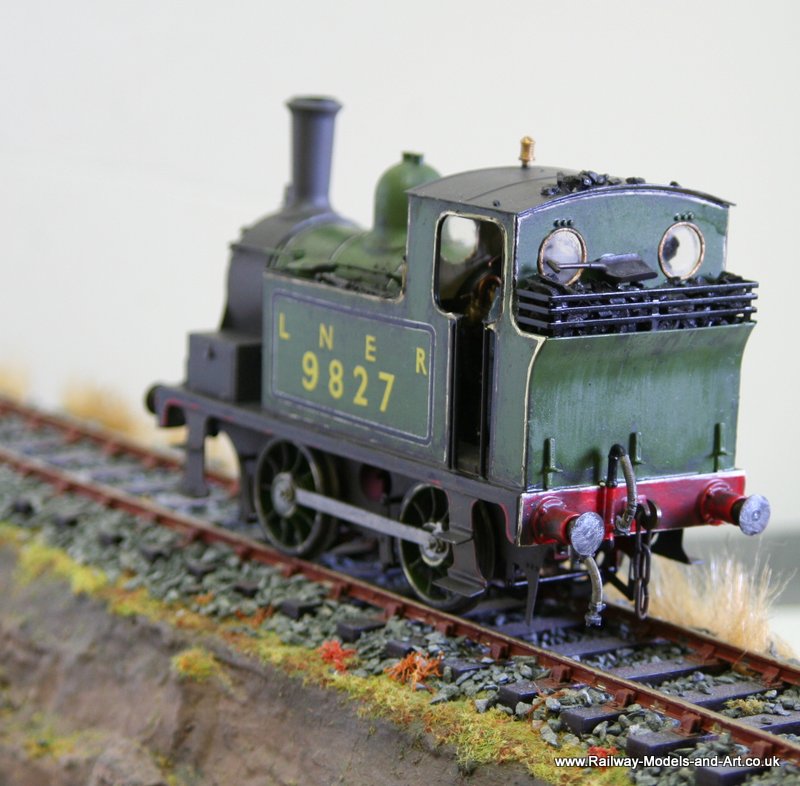
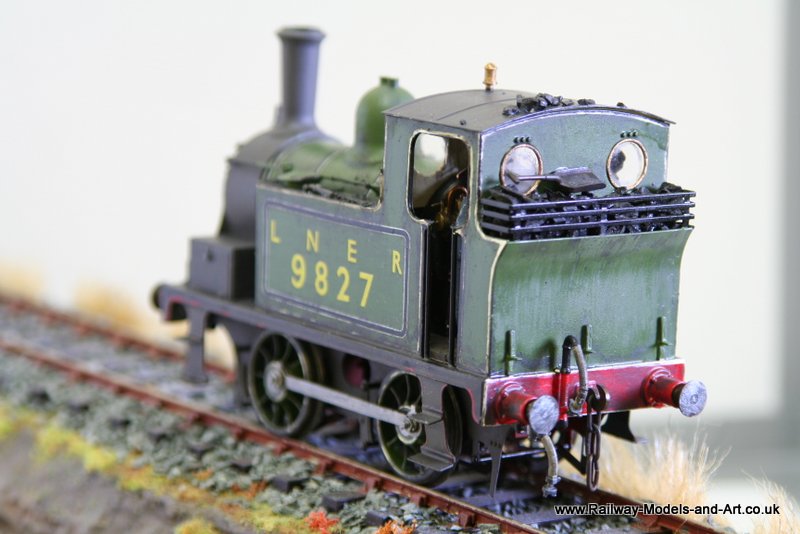
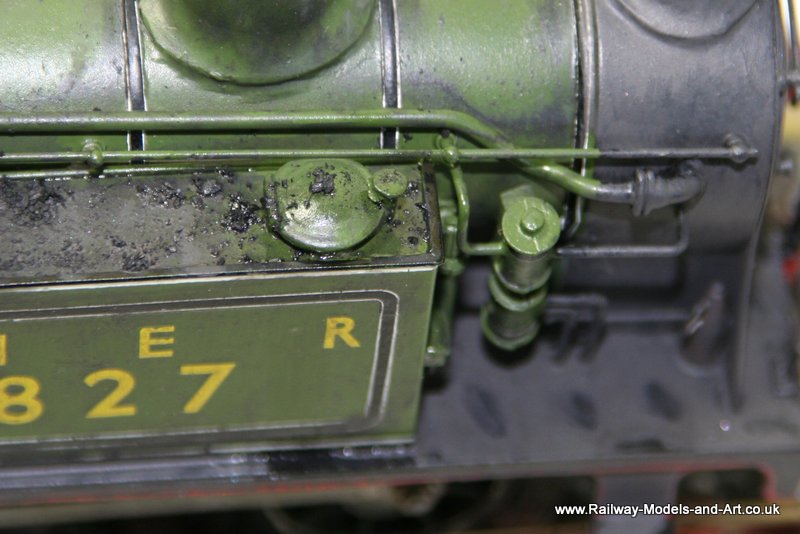
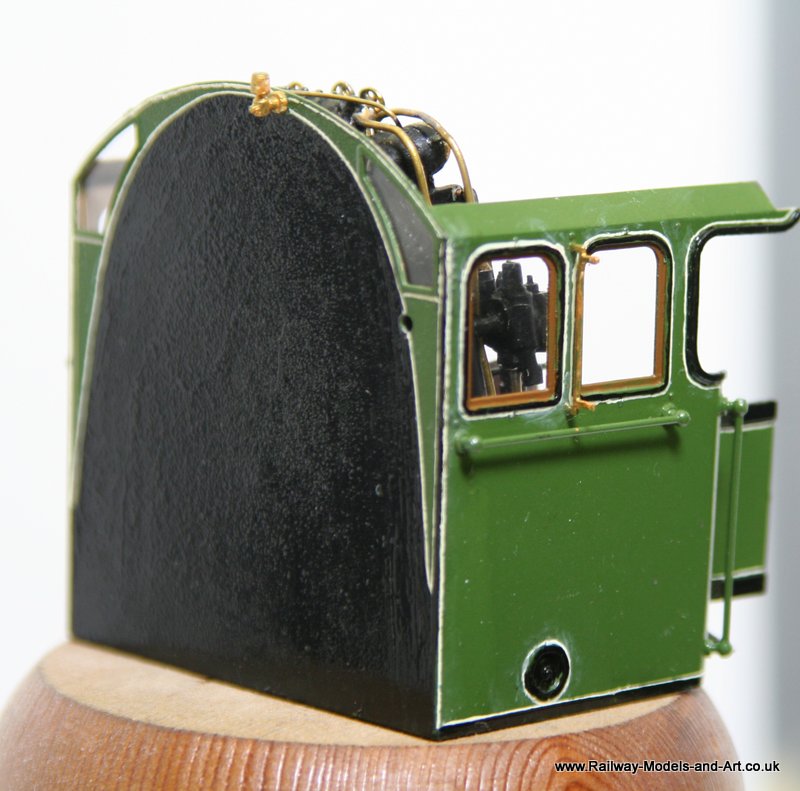
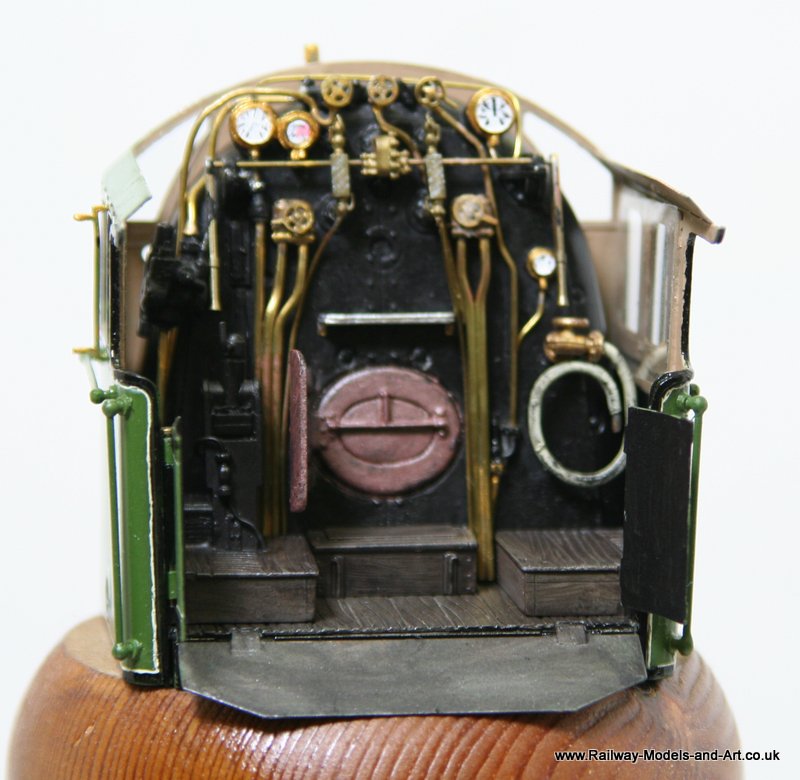
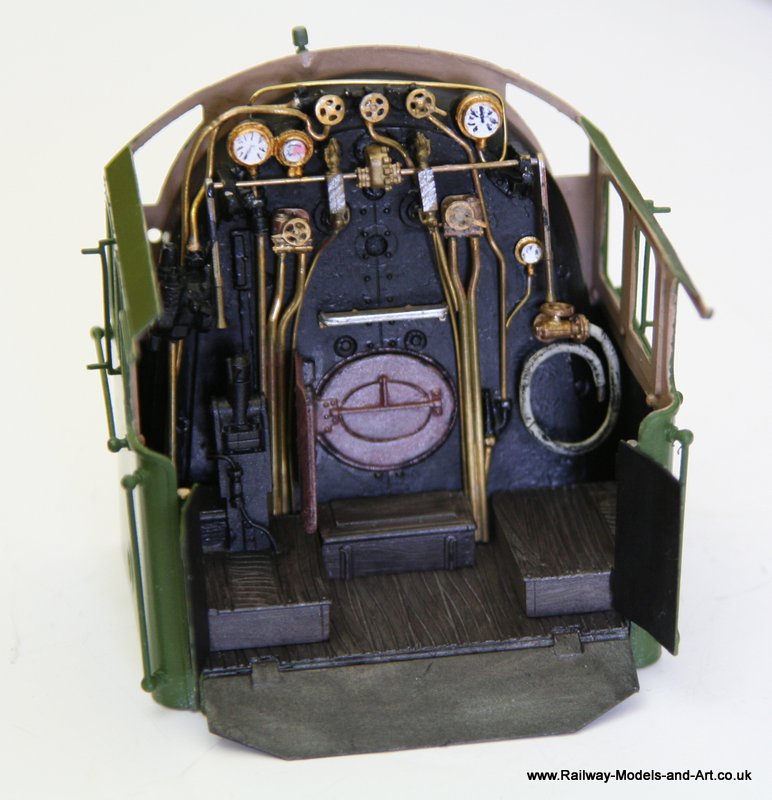
Because Nellie is a fictitious loco I cannot find any prototype photos to use so I looked at various generic examples in Martyn Welch’s The Art Of Weathering book and tried replicate some of the effects – foot prints in the dust on the footplate being one such example.

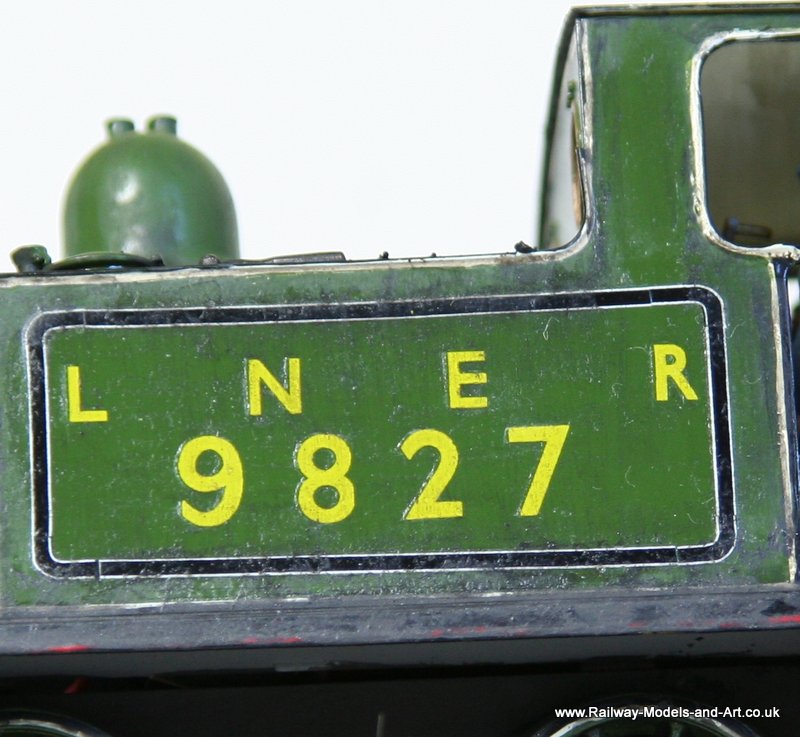
I have also attempted to give the impression of where the tank sides might have been rubbed over with an oily rag. In the flesh this has come out quite well, but it’s very difficult to capture on a photograph (or it is for me at any rate…..)

The Last Wagon For Now!

This is the last of the wagons that I have attempted any weathering on so far.

Again from the Parkside stable, one of their very early kits – The NBR 8 ton covered van that featured on the workbench previously.

Before:

LNER Horsebox 008

And after a few ‘years’ in service:

IMG_6088 IMG_6089 IMG_6090 IMG_6091 IMG_6092 IMG_6093 IMG_6094

More Shelf Queens completed

In between the weathering projects another couple of shelf queens have reached completion.

First up is the GWR Horsebox that I started some time ago followed by an LMS Brake van. Both are from the Parkside stable and make up into nice models, albeit that the steps are quite vulnerable on the brake van – they have been stuck back on at least three times….

IMG_6077 IMG_6086 IMG_6087

The groom is modified from a Slaters seated figure – I am not really sure what he was meant to be but I filed his hat to represent a flat cap.

IMG_6085 IMG_6084 IMG_6082 IMG_6081

I have left the roof loose so that I can get in to weather the insides of the verandas.

The art of weathering nearly perfected – I think…..

The bolster wagon is now finished unless I get feedback on what might be missing….

The Parkside kit very usefully comes with chains and shackles, so it would have been rude not to add a load to be shackled down!

IMG_6068 IMG_6069 IMG_6070 IMG_6071 IMG_6072 IMG_6073 IMG_6074 IMG_6075 IMG_6076

The load is made from bamboo barbecue skewers – really good value at 69p per pack…. I didn’t use a whole pack and the pointy ends will make another load for a different wagon (I just have to built it….).

The A3 moves steadily to the finish line….

In between my efforts at weathering stock I have still been beavering away lining, and glazing the cab.

Here are a few cruel close ups. There are still a few smudges of white that I need to remove. But this one is going to be weathered not ex works so any blemishes will blend in.

IMG_6052 IMG_6053 IMG_6054 IMG_6055

Hopefully the transfers will go on the cab and tender over the weekend…..

A tip for use with acrylic paint.

I made a start on another wagon last night and made a discovery that I thought worth sharing.

When using enamels I am aware of and have used the technique of using a cotton bud soaked in white spirit to remove unwanted enamel paint – as long as it hasn’t been on too long. I have seen examples of the technique used in weathering.

What I didn’t know or appreciate until last night was that you can do something similar with acrylics by using a cotton bud soaked in meths.

These are a few shots of the wagon that I am now working on that I used the technique on last night.
IMG_6046 IMG_6047 IMG_6049 IMG_6050 IMG_6051

It has quite some way to go but I feel that I have a bit more freedom to experiment knowing that even when it’s gone on quite thick and had some drying time it’s still maneuverable.

This Weathering is so addictive!

I am still working away on the can for my A3 which is now ready for glazing but in between that I have been progressing the shelf queens and doing some more weathering.

First up is the Slaters Midland van that featured earlier in the workbench. This is a joint effort in so much as Chris had made a start by weathering the roof and I picked it up and did the body and underframe. Some said to me that weathering is addictive and I have to agree…

IMG_6025 IMG_6032 IMG_6033 IMG_6035 IMG_6036 IMG_6037 IMG_6042 IMG_6044

Cabbing the A3………

One step forward and three back. Having stripped and repainted the cab, I initially started to spray the exterior with Klear to get a glossy surface to line onto. It promptly ran to the bottom and sat there as a ridge Grrrr!

So being the diligent soul that I am I had read the back of the bottle so knew that you can remove Klear with ammonia. Did any of my local shops stock ammonia these days? – Did they chuff!!! Chris ended up ordering some from Amazon for me..

Anyway, it duly arrived and I eagerly painted some on and….. nothing happened!!!

DOH, so I read the instructions = dilute it 3:1 apply and then let it dry for 5 minutes. When dry scrub off with warm soapy water and surprise surprise a Ronseal moment – it did what it said on the tin.

Then onto plan B I tested letting gloss varnish down using tamyia thinners using a tin can and it works. so the next step was to carfully apply some thin coats to get a nice glossy surface to line onto.

Being as happy as I am going to get with this – it will need a bit of weathering to hide some blemishes I think…… I thought about painting the inside of the cab and painting the cab floor as weathered planks. My success with this was what got me started on weathering the Midland wagon.

I wasn’t too concerned about the line between the stone and black being dead straight as the cab fittings break it up anyway.

All the painting has been done with a mixture of Anitas Acrylics and Vallejo Acrylics

That’s enough of a preamble here are the photos

IMG_5825 IMG_5815 IMG_5823

Mastering the black art of “weathering”!

Since my small success on the underframe of the fridge van and being inspired by someone else having a go at weathering wagons. I decided to have a go myself instead of relying on Chris to do it for me.

Earlier in the blog this appeared – A Slaters Midland open wagon.

LMS Wagons ready for weathering 008


It now looks like this….

IMG_5814 IMG_5804 IMG_5805 IMG_5806 IMG_5807 IMG_5808 IMG_5809 IMG_5810 IMG_5811 IMG_5812 IMG_5813


Ready for service now I think……