Warren Haywood kindly dropped off my J79 on Tuesday evening having weaved his magic on the paint job. I need to glaze it add the backhead etc.
Monthly Archives: January 2018
Ragstone Models GER Wool Wagon
I managed to move an even longer term inhabitant of the workbench a bit closer to the finish line this weekend.
Kirk Bogie Enhancements
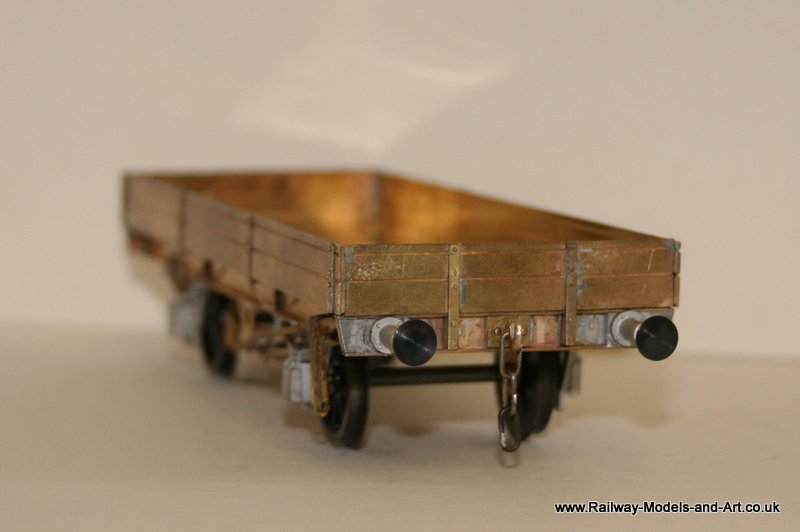
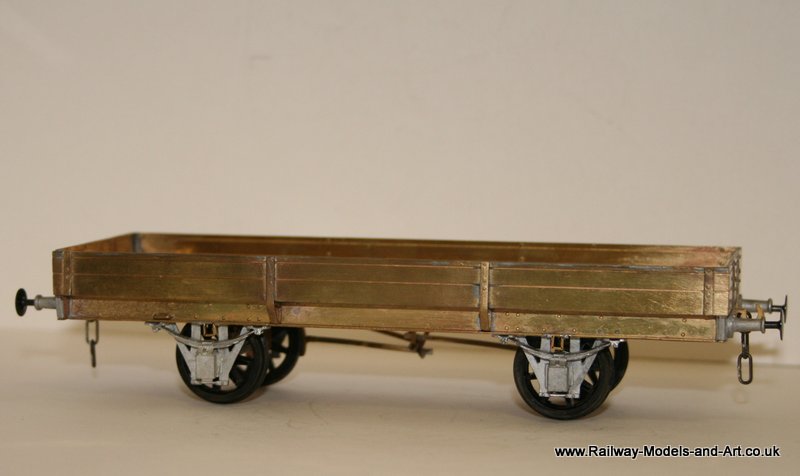
Powsides ex GER 5 Plank Open
Now it Looks Like a Loco!
At the moment all except the cab, the reversing lever and it’s housing are just sat in place and are held by the firm fit of the components. – The sand shields are just lent in place because I need to drill them yet for the sandbox fillers. I am slightly surprised that they don’t have at least some semblance of a hole etched in them given how well everything else is portrayed.
Mind the Gap
The slight gap on the right hand in this view will close up when I solder it all in but I am triple checking all is right before taking the final step.
Get out of jail free – or that’s what it felt like.
This morning I set to and using a pointed scalpel and gentle heat from the micro flame I slowly worked my way around easing the boiler away from the former with regular quenching to take it out and replace it with part x70.
Thankfully I got away with it, in part I think due to the fact that I had soldered it in initially using the microflame to chase around a tiny amount of solder which meant that although it was held very securely it was easy to break the bond from the thin layer of solder.
Those with sharp eyes will not the piece of scrap protruding from the front of the smokebox.
One step forward and two steps back
I am having a little more one step forward and two back with this build and it’s my own silly fault. In my eagerness to crack on I hadn’t noticed a photo in the Wild Swan LMS Loco profiles book on the 8F’s that shows the inside of the cab and more importantly the backhead. It seems that I have too much pipe work for my period so some of it needs to come off again.
I am thanking myself in that I took the extra time and effort to make most of the parts removable because that will make redoing it much easier.
This shows how the parts are removable
Below is a crop of the cab photo in the Wild Swan book. The photo is credited to the National Railway Museum and is used here purely to illustrate the differences between what I have done and what I should have done.
A Blast from the past, resurrecting a longtime inhabitant of the workbench
A Happy New Year to all.
First a bit of a refresher, those with long memories can skip over this bit.
About 8 years ago my good lady became ill and had to give up work. She was fortunate in that she was able to take redundancy and she spent some her redundancy money on a kit for me. I chose the MOK 8F – MOK = Modern Outline Kits available from here MOK
I wanted the 8F to build as one of the locos that were ordered by the LNER during the war. My initial plan was to build one of the examples built by the Southern Railway for the LNER but further research since has changed that to become one of those built by the LNER at Darlington. You might ask why – because I wanted a riveted tender and I had already bought spoked wheels.
The ones built by the Southern had welded (smooth sided) tenders and most of the LNER built examples had solid wheels as on the tenders of the A3/4’s but at least a couple of the Darlington examples had spoked wheels to go with the riveted tender. So mine will now be either 3135 or 3144
Rather embarrassingly I started it in September 2012 (please look back through my blog entries for the time for more details) and never got anywhere near finishing it. About 18 months ago I had a second bash but still didn’t even get the tender finished. Chris has been pointedly asking most of this year when I am going to finish it and I had planned to return to it when I got distracted by the J79 in October. So I made the promise that I would return to it over Christmas and endeavour to get it completed.
I thought I would ease back into it with something easy, or so I thought. I started on detailing the backhead a week last Saturday.
These are some of the many parts that make it up.
I had to make this up from a couple of pieces and I drilled and soldered a spigot to the back to make it easier to attach to the backhead itself.
Then the myriad of spaghetti that will be the pipework.
Having seen Nick Dunhill’s masterpiece a few weeks back I was keen to replicate the gauge glasses that he did. On this particular backhead this entailed cutting off the levers, and then cutting out the rectangle of brass to insert the square perspex later in the build and then reattaching the levers to the sides.
These are the almost finished article that has taken just over a week to put together. – Most of the parts are removable to allow the backhead to be painted.
The main goal now is to get it finished.


