Although it looks to have been a little quiet on the J6 front things have been progress albeit that it’s taken a slight detour.
After careful study of the tender in the photo v’s what came with the kit, my client decided that he would prefer a different tender to make the loco match the photo. The alternate tender is now on order from David Hill at Gladiator but won’t be available until March. I plan to continue to build the original tender, if for no other reason than to make sure I don’t lose any of the bit’s off it. – I have made a little more progress which I will share at some point.
Which means that thoughts have turned to the loco itself. I am very gratefully receiving help and guidance from Paul Pen-Sayers (@Locomodels) on building and fitting the inside motion in the chassis and I have been given Carte Blanche by my client to replace items in the same manner as I would if building it for myself.
So far I have elected to obtain some Premier coupling rods and some driving wheel springs from Ragstone. The latter I will need to modify but they will look a bit more like springs than the rather 1D etchings attached to the frames. In fairness to the kit, the etches are labelled 1992 and things have moved on a bit in the detail stakes since then.
This is what I mean by 1D they are a single layer etch with just the outline of the strap that retains the leaves.

The reason I elected to go for the Premier rods is similar, in that the rods provided are only dual layer with the back layer half etched and they are designed to pivot on the crank pin rather than the knuckle joint. I could perhaps have modified them to pivot on the knuckle but without adding another layer from scratch, I felt that they would still be a bit on the delicate side for coupling rods. Paul of course made a superb job of those for Heather’s build and I am guessing that he made up some additions in his workshop.
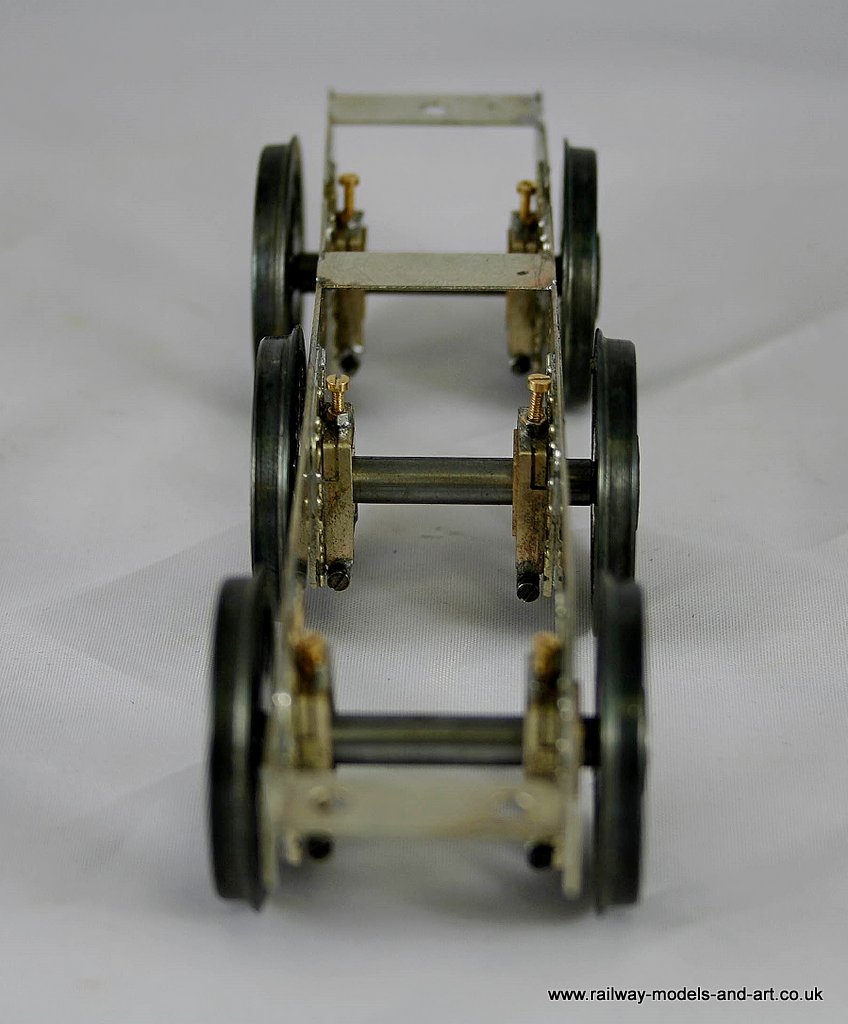
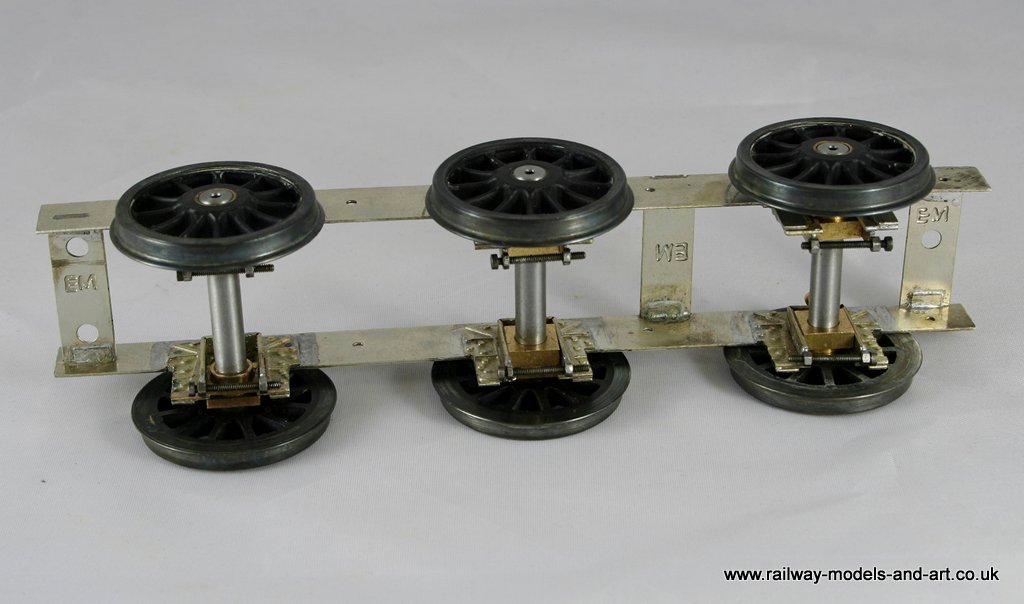
Moving swiftly on, I have started to clean up the inside motion parts and slipped some of them onto an axle to see how they fit.

Gladiator J6 Crank Axle

Gladiator J6 Crank Axle
Much more work to do on them of course – including attempting to straighten those straps…