More on the Kirk Bogie Brakes

In between laying block paving and the many extremes of weather I managed to get the first bogie brake assembled over the weekend.
7mm Scaler Ian Kirk 51 foot bogie brake van

7mm Scaler Ian Kirk 51 foot bogie brake van

7mm Scaler Ian Kirk 51 foot bogie brake van

7mm Scaler Ian Kirk 51 foot bogie brake van

7mm Scaler Ian Kirk 51 foot bogie brake van

7mm Scaler Ian Kirk 51 foot bogie brake van

7mm Scaler Ian Kirk 51 foot bogie brake van

7mm Scaler Ian Kirk 51 foot bogie brake van

The clean up job for the parts of the next one is also well under way.

More progress on the Kirk Parcels vans

Although I didn’t seem to spend much of last weekend modelling, the underframe for the Diagram 129 brake van came together nicely.
I used the Silhoutte to cut out the straps for the ends of the battery boxes adding the threaded part from 1mm half round with a slice of 1.5 and 1.0mm rod to represent the nut and end thread where it comes through the angle along the bottom of the battery boxes that I made earlier.
Kirk Underframe modified with JLRT and scratchbuilt details

Kirk Underframe modified with JLRT and scratchbuilt details

Kirk Underframe modified with JLRT and scratchbuilt details

Kirk Underframe modified with JLRT and scratchbuilt details

Kirk Underframe modified with JLRT and scratchbuilt details

Kirk Underframe modified with JLRT and scratchbuilt details

Kirk Underframe modified with JLRT and scratchbuilt details

Kirk Underframe modified with JLRT and scratchbuilt details

Kirk Underframe modified with JLRT and scratchbuilt details

Kirk Underframe modified with JLRT and scratchbuilt details

I had to modify the sides slightly to create the D129 because unlike the earlier Diagram 67 the D129 and D284 vans which are virtually identical had a ducket on one side. I adjusted my earlier drawing and cut out a ducket to fit with my Cameo.
Kirk sides with Silhouette cut Ducket

Kirk sides with Silhouette cut Ducket

Kirk sides with Silhouette cut Ducket

Kirk sides with Silhouette cut Ducket

I also added hinge detail and scraped off the moulded T handles and made some representations of the lighting conduits on the ends.
Kirk sides with Silhouette cut Ducket

Kirk sides with Silhouette cut Ducket

A brace of Kirks

Last year with the proceeds of a sale I bought a couple of Kirk LNER non corridor 51′ parcels vans at Keighley show.
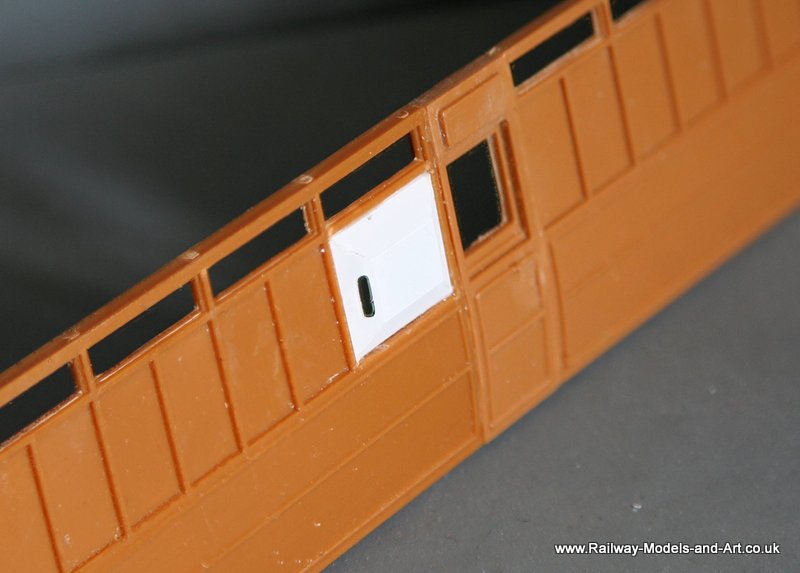
Last weekend, in between the rain/snow/hail.sunshine etc. I made a start on one of them. Now I haven’t done a Kirk kit before so it was a bit of a learning curve especially cleaning up all the individual pieces. The sides went together okay and I can see how I might improve things slightly on the second one.
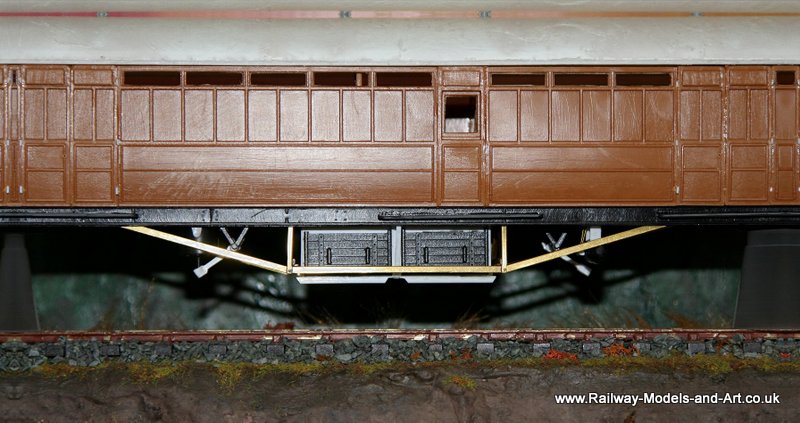
Although I plan to replace the bogies and turnbuckles (on the first one, the second I intend to do as a later angle truss variant) I decided to see what I could do to improve the underframe parts that came with it before discarding them out of hand.
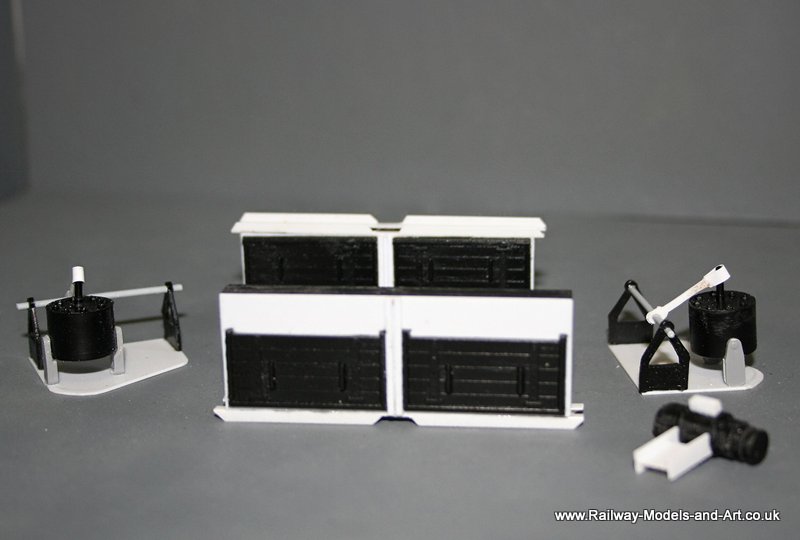
The battery boxes are supplied plain panelled fronted with optional plank doors if modelling pre 1930’s LNER (according to Ian’s instructional notes). For the first one I decided to add the planked doors to a plasticard backer and stick it to the rear to allow me to fill the box with some lead shot. The lead was added loose and the lid glued on with some small vent holes drilled in the base to allow any solvent fumes to escape. I added some pieces of angle to the bottoms to represent the cradle that the LNER Batteries sat in. I just need to finish them with the addition of the supporting straps and nuts that go down each end.
The vacuum cylinders I did consign to the bin – no matter what I did with them I couldn’t improve them so I raided the Parkside spares box and came up with a couple that looked so much better. To these I added the V hangers supplied and stuck them all to a 20 thou plasticard base plate.
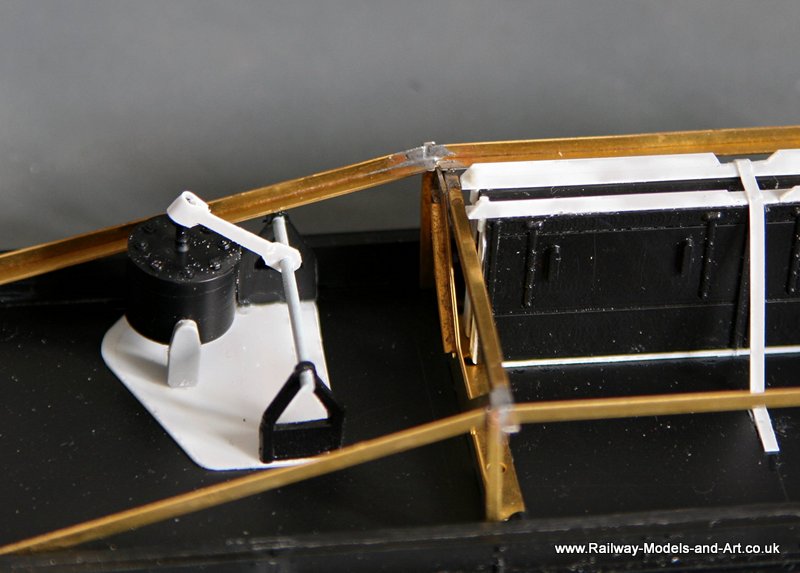
Lastly I assembled the supplied dynamo and made up a mounting bracket and a block for the electrical cables which I still have to add.
I am still struggling to get decent photos of anything with white plasticard in the picture.
Improved Kirk underframe fittings

Improved Kirk underframe fittings

Improved Kirk underframe fittings

Improved Kirk underframe fittings