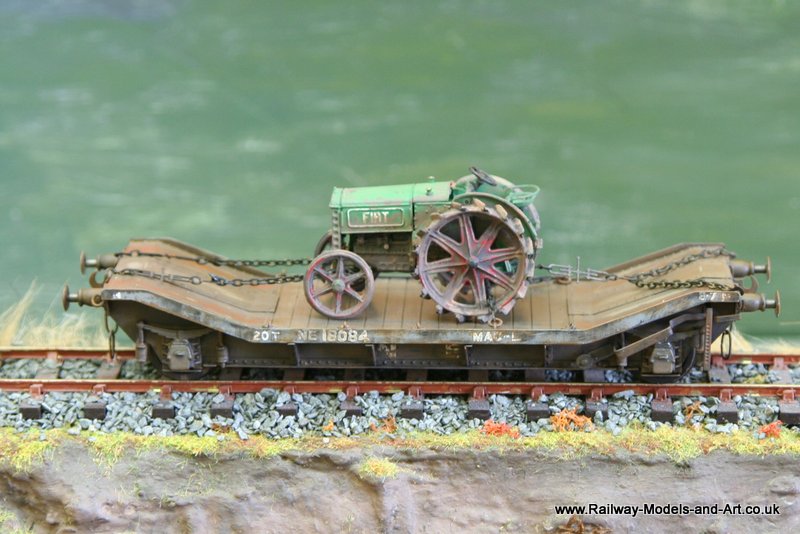
Connoisseur Models LNER Lowmac – loaded and ready for delivery!

The LNER Lowmac has been through the weathering shop and received a load. I would like a traction engine or steam roller in time, but this will do for now as I have it in stock. Jim provides chain,  etched hooks and in this kit etched shackles too (I didn’t get any in the implement wagon, but I suspect that its an older kit). I do like the way that Jim continually improves and enhances his kit’s!


IMG_6314 IMG_6316 IMG_6318 IMG_6320 IMG_6321 IMG_6322 IMG_6323

The proof of the pudding…

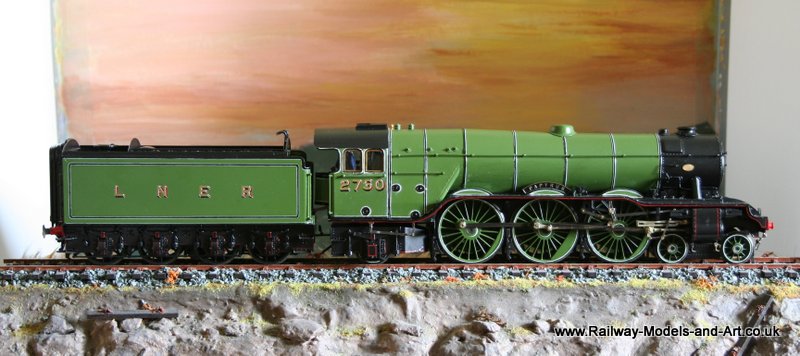
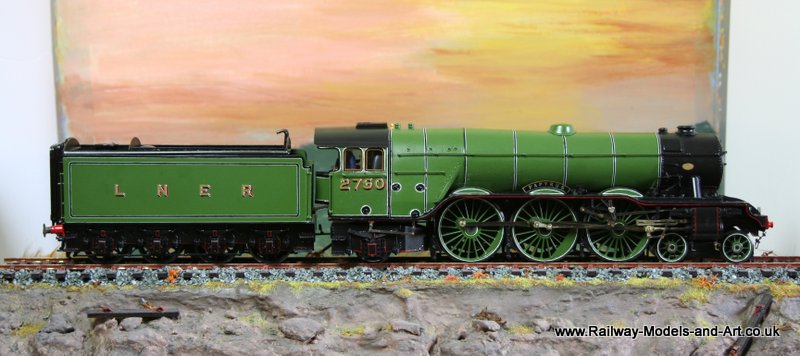
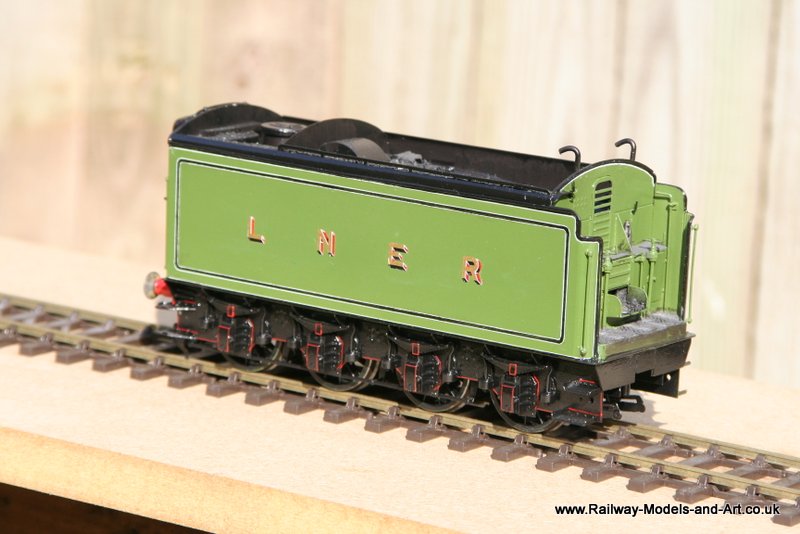
I took the A3 along to the O Gauge North West show at Leigh today for a run on the test track.

The optimistic gents on the test track hitched her up to 44 wagons and she sailed away beautifully. Quite surprisingly they let me run her for around half an hour or so (I had expected a few laps at best). So I came away with a much inflated chest.

Ash Pan Damper Lever MarkII

A kind gent, Pete (Greenglade of many modelling parishes) posted a view from his 5″ gauge drawing on the Guild site. this has allowed me to add a bit more detail to the ash pan damper lever (I was nearly right in my guess).

It now looks like this

IMG_6302

Continuing last night’s roll I made this, fitted it and while I had some epoxy mixed I smeared some on the tender buffer heads, the underside of the fall plate and the top of the tender inner chassis (with the thinking that if I use plastic screws to fasten the tender top on it’s another potential short source eliminated. Whilst handling I noticed that some of the tender brake shoes had come loose to they got treated to some epoxy too.

I also worked on the reversing lever – a look in the spares box found me a milled nickel link that I reduced in size and tapped one end 12ba to take a former 4mm scale crank pin that I think came out of a Mainline B1 (never throw anything away!!!). I just need to cut the revering lever to final length now when the glue has dried (hopefully this morning).

Final bits of detailing.

As I mentioned in a previous post one of the bits that have been lost along the way is the etch for the lever arrangement that sits under the fireman’s side of the cab on the A3 (and A4’s) which I think may be the ash pan lever?

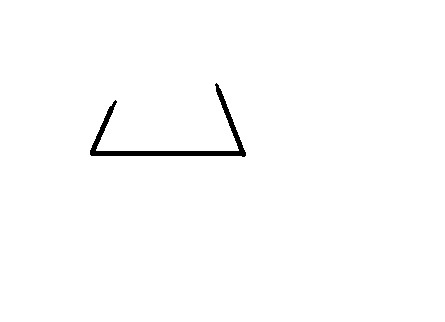
In the kit there was a single layer etch that looked (as far as I can recall) a bit like this:

Lever

Thankfully having seen a photo of a Finney A3 posted by Richard Lambert which showed quite clearly the missing part I remade one from bit’s of scrap brass:

IMG_6294

It’s not quite as elegant as the one on Richard’s loco but it’s infinitely better than the original etch.

I still need to file down the top arms to form pins to fit in holes in the footplate.

She’s Alive!!!!!

She’s alive!!!

A couple of dodgy videos showing that she does move after all – after removing the offending plugs I still had issues which were narrowed down to one of the rear drivers shorting all sorted.

Apologies if anyone doesn’t like Harry Potter the sound track was on the radio in the background

Cattle wagons roll…

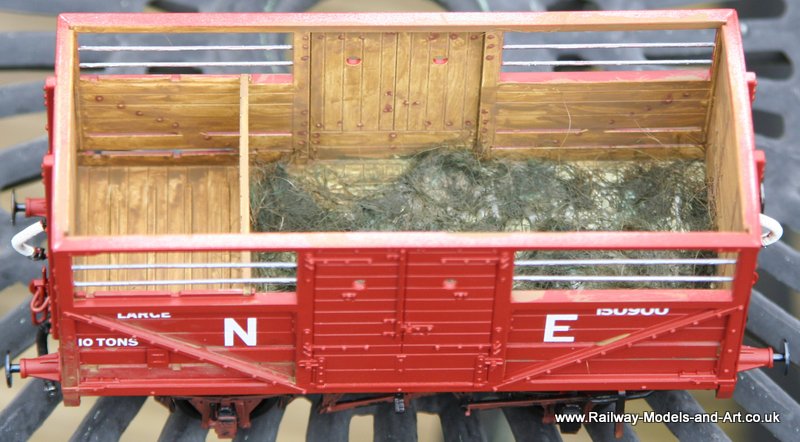
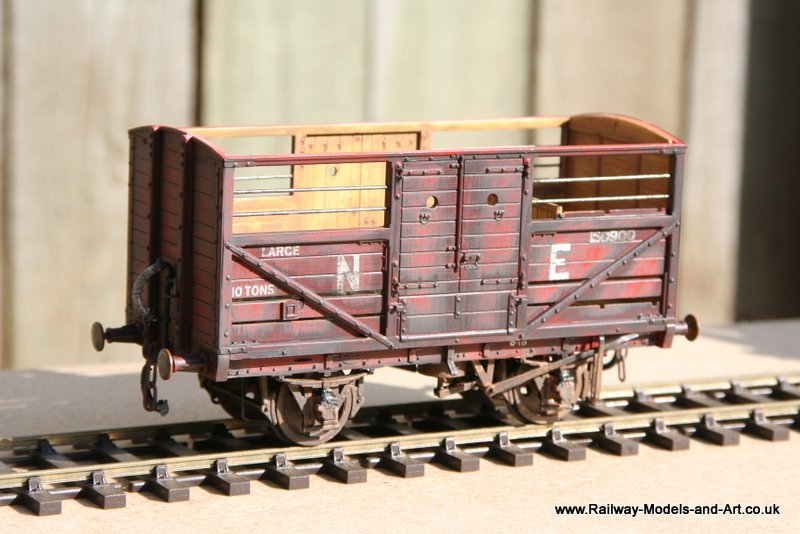
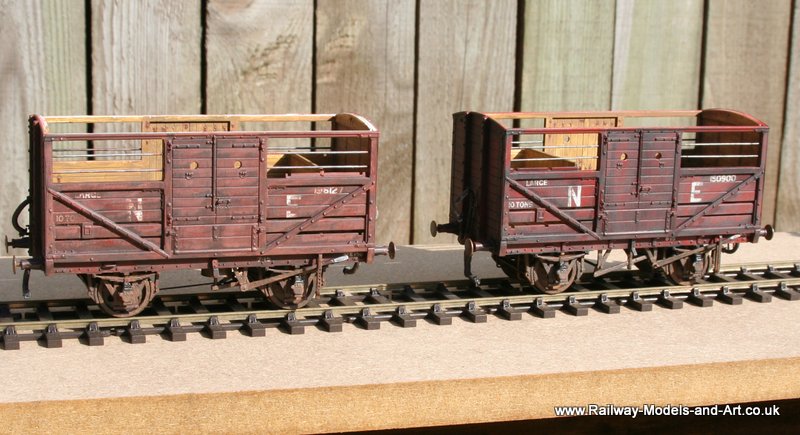
While I haven’t had much to post recently I have been beavering away at a couple of projects the first of them being a couple of Parkside LNER Fitted Cattle wagons. One of them I built some time ago but I recently built another and I have then made a start on weathering them.

This is the inside of one of them as it was before I added a few more rust stains around the blot heads – I have tried to go for a look of regular scrubbing of the inside. Scrubbed wood is something that I am very familiar with because in a former life I was a butcher and scrubbing the wooden cutting block was a daily feature of my work. This particular wagon is the one that I did originally and it was painted with Halfords Red Oxide primer and satin varnished before adding the transfers
IMG_6161

For completeness this is the second recently built one which was painted with Vallejo Game Color Dark Fleshtone and again satin varnished before the transfers.
IMG_6023IMG_6256 IMG_6261 IMG_6260 IMG_6259 IMG_6258 IMG_6257

I have used two differing techniques on the exteriors with these – the first one was made grubby and work stained using a mixture of Vallejo black, Flat Earth and Dark Sea Grey which was painted on and then cut back with meths.

The second had a couple of wash coats of dark fleshtone, german orange and cream to lighten and fade the base colour before applying the mix above for the grubby in service look.
I still need to paint the roofs and sort out couplings for one of them – and fill them with cattle of course.