I haven’t managed much time at the workbench recently but this week I managed a little.
Sometime back I posted some home made vacuum pipes and someone asked for a step by step next time I made some.
This is what was included in the kit – the whitemetal ones that is along with the fine beading wire that I use for creating the ‘ribbing’

I started by measuring and cutting some 50mm lengths of 0.7mm brass rod.
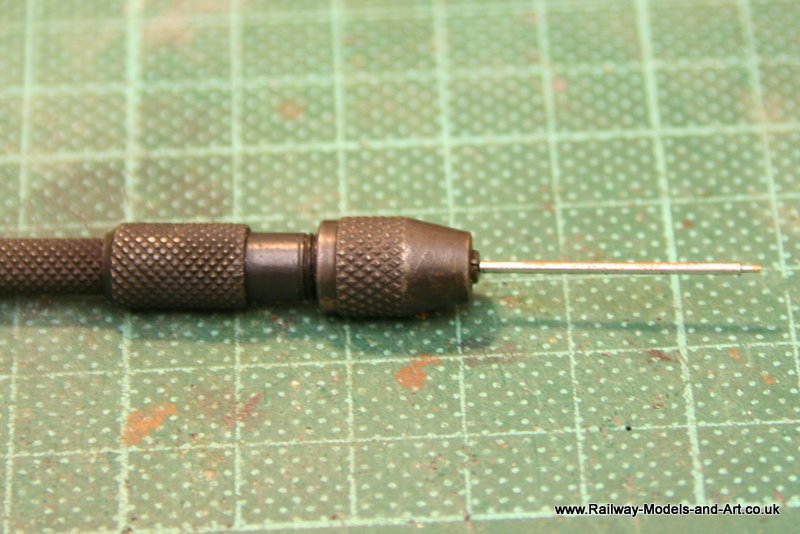
I held each one in a pin vice with 25mm protruding and tucked one end of the beading wire down the small gap in the jaws of the pin vice.
Next I wound the beading wire around the protruding wire keeping the strands tight against each other until I had around 5mm left without binding.

Holding the end still attached to the reel tight I soldered the beading wire in place then snipped the end attached to the reel.
Removing it from the pin vice I snipped and tidied the other end up and slipped a 10mm length of annealed microbore tube over the long end. I also drilled a hole in the end of a strip of scrap and soldered it over the other end. Cutting it back and rounding each end once it was soldered in place.

Being the tight Yorkshireman that I am when I use pinheads for rivets I don’t throw the shanks away. To create the ring around the top end of the tube I annealed a pin shank and wound it around the other end of the bound section on the long section (the end with the microbore tube on it). Finally snipping it off and soldering it in place.
Next I bent the section of annealed tube to right angles and finally I cut a length of shrink tube and shrank it over the top. I have to confess I am not sure about the shrink tube and I may end up cutting it off…..

The last pair of pipes will be a tad harder because they have taps on them and I need to work out the best way to represent them – Last night I had a brilliant idea on how to do it but I blowed if I can recall it today………