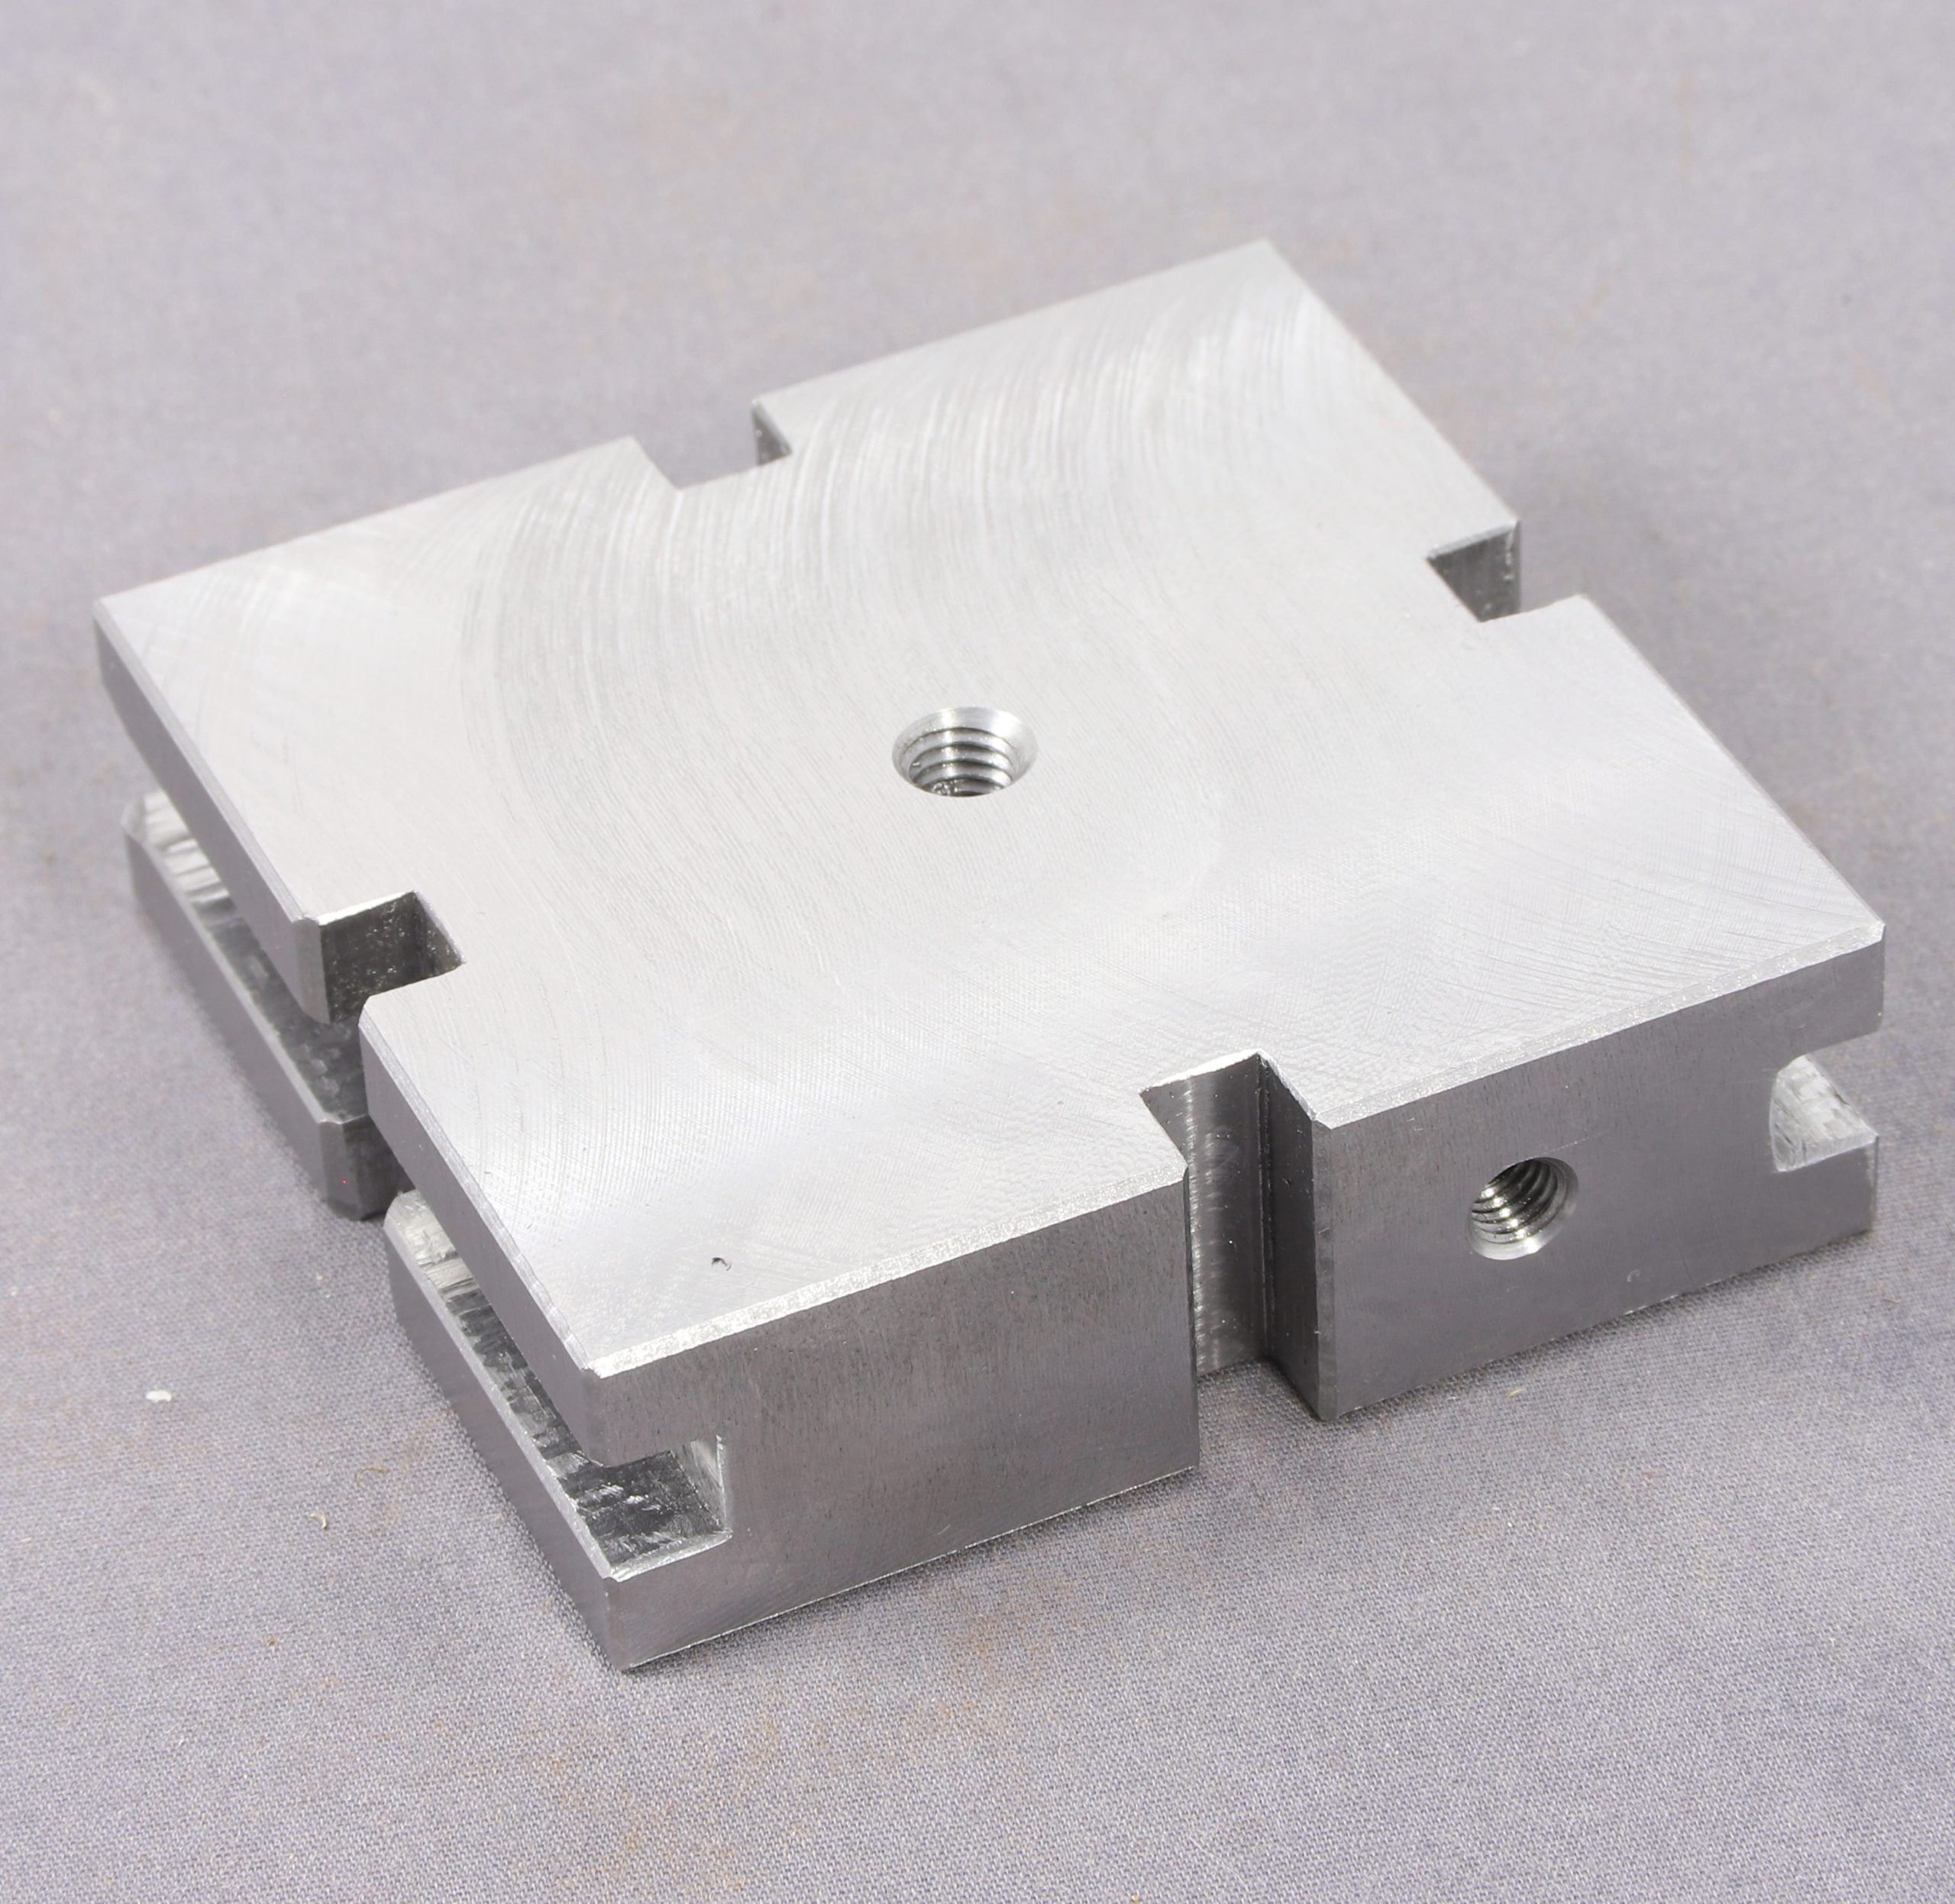
Storage Box for my Hemingway Finger Plate

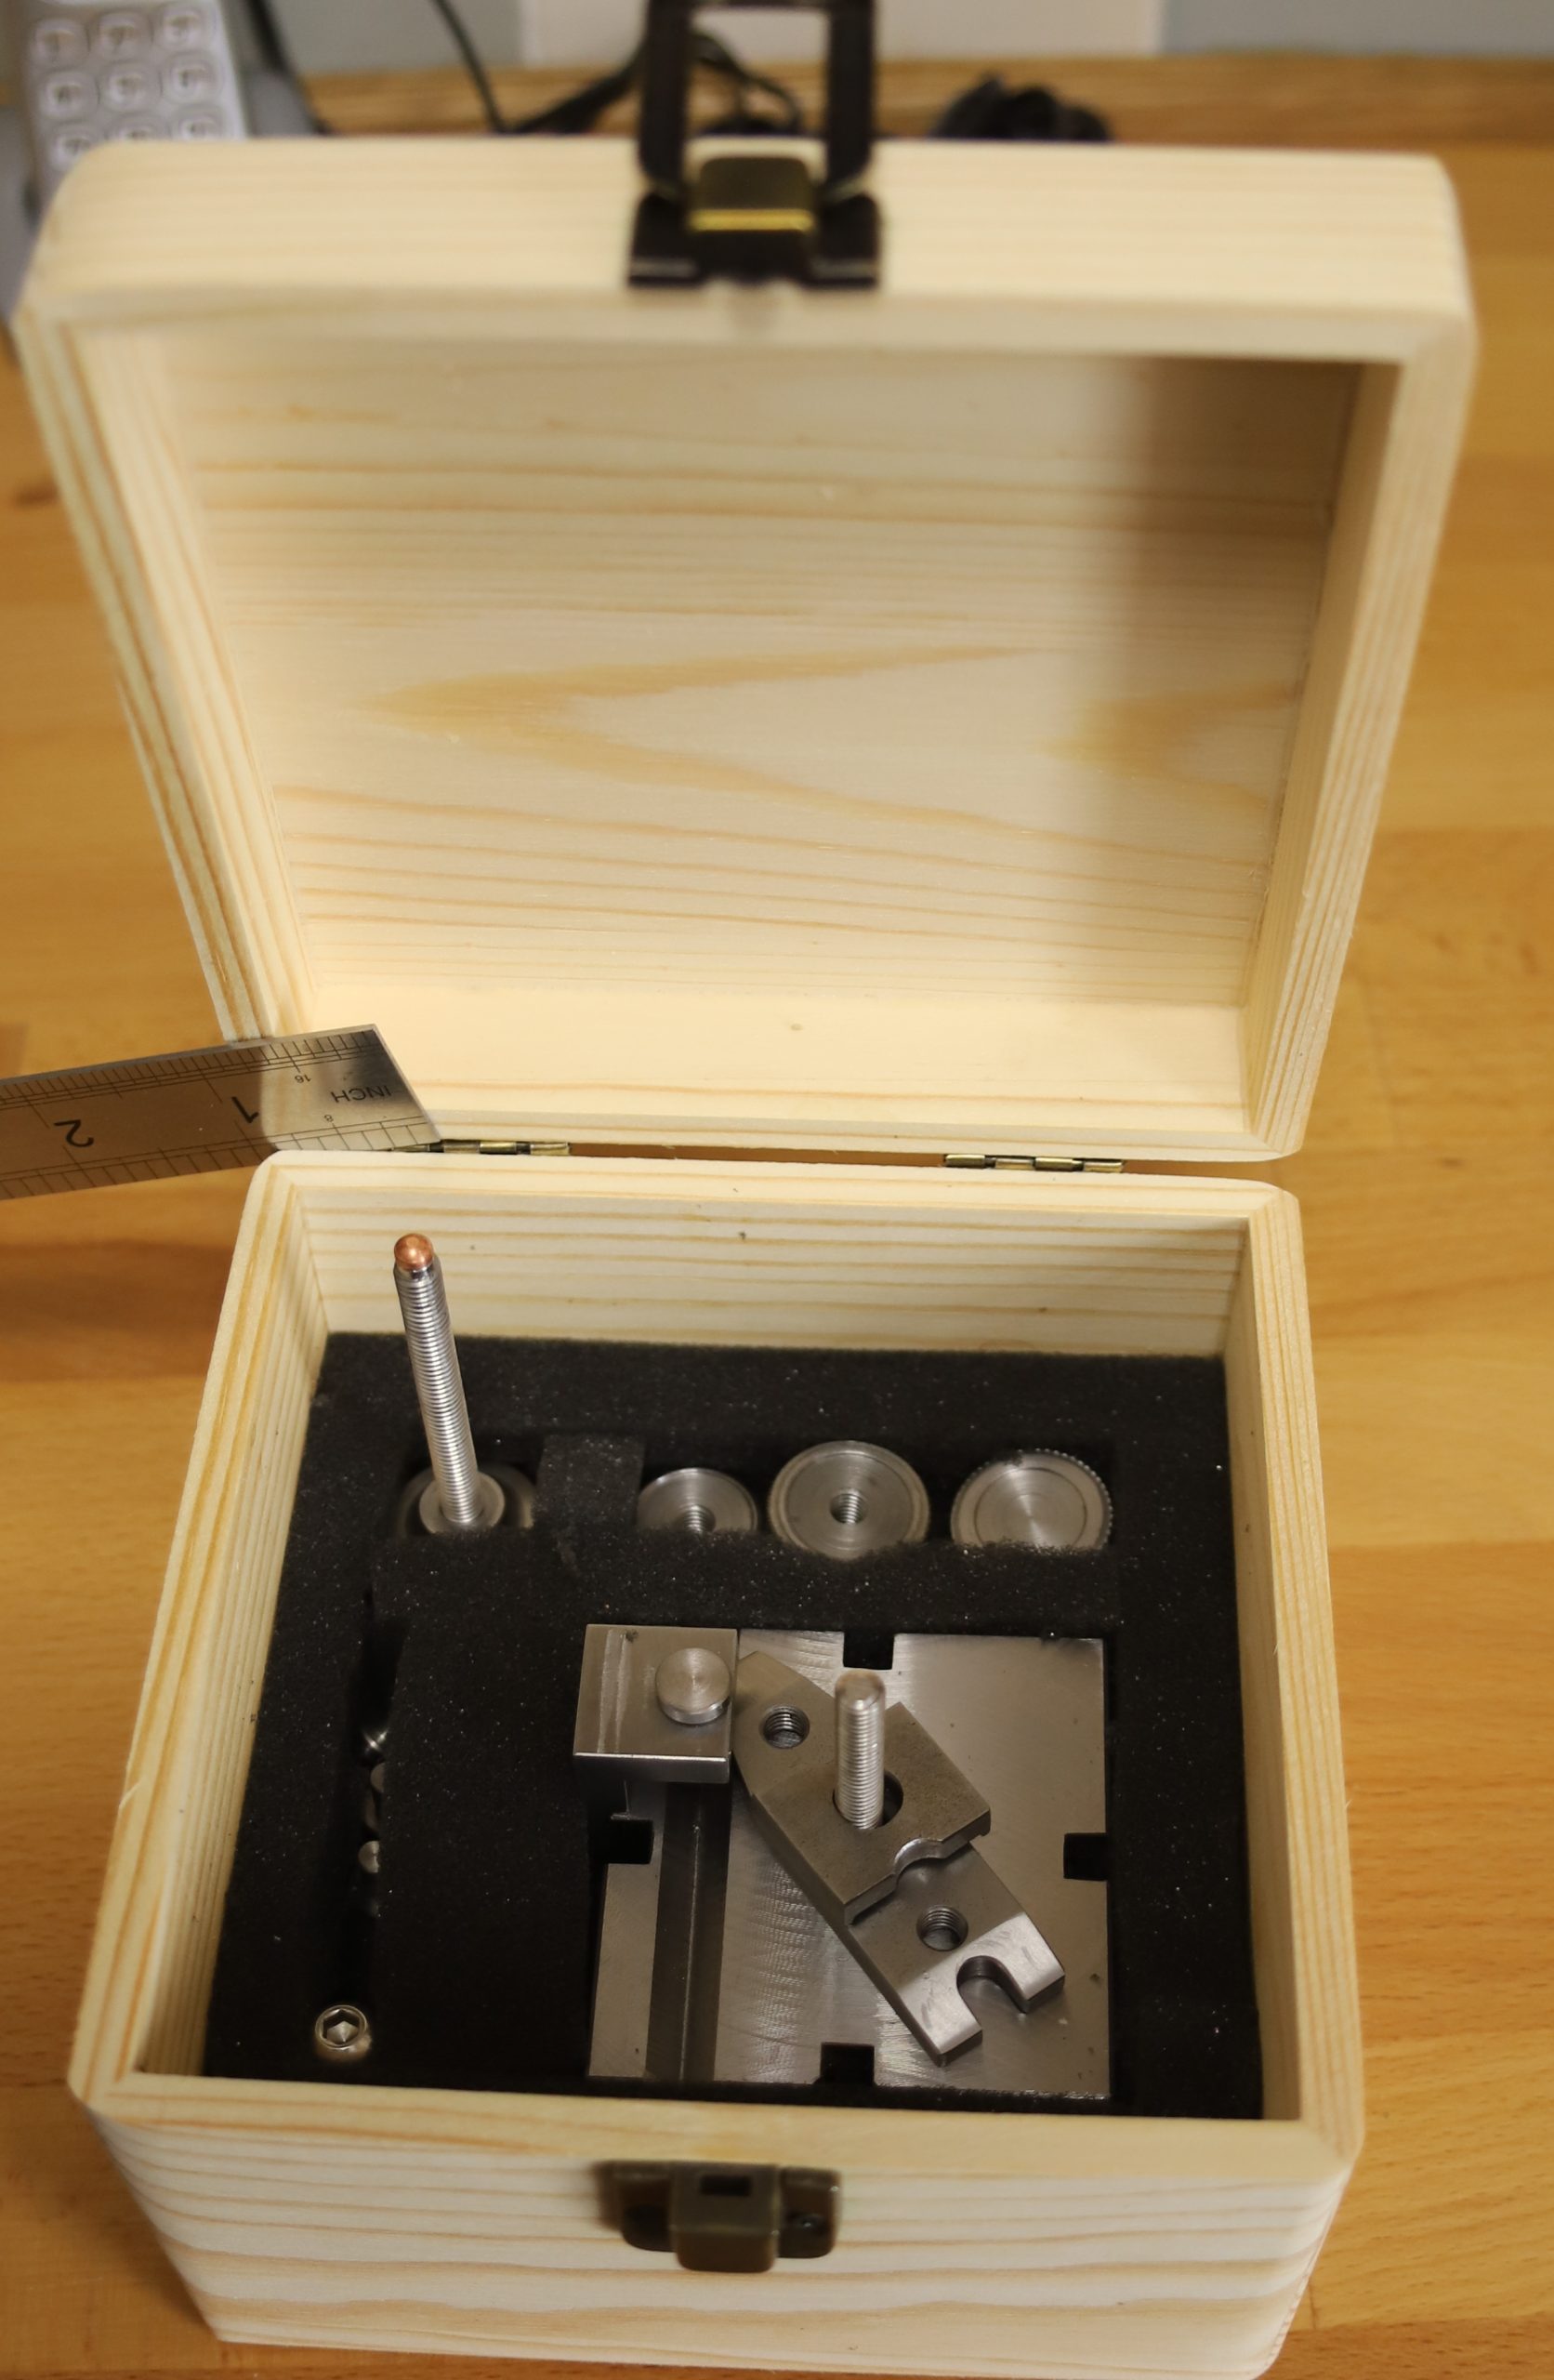
Needing something to store my newly constructed Finger plate in. I initially looked at wooden boxes sold by “The Works” (after a recommendation by a fellow Guild member). However when I looked at them, they may well be good for storing rolling stock in which is what the recommendation was for, but they are far too flimsy to store reasonably heavy tools in.

Chris took it upon herself to look for alternatives and found some on Amazon. Although they offered a 20% discount if you bought five, I opted to buy one at £6.99 to see what they were like.

The box arrived today and I have to say that I was impressed. They were £2 more than those at The Works which had actually been reduced from £6.99 to £5 but they are much more substantial. I cut some foam to create some packing around the finger plate. It’s a little too short in height to hold it with the jack screw fitted but that’s not the end of the world.
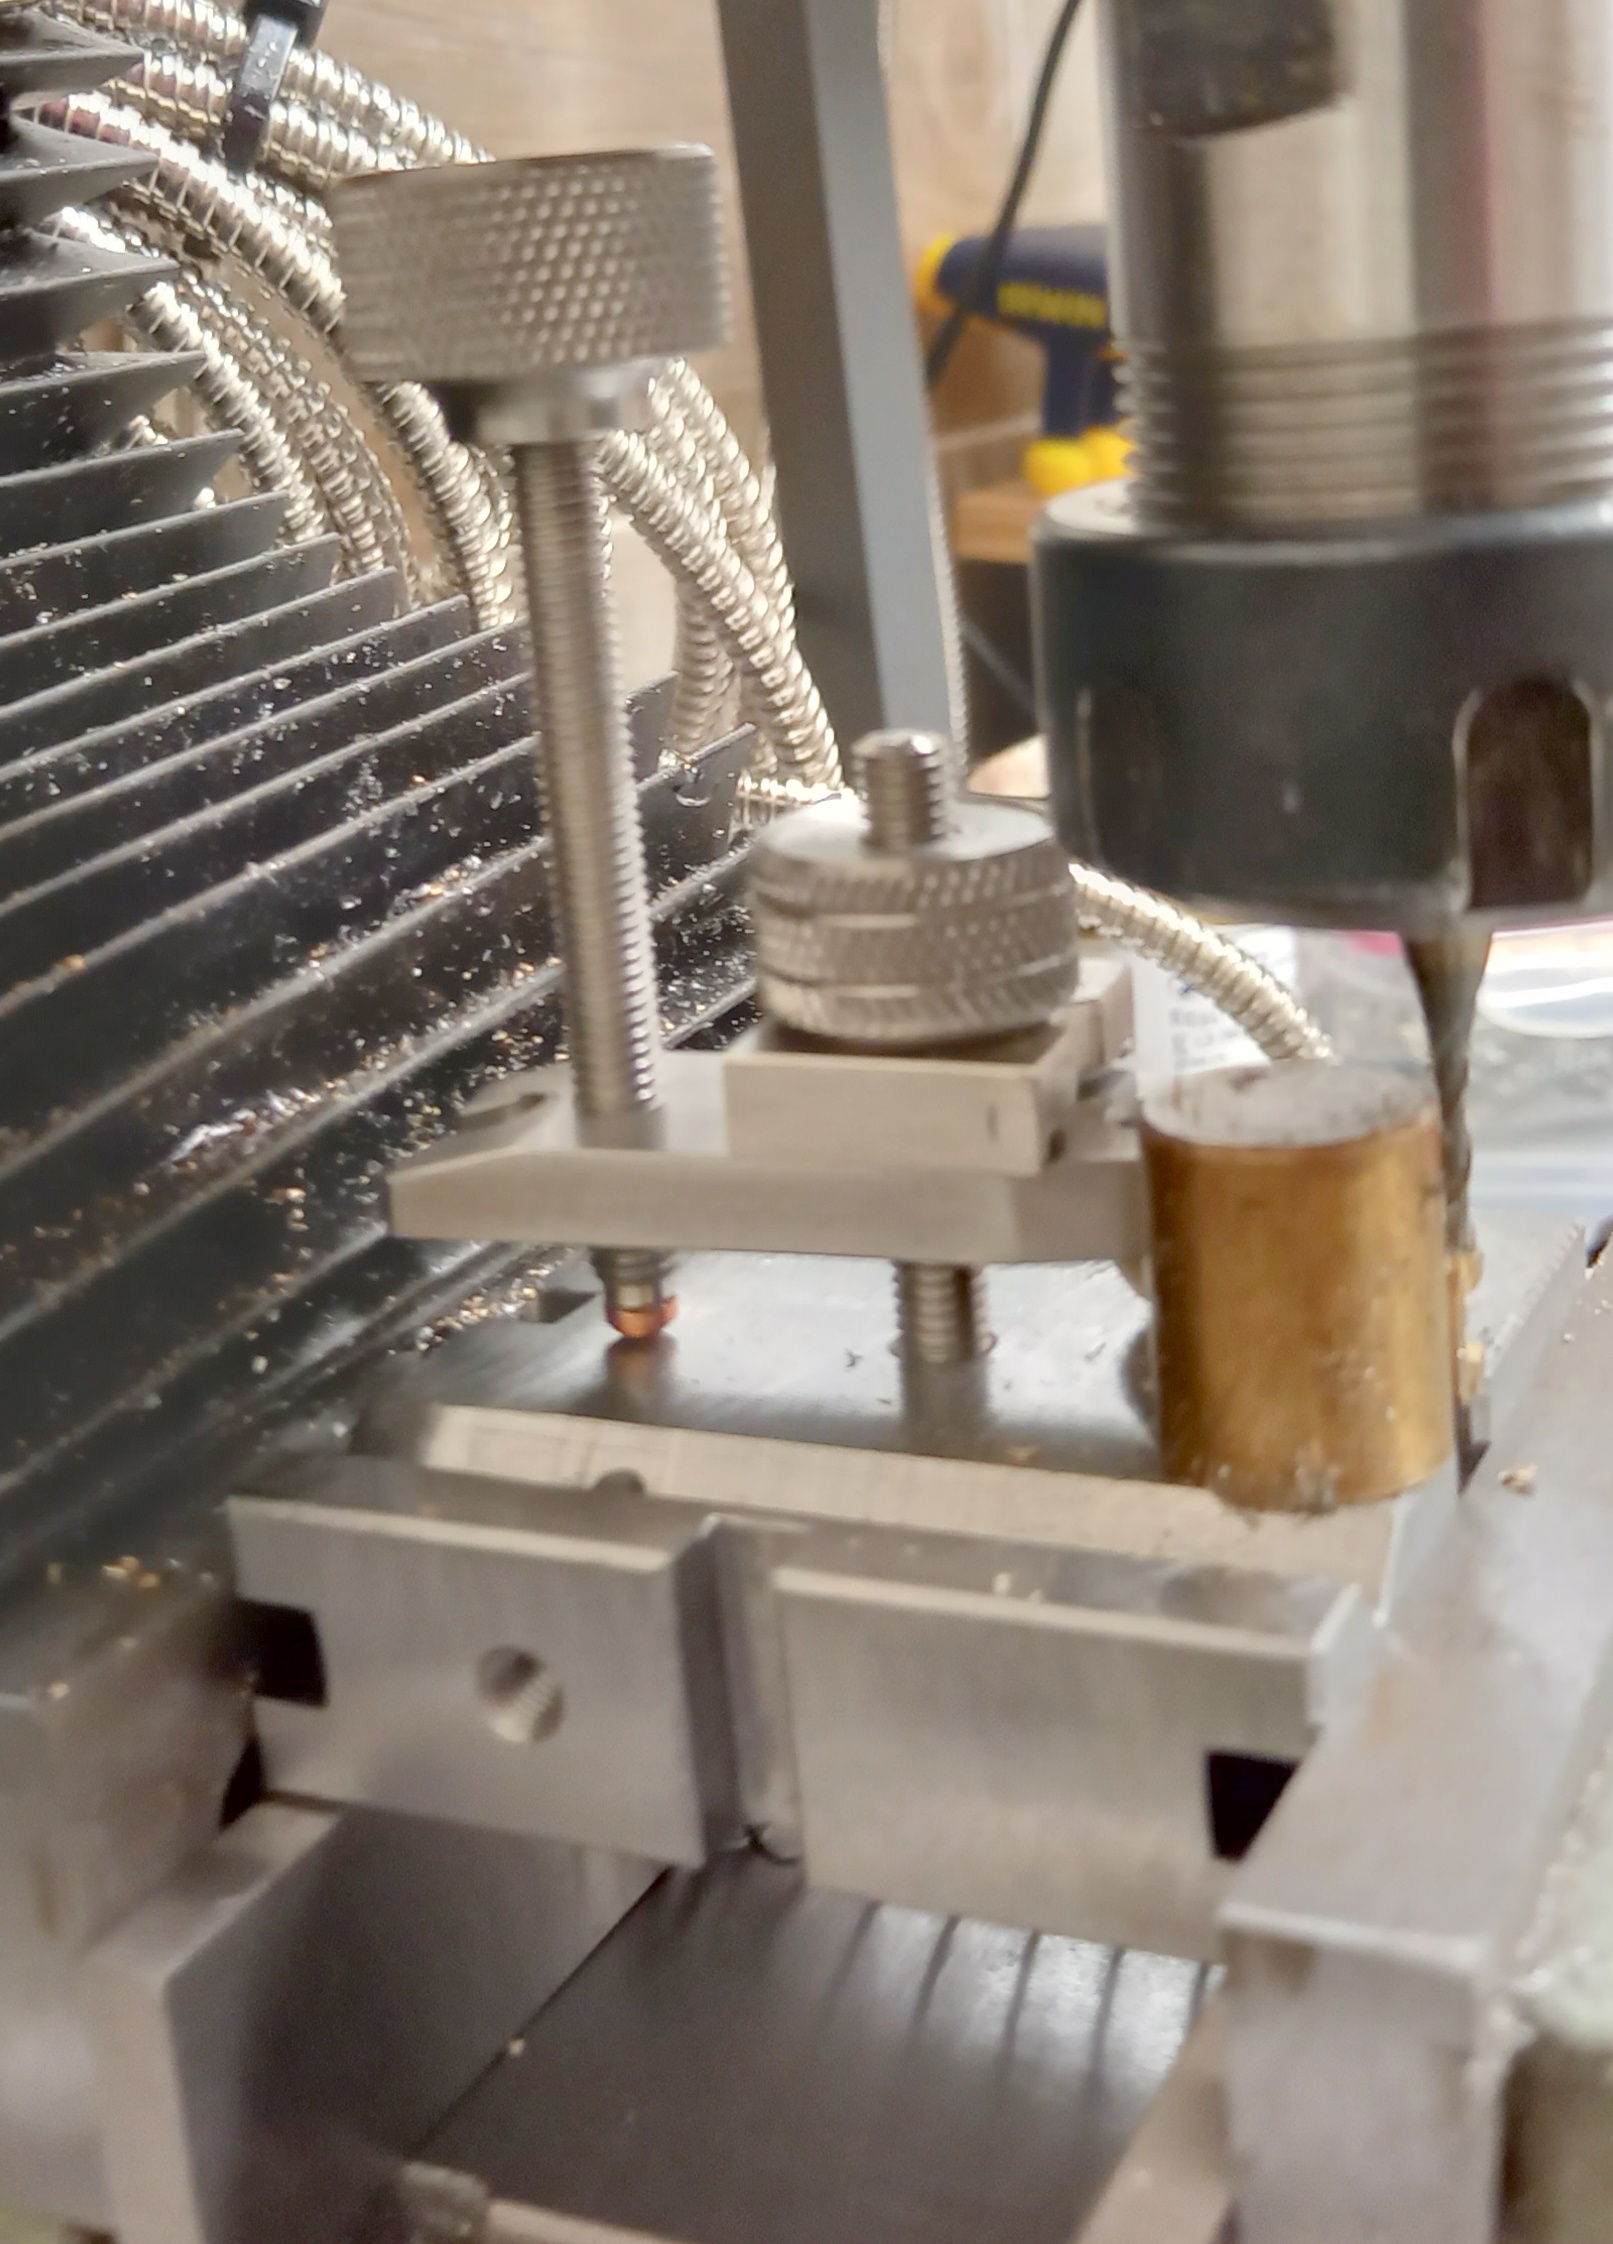
MOK 8F 8425 – Drilling Milling out the Steam Pipes Using the Hemingway Finger Plate

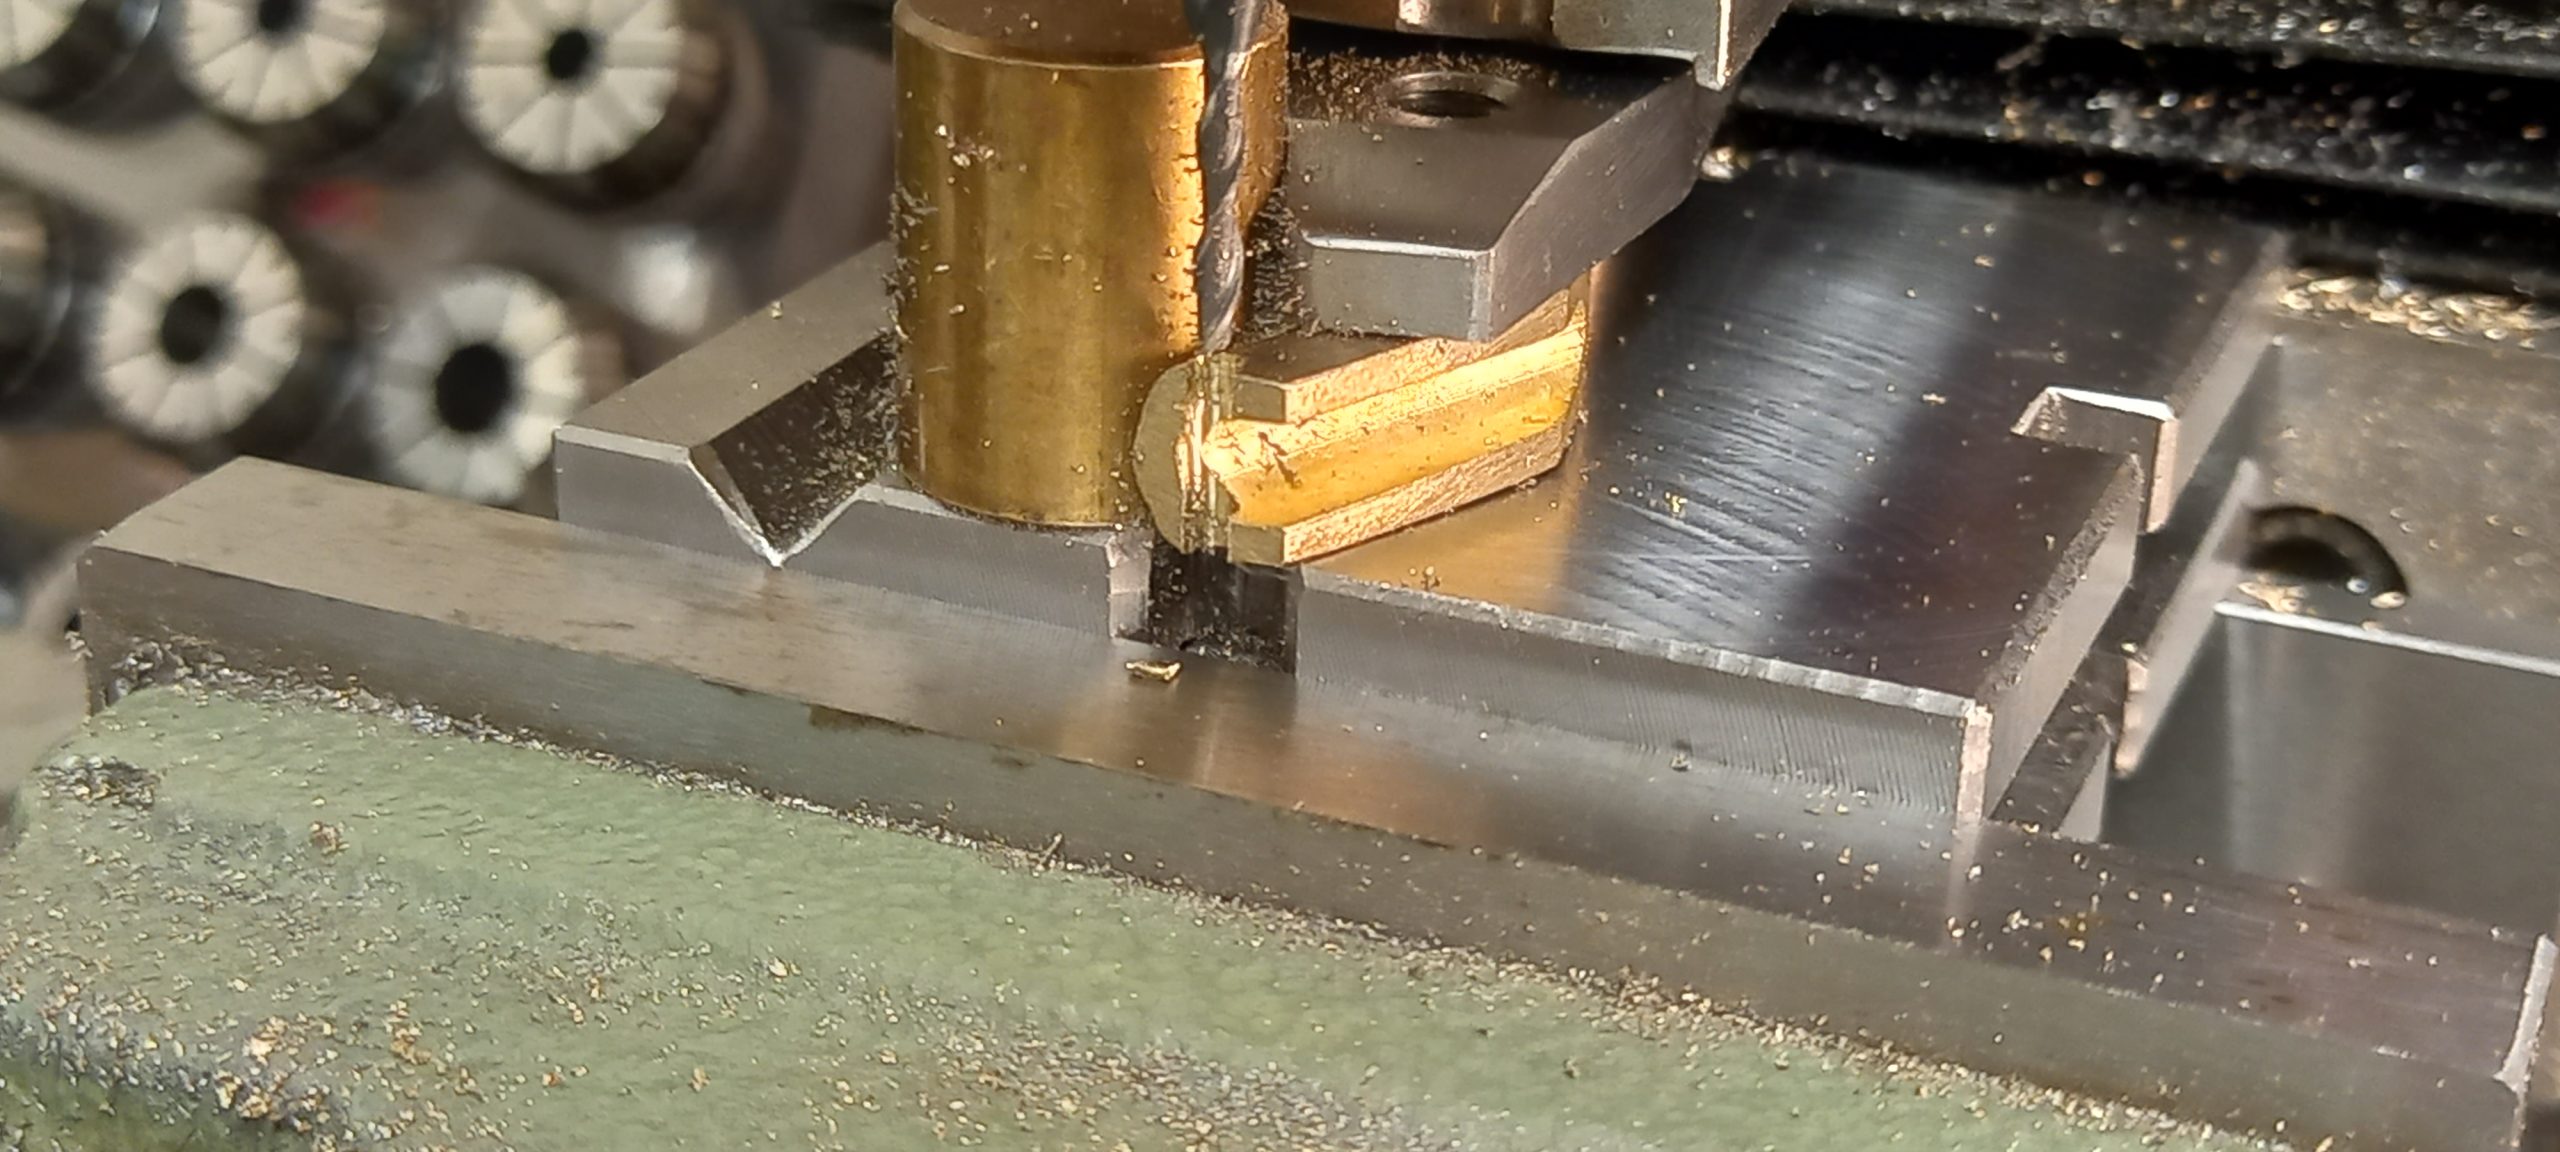
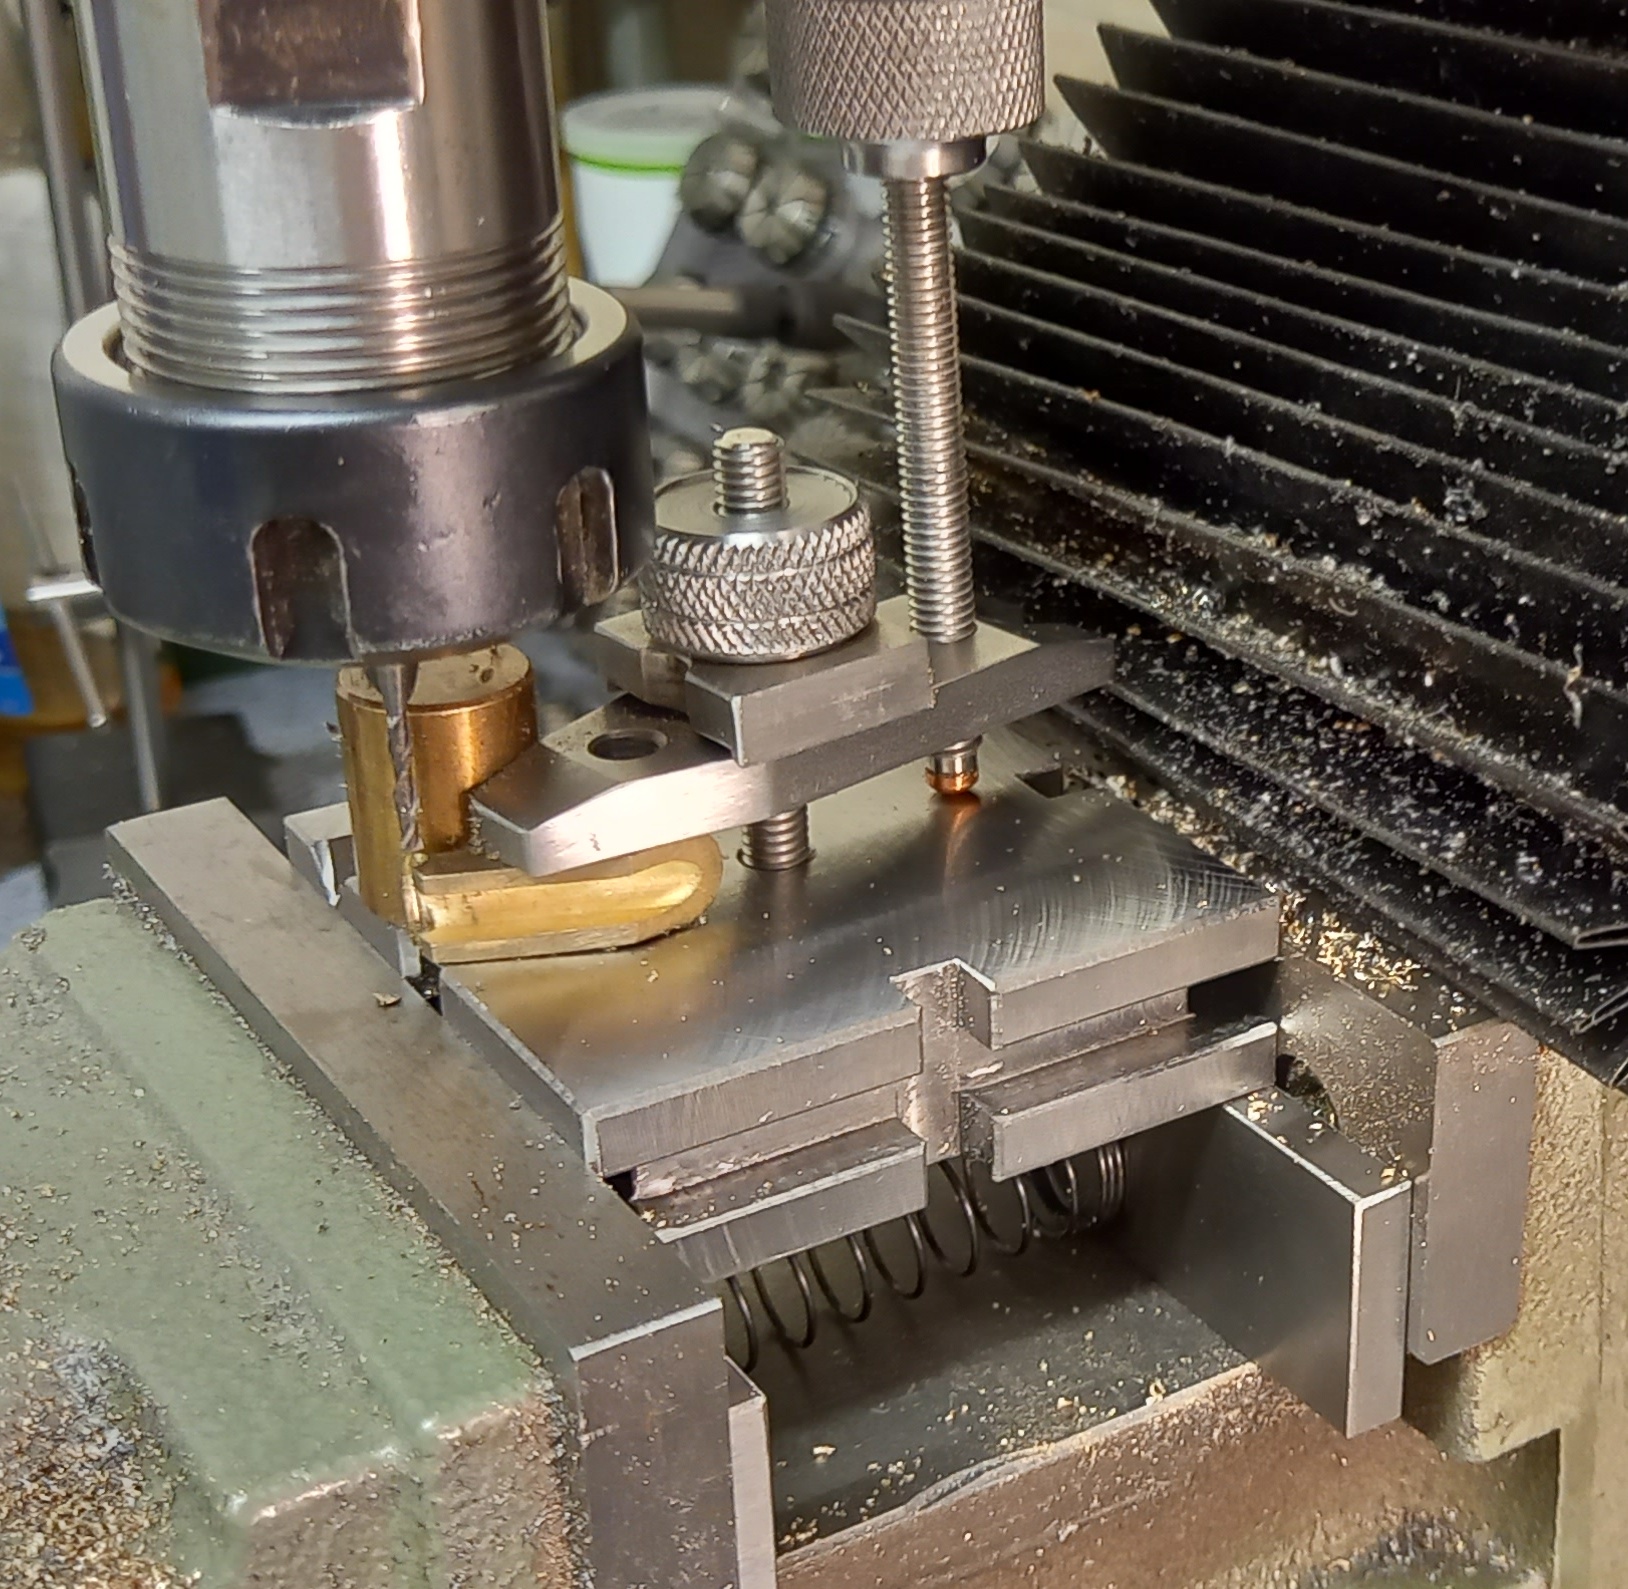
Having spent eight days making the jig it only took about 20 minutes to actually do the job.

Yesterday morning, I decided to see if I could salvage the damaged original nut that I made for the finger plate. It’s a good job I did because the nut that I had made to replace the damaged one was too big to allow my 2mm milling cutter to get close enough to the job without catching on the nut. So I dug out the now smaller diameter original and that allowed enough clearance to get the job done.

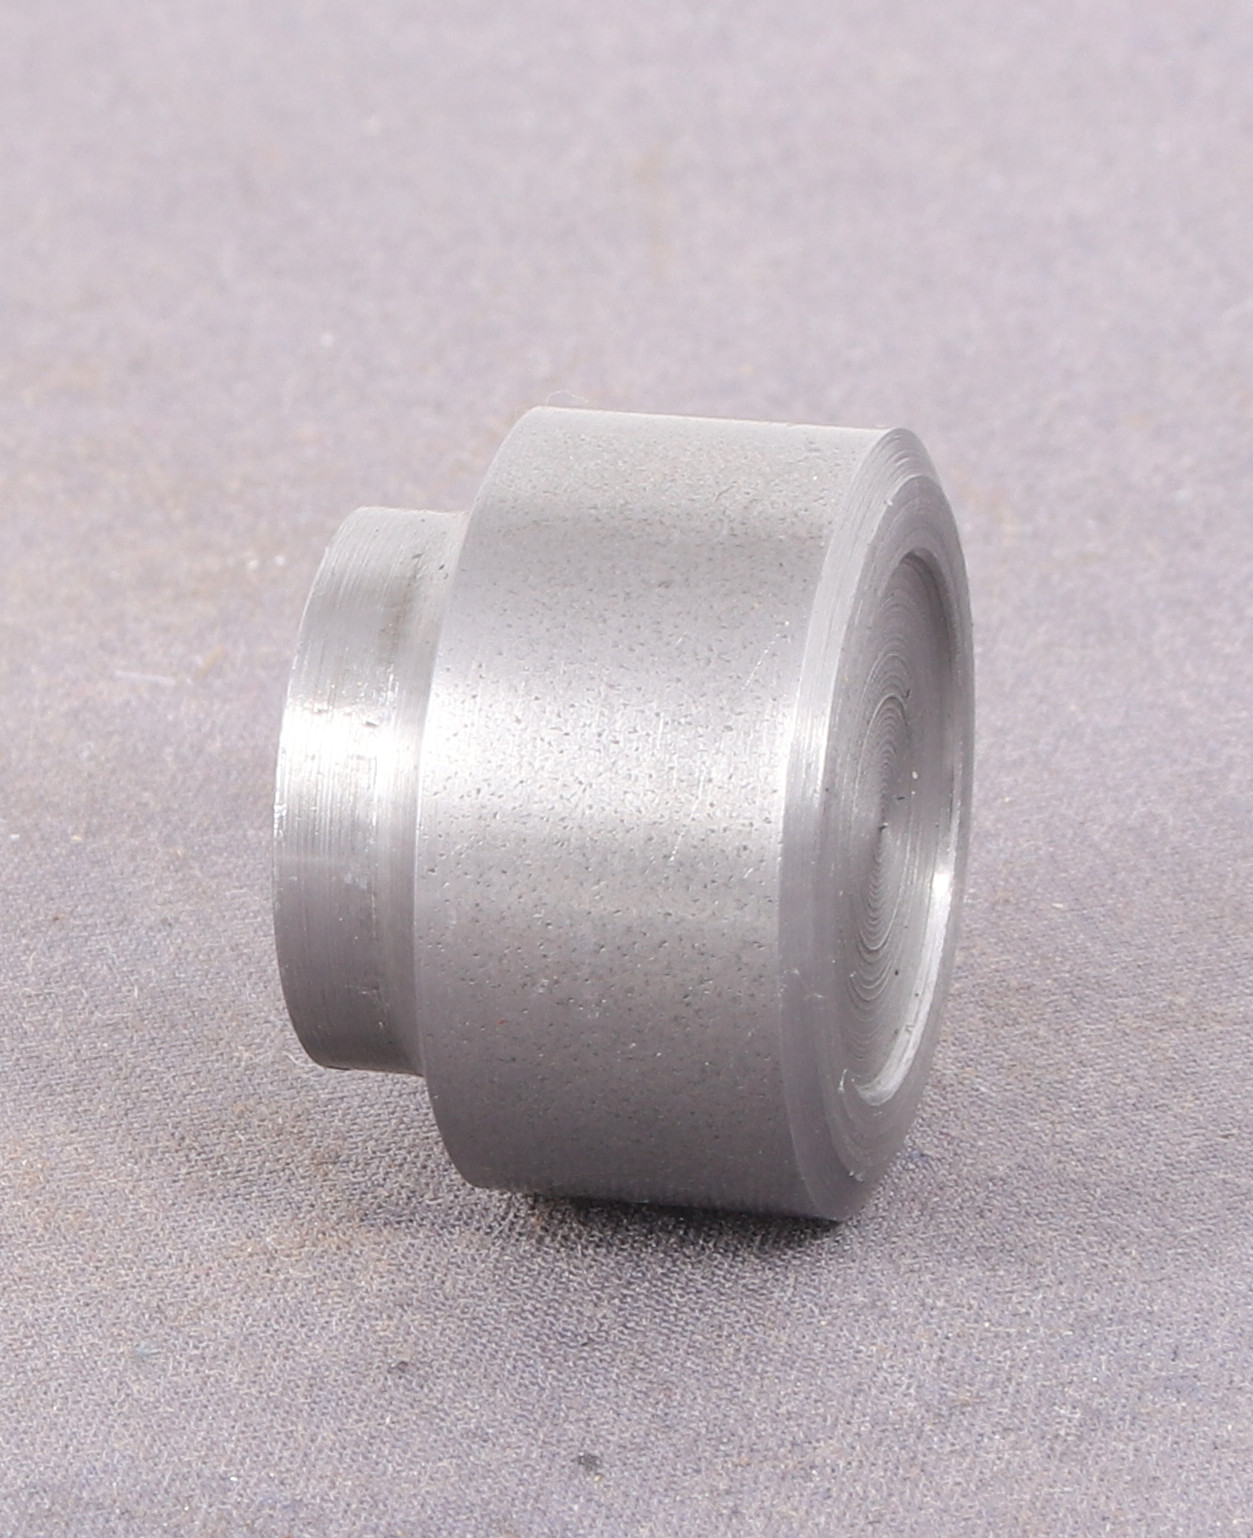
The brass cylinder that you can see in the photos is actually a strong magnet inside a brass sleeve which came with my RSU but I have never used it before. In this instance it’s being used as a reference stop so that I can easily locate the second steam pipe in the same place for machining.

I used a parallel to align the bottom face of the casting with the edge of the finger plate so that I could mill/drill into the slot.

I am pleased to say that it did the job exactly as it said on the tin so to speak.

It also occurred to me this morning that having replaced the 1/4-40 tpi and 1/4 UNC threaded parts with M6 I can also use standard M6 hardware in the finger plate if I need even more clearance at any point in the future.

Hemingway kits – A Couple of Observations

A couple of things worth mentioning about Hemingway kits and my experiences during the build.

Most of the Hemingway kits have all the dimensions in imperial although where they supply hardware it’s metric (the cap screw which holds the drill guide support is M5 for example). Although I have a set of imperial reamers, I don’t have many imperial taps and dies (you can count both on one hand I think) so I converted all the screw threads to metric. I also used M6 threaded rod as I had it in stock, rather than the two different threads quoted for the pivot screw (1/4 x 40tpi and 1/4 BSW) and the 1/4 x 40 tpi for the jack screw.

The second thing, which isn’t about the kit per se, but my experience or rather inexperience in milling grooves in steel. I was using 6mm carbide end mill in place of the quoted 1/4″ slot drill and proceeding cautiously. After a bit I plucked up the courage to feed a bit faster and what a difference it made to the cutting.

I know that carbide lathe tooling seems to like higher speeds and faster feeds to find the sweet spot where it cuts well and leaves a nice finish. But I hadn’t translated that into mill tooling, as most of my experience milling to date has been with HSS tooling.

Hemingway Finger Plate – Penultimate Parts.

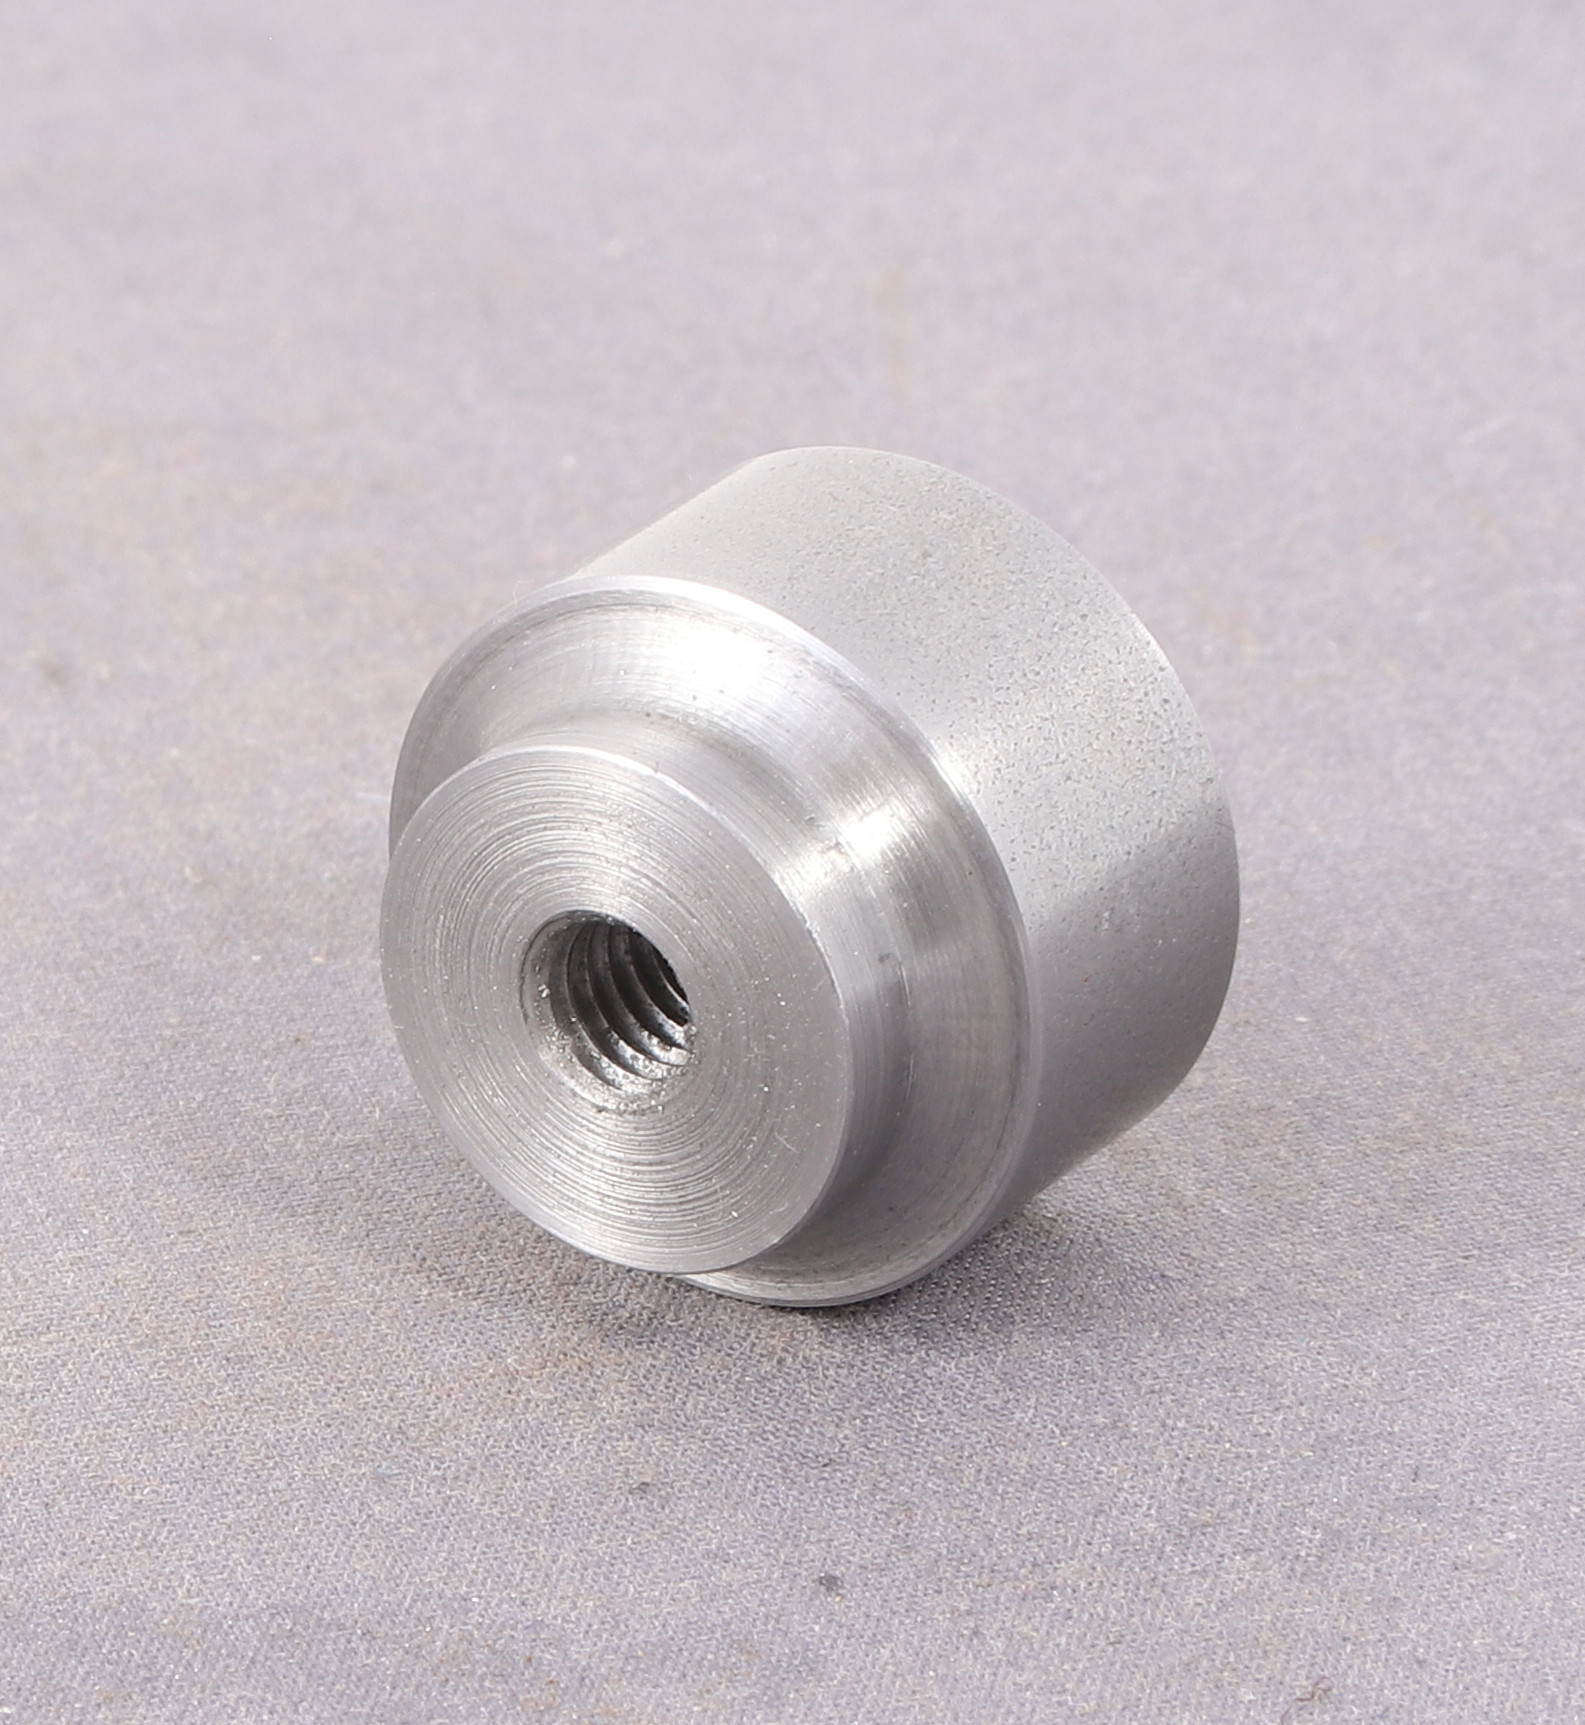
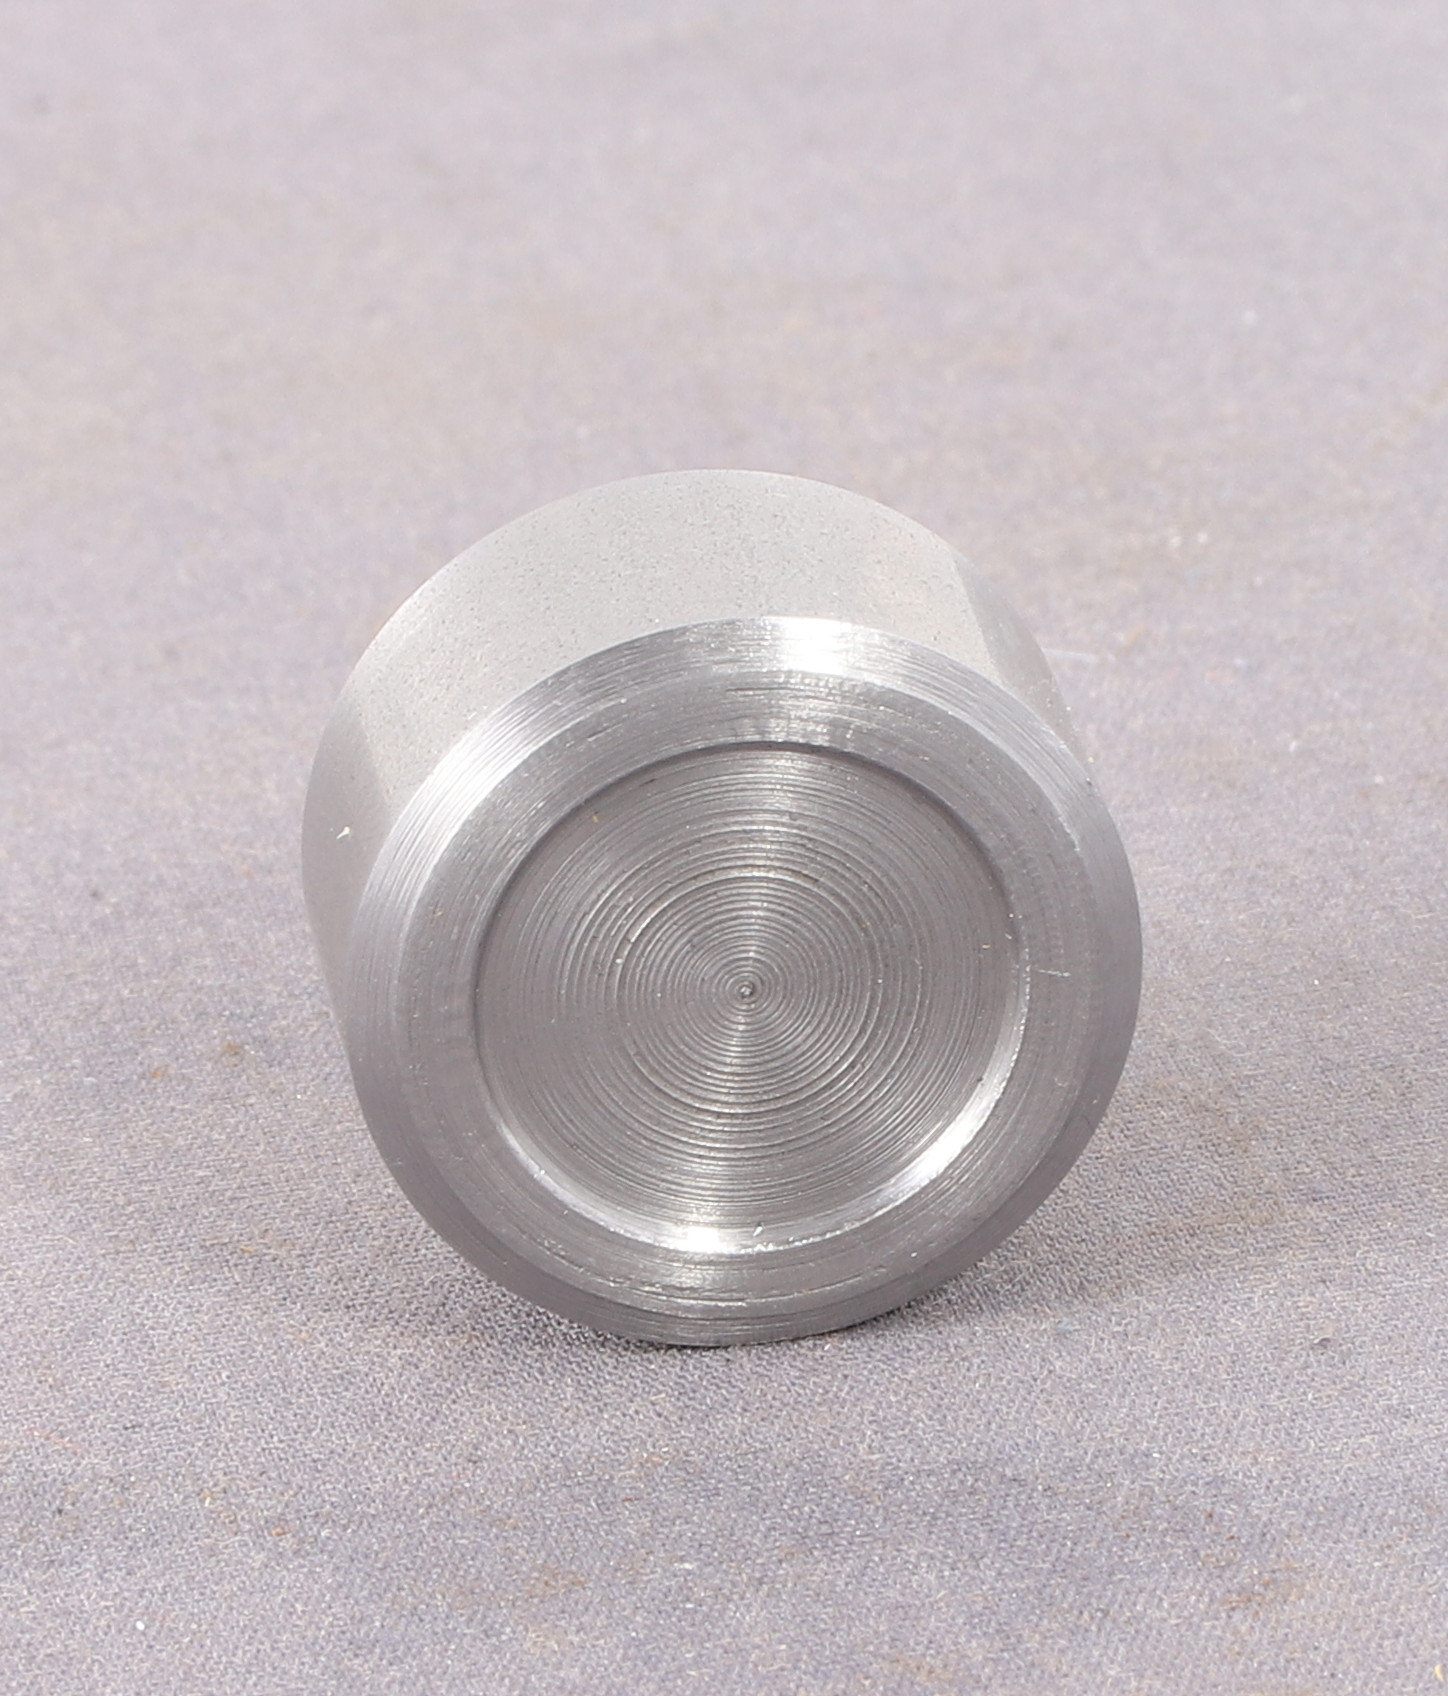
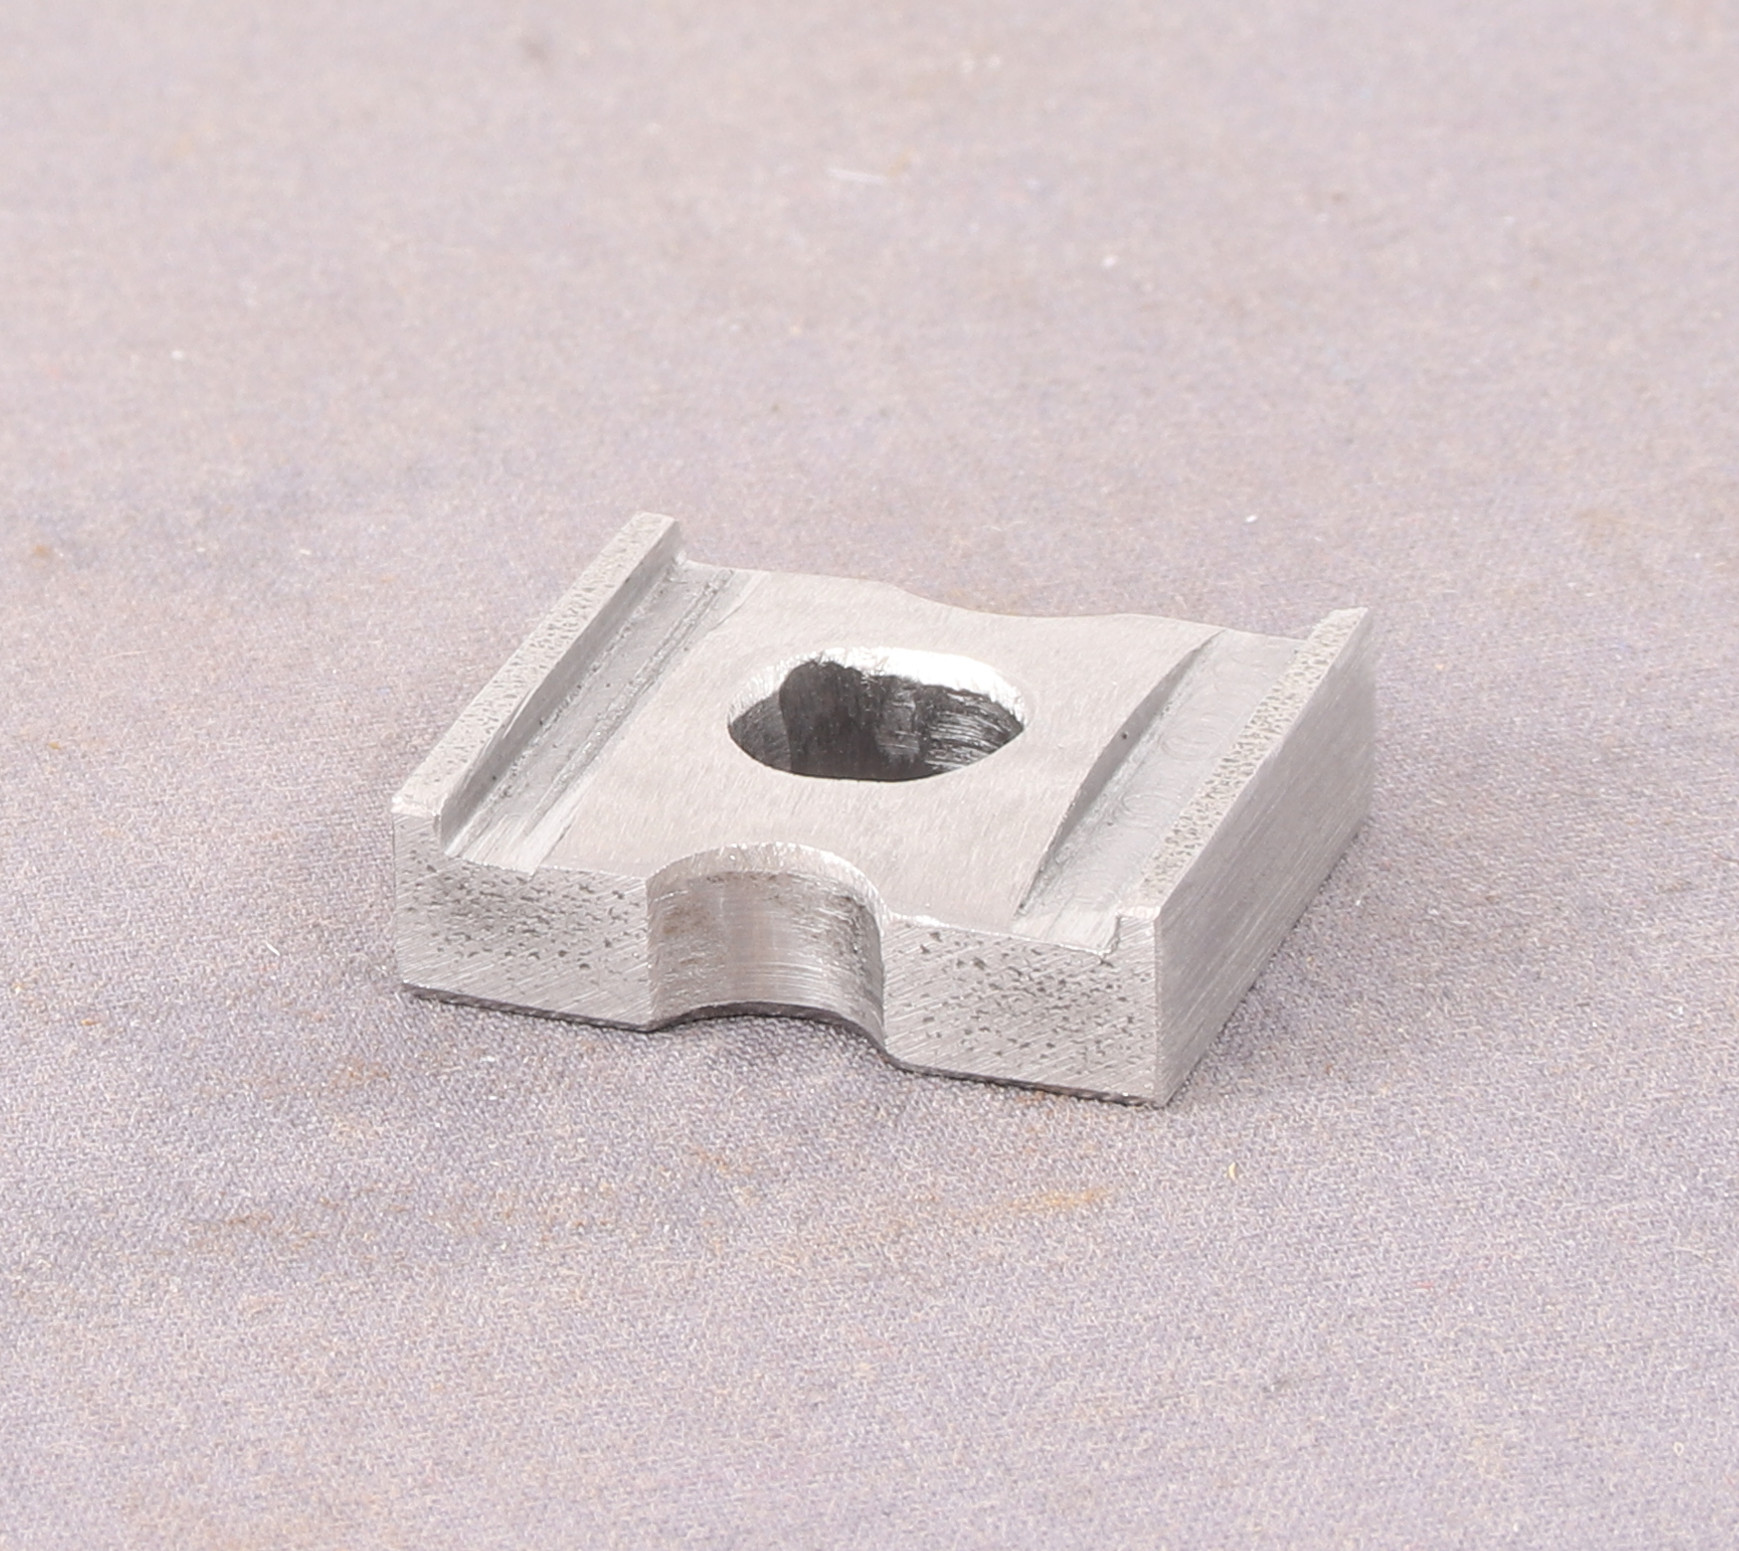
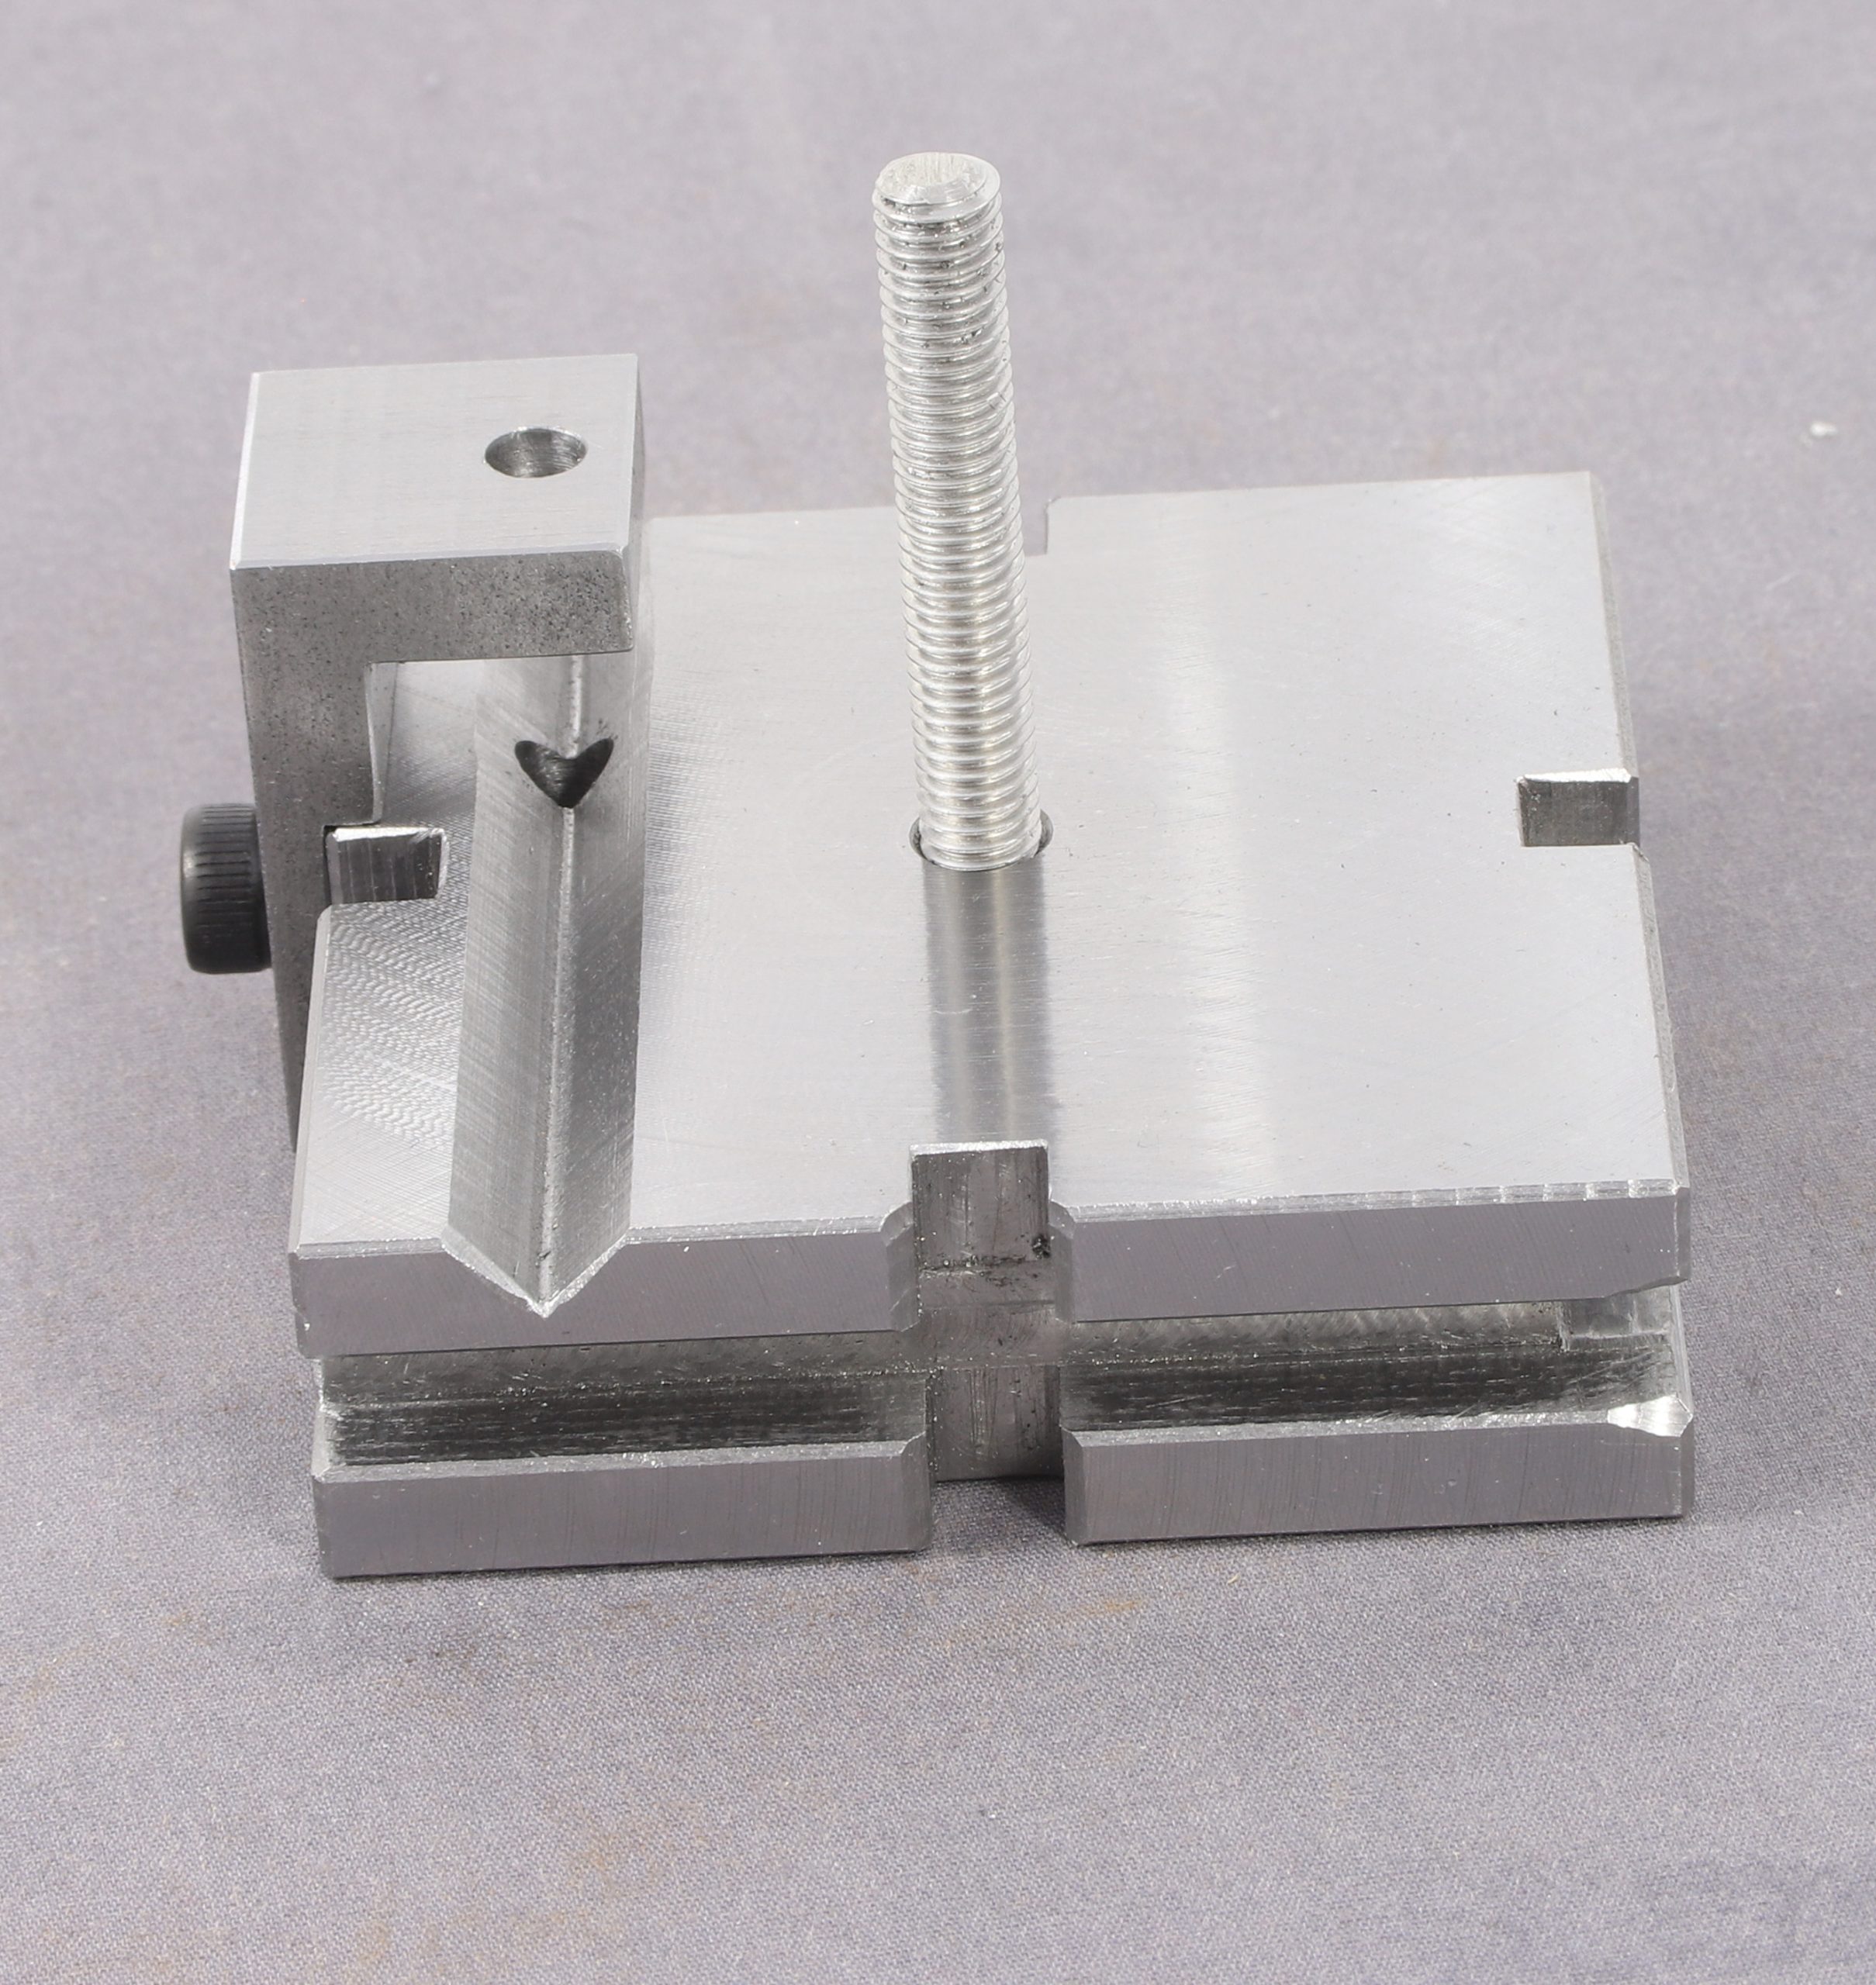
Almost the last parts to be made are the knob for the Jack screw and the nut for the rocker plate.

Sadly I ended up making these twice because I had planned to mill scallops into the edges in place of knurling but the nut unscrewed itself from the mandrel and the cutter chewed it up. So I remade them and knurled them. The knurling came out better than I had hoped so I am pleased with that.

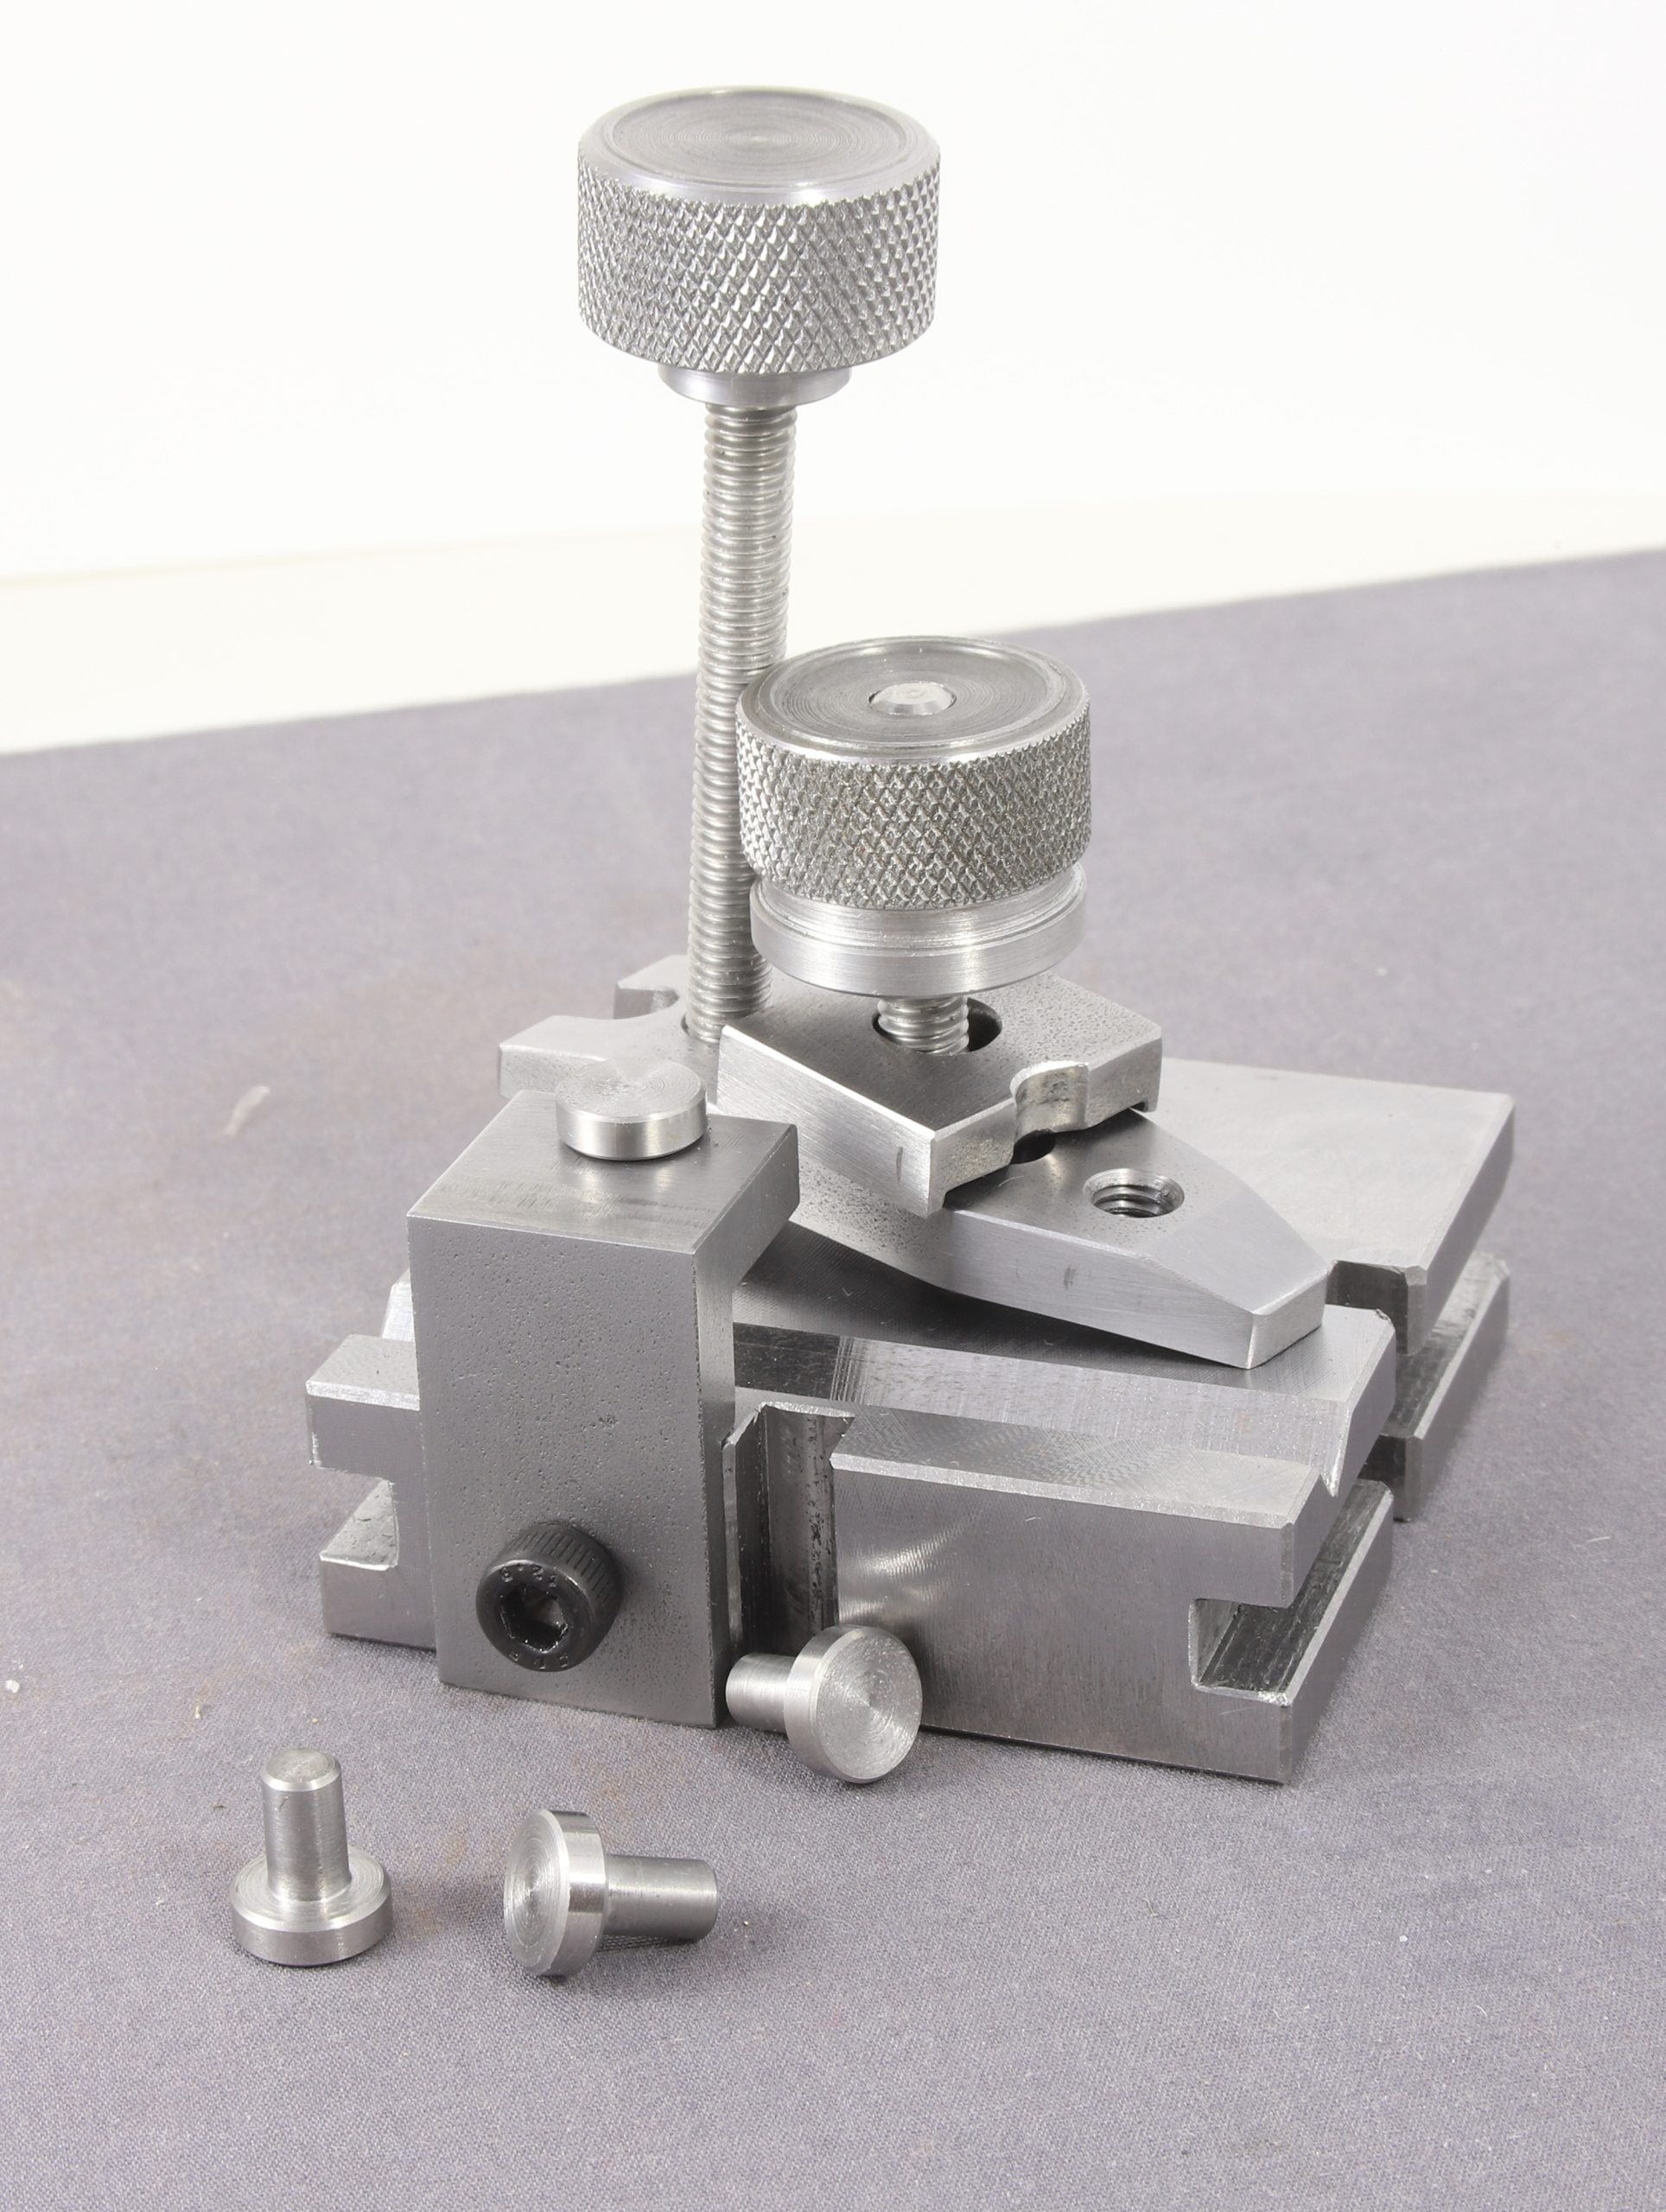
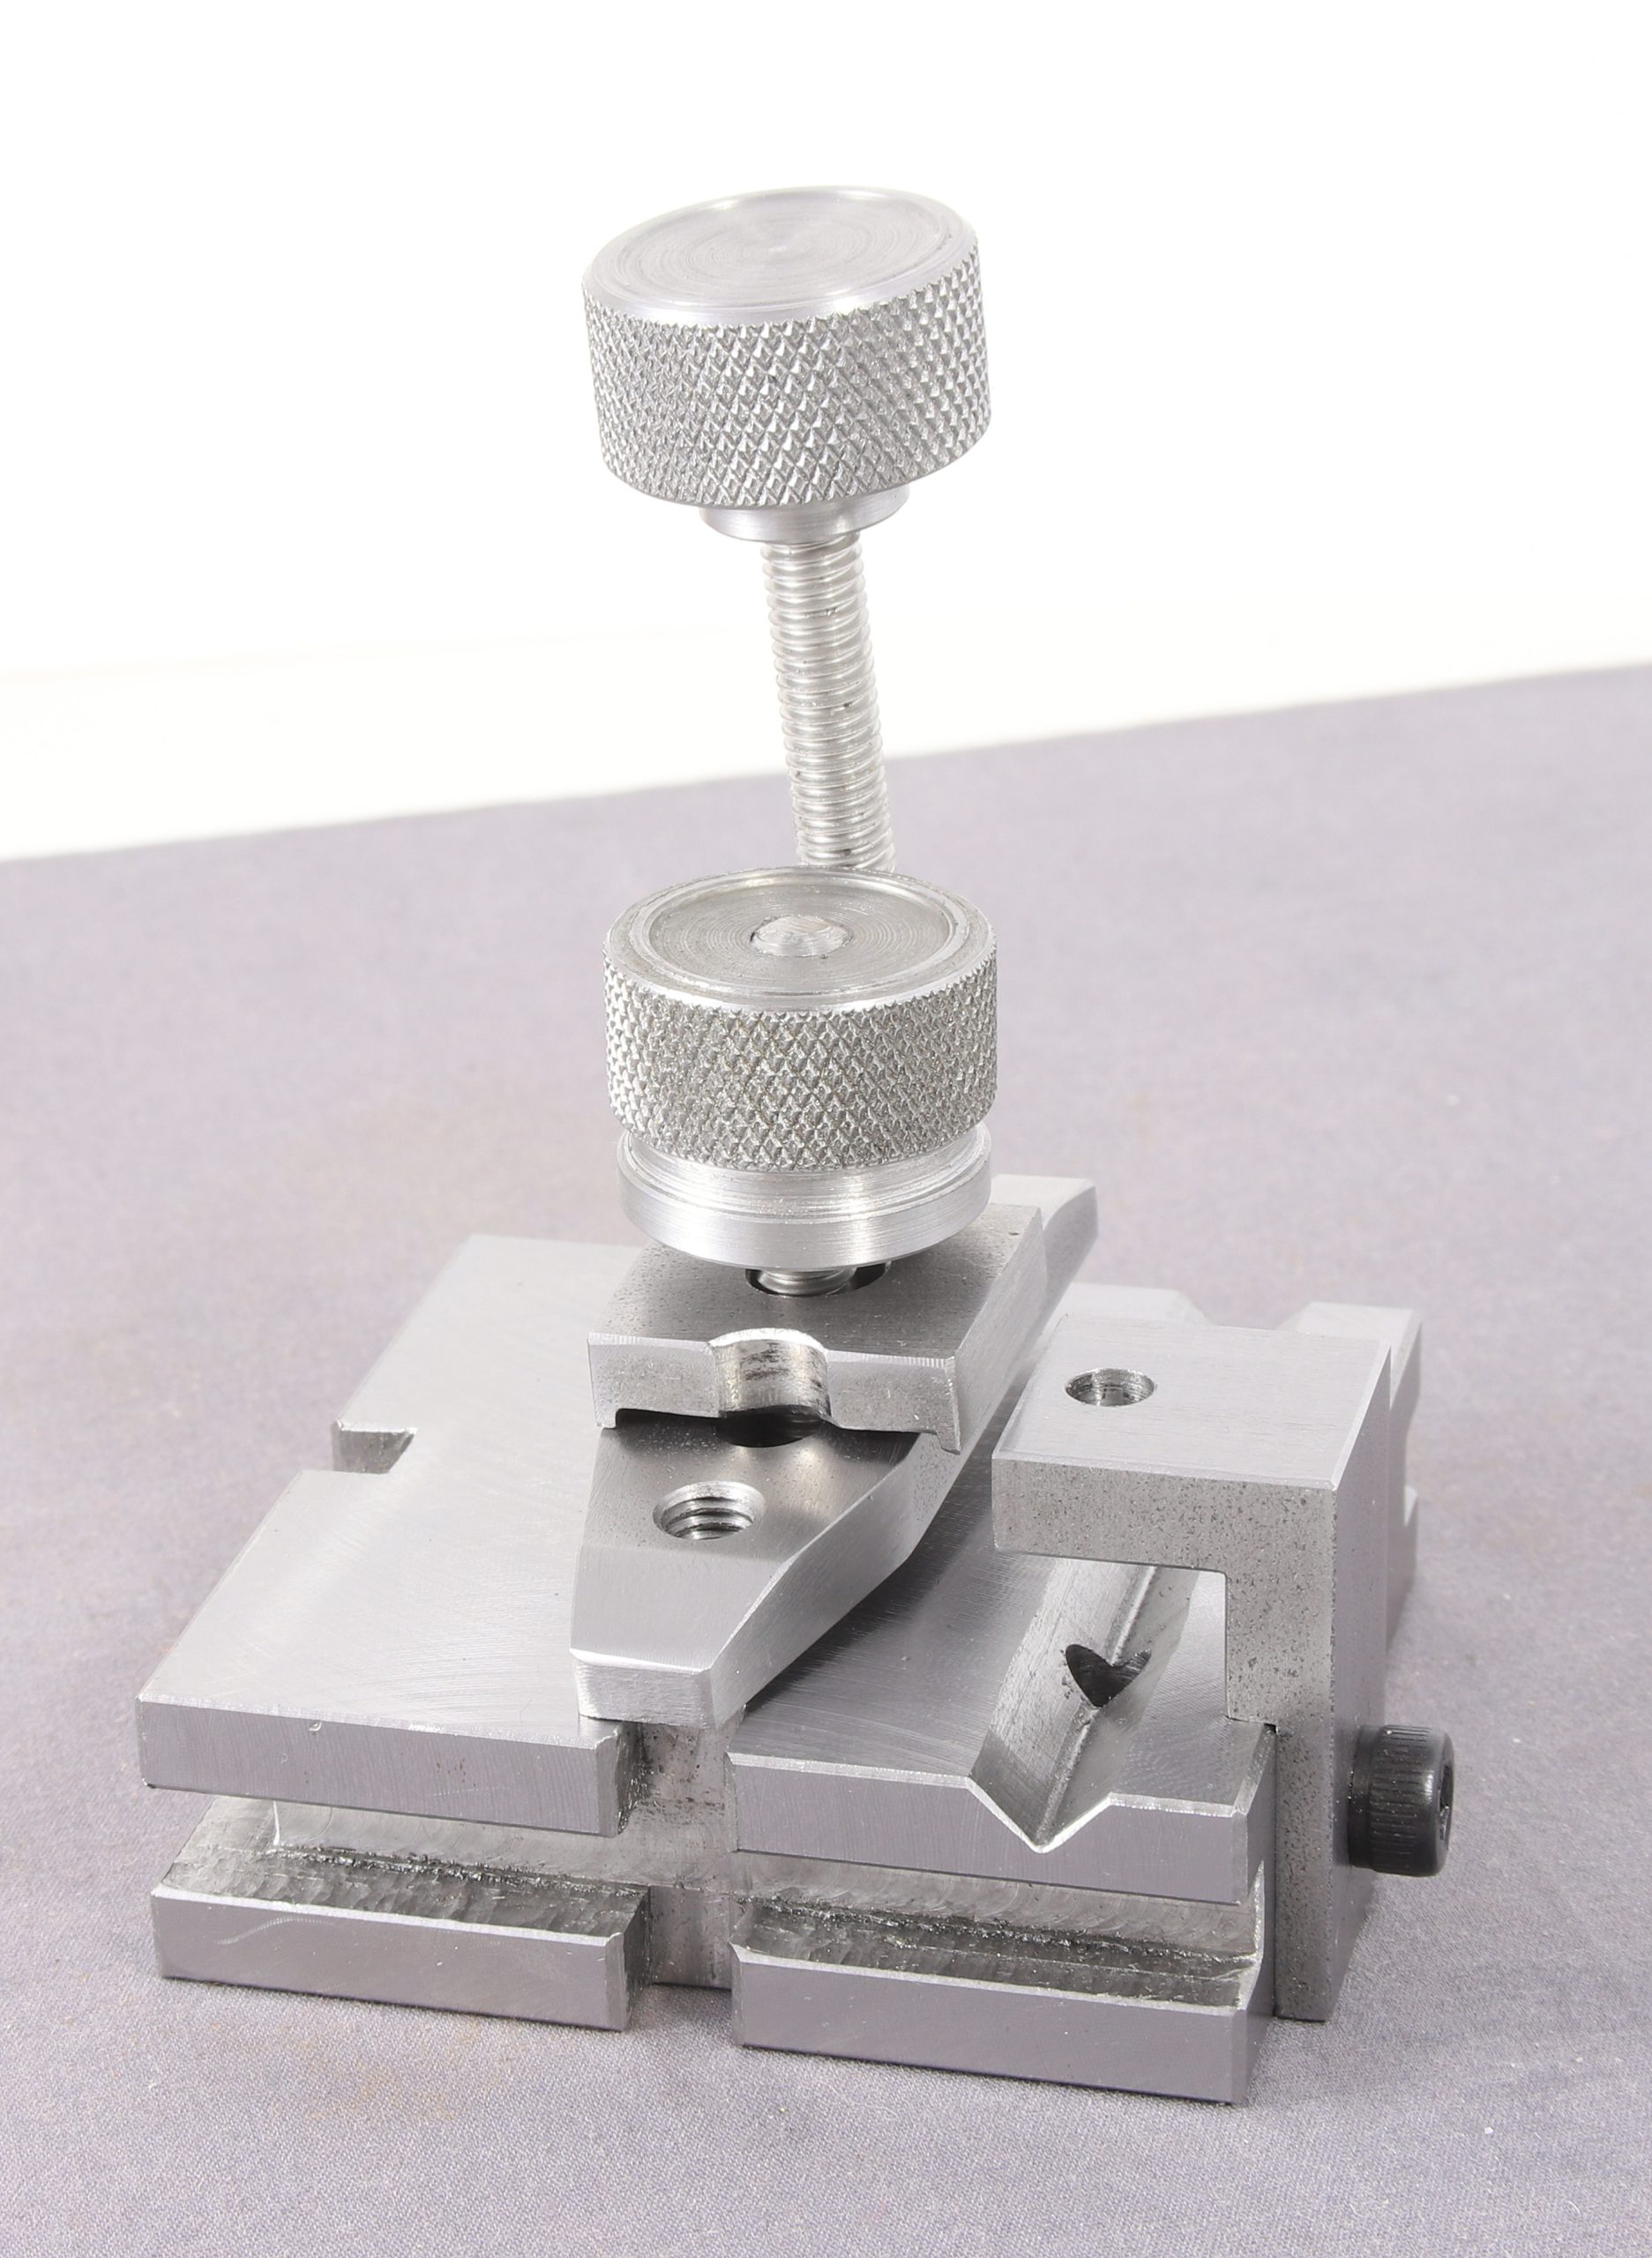
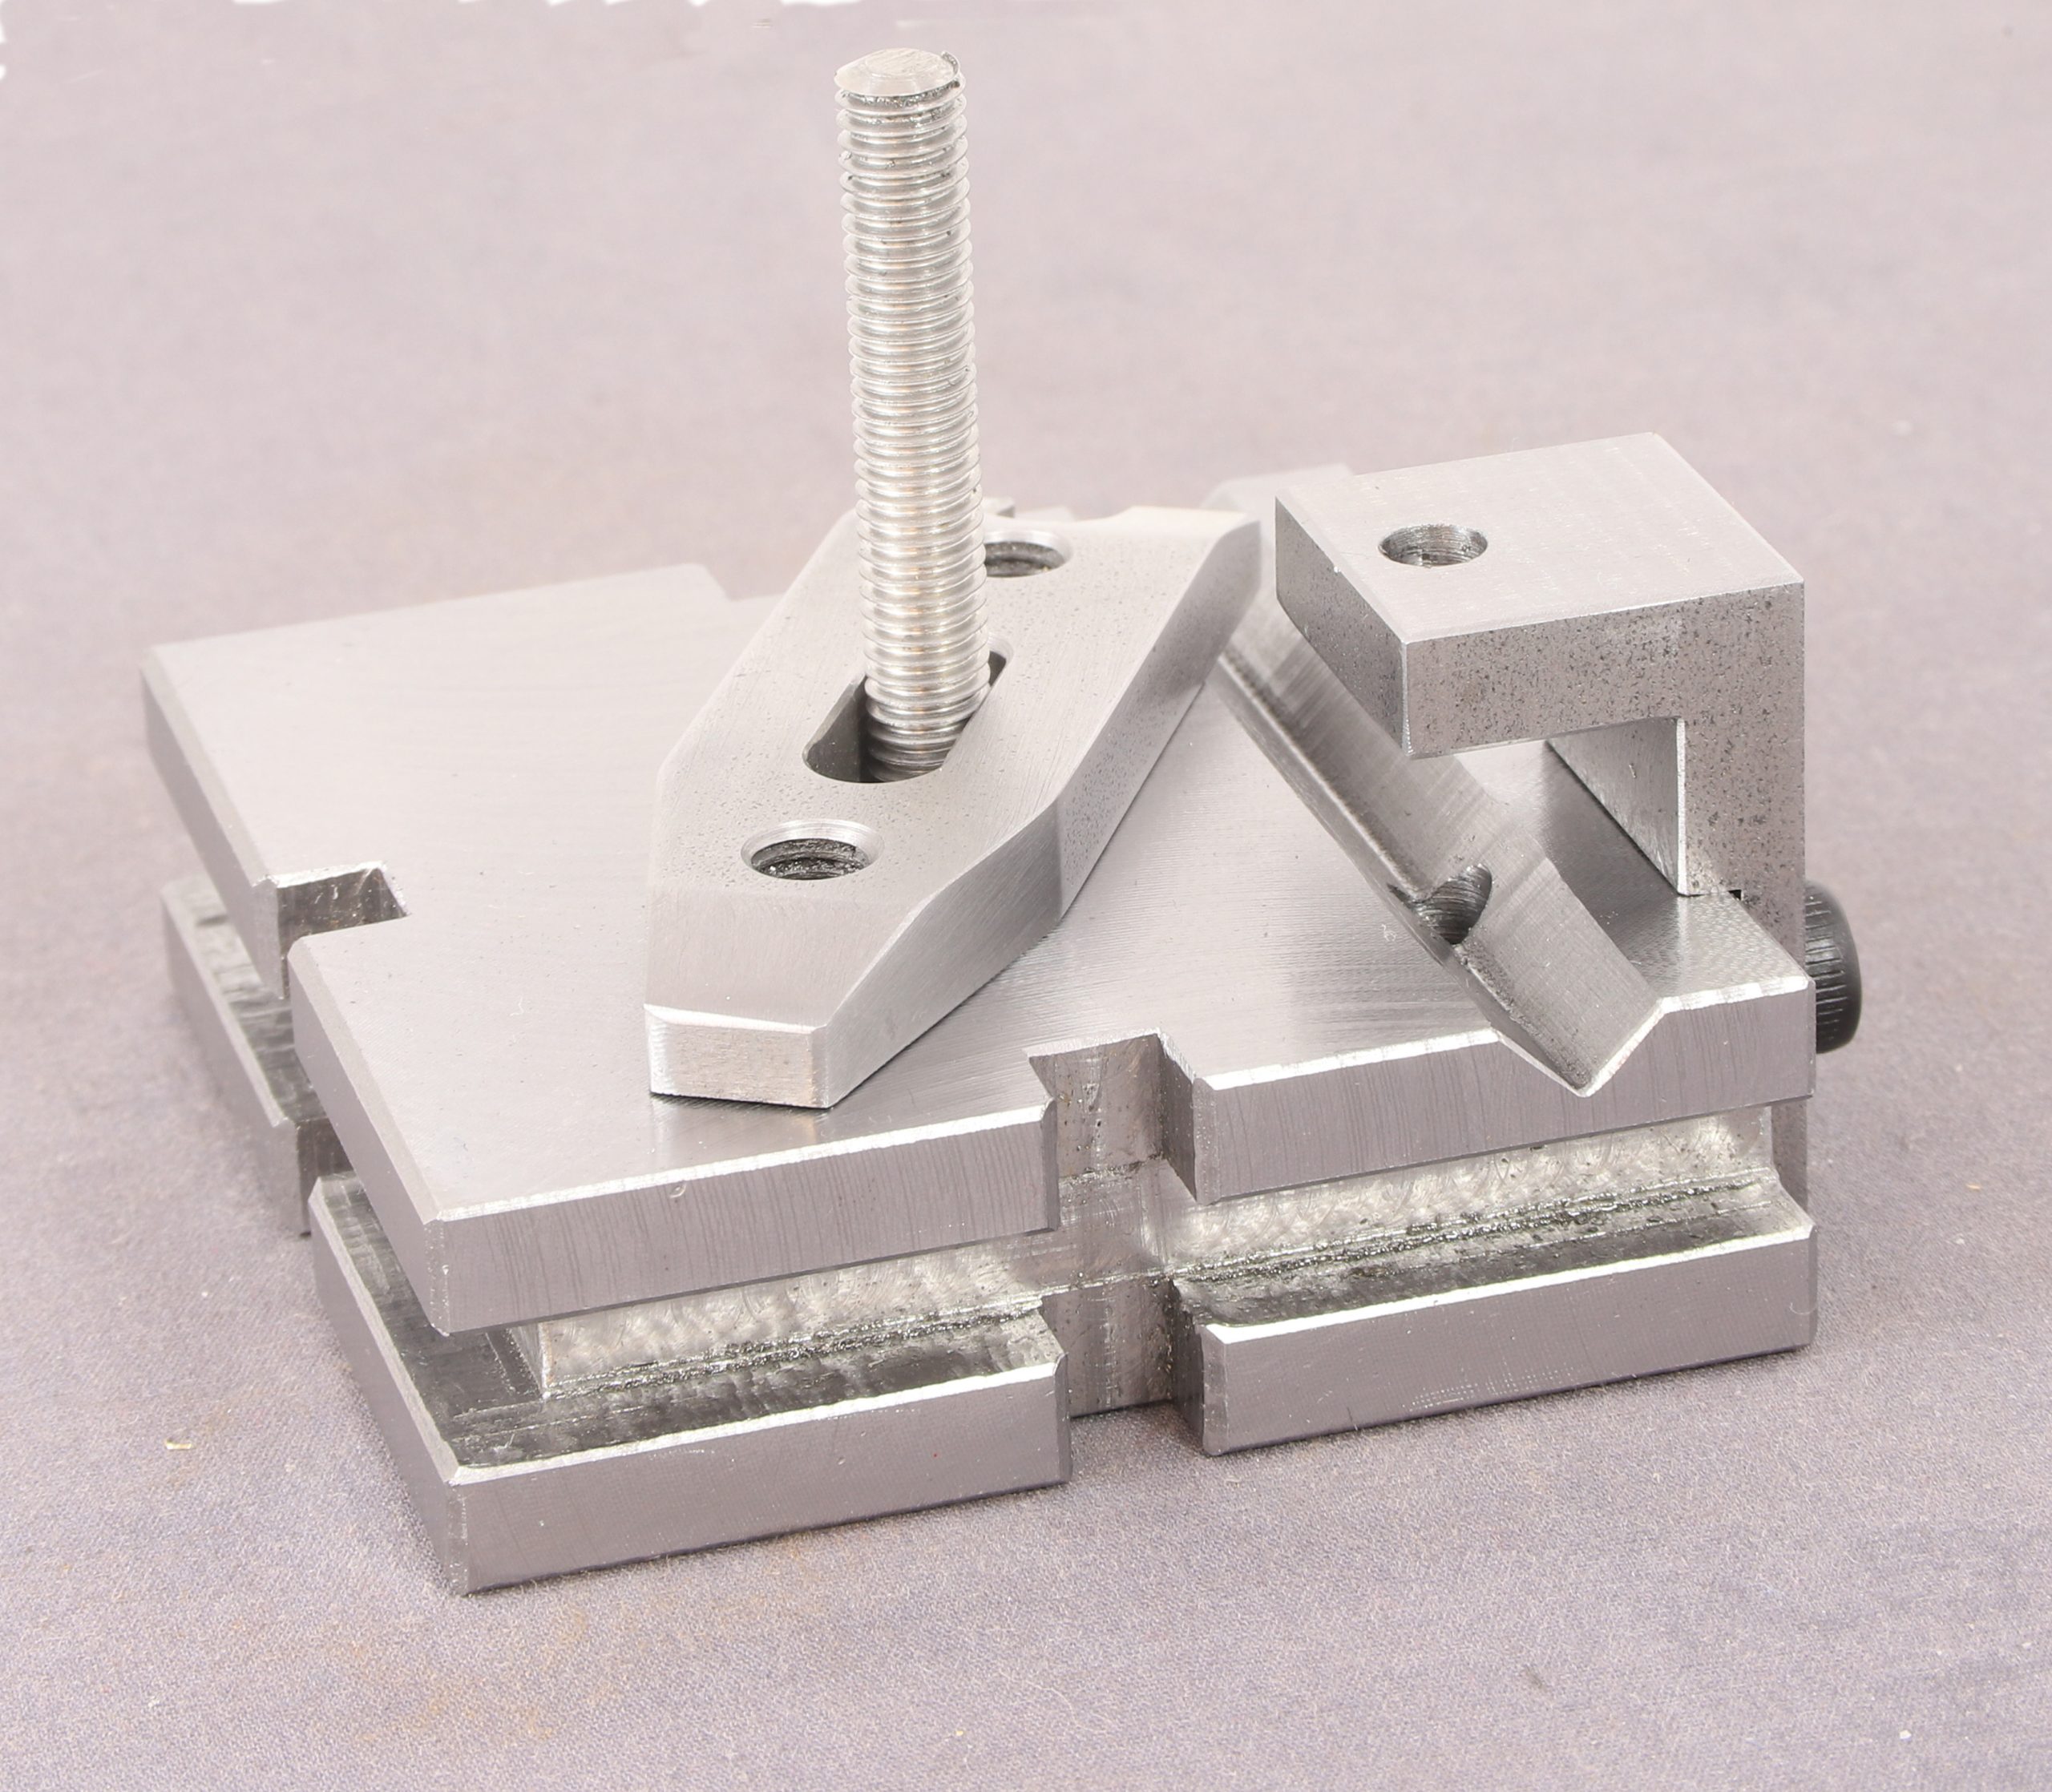
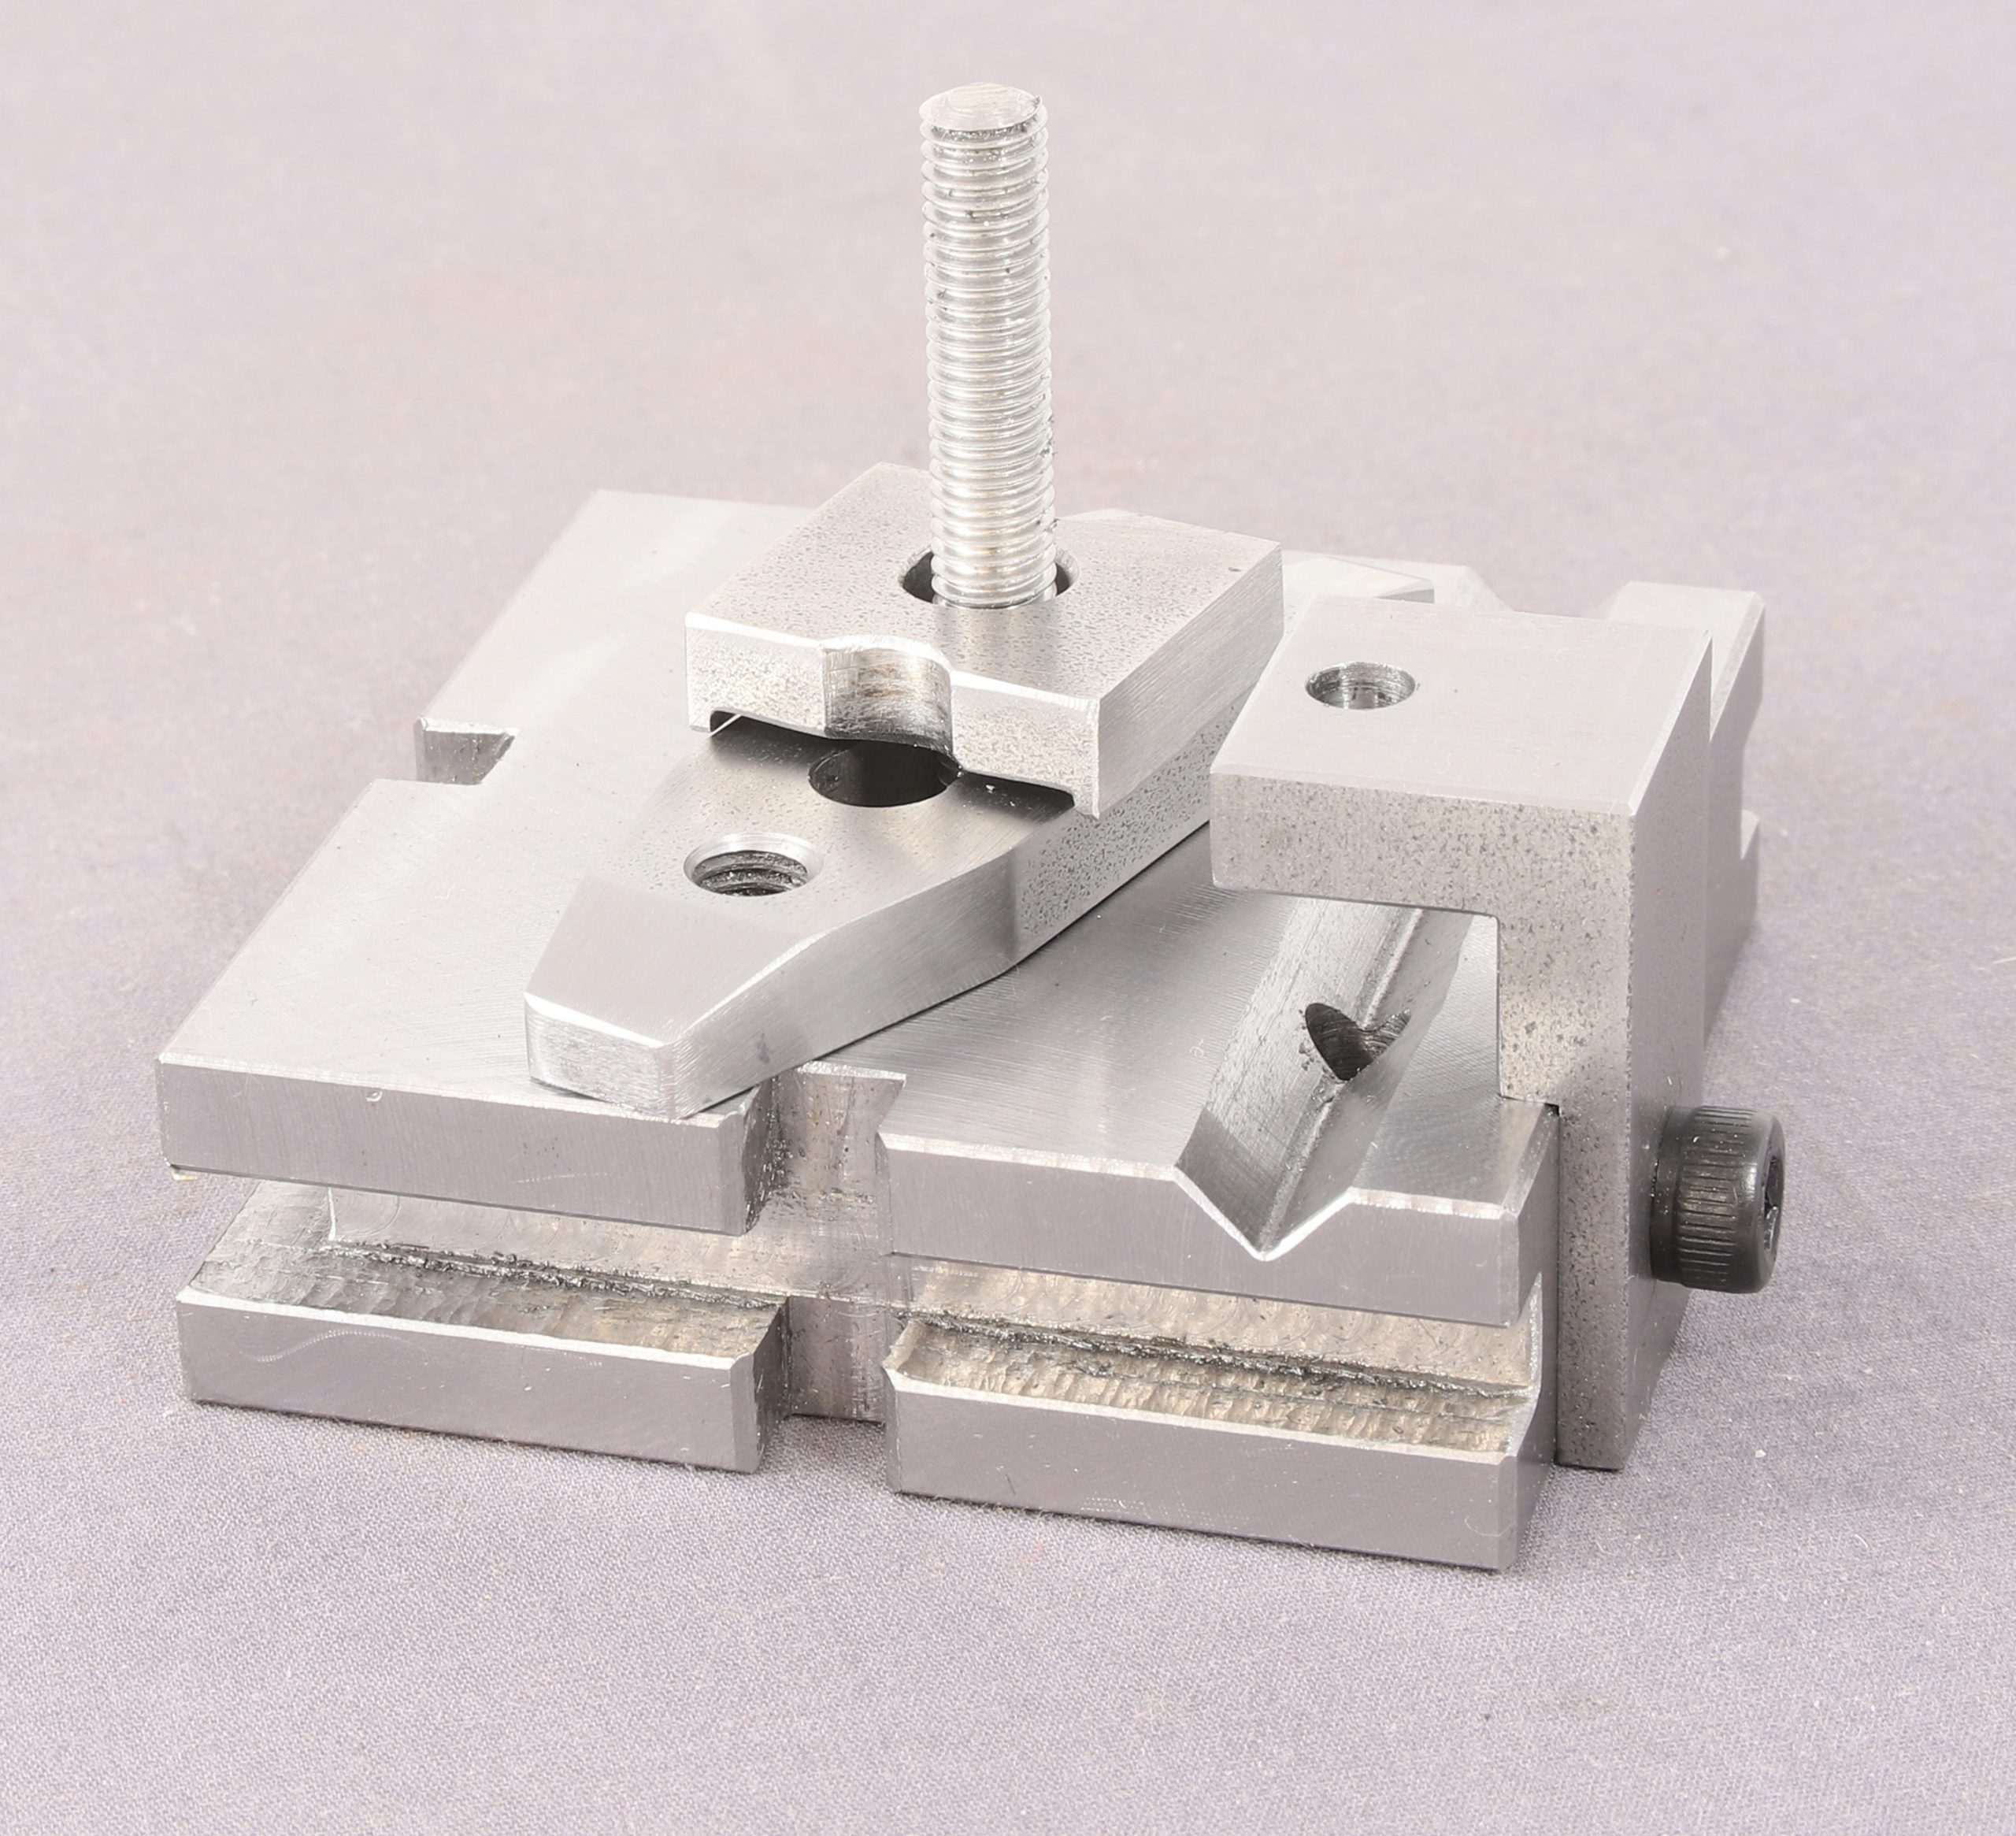
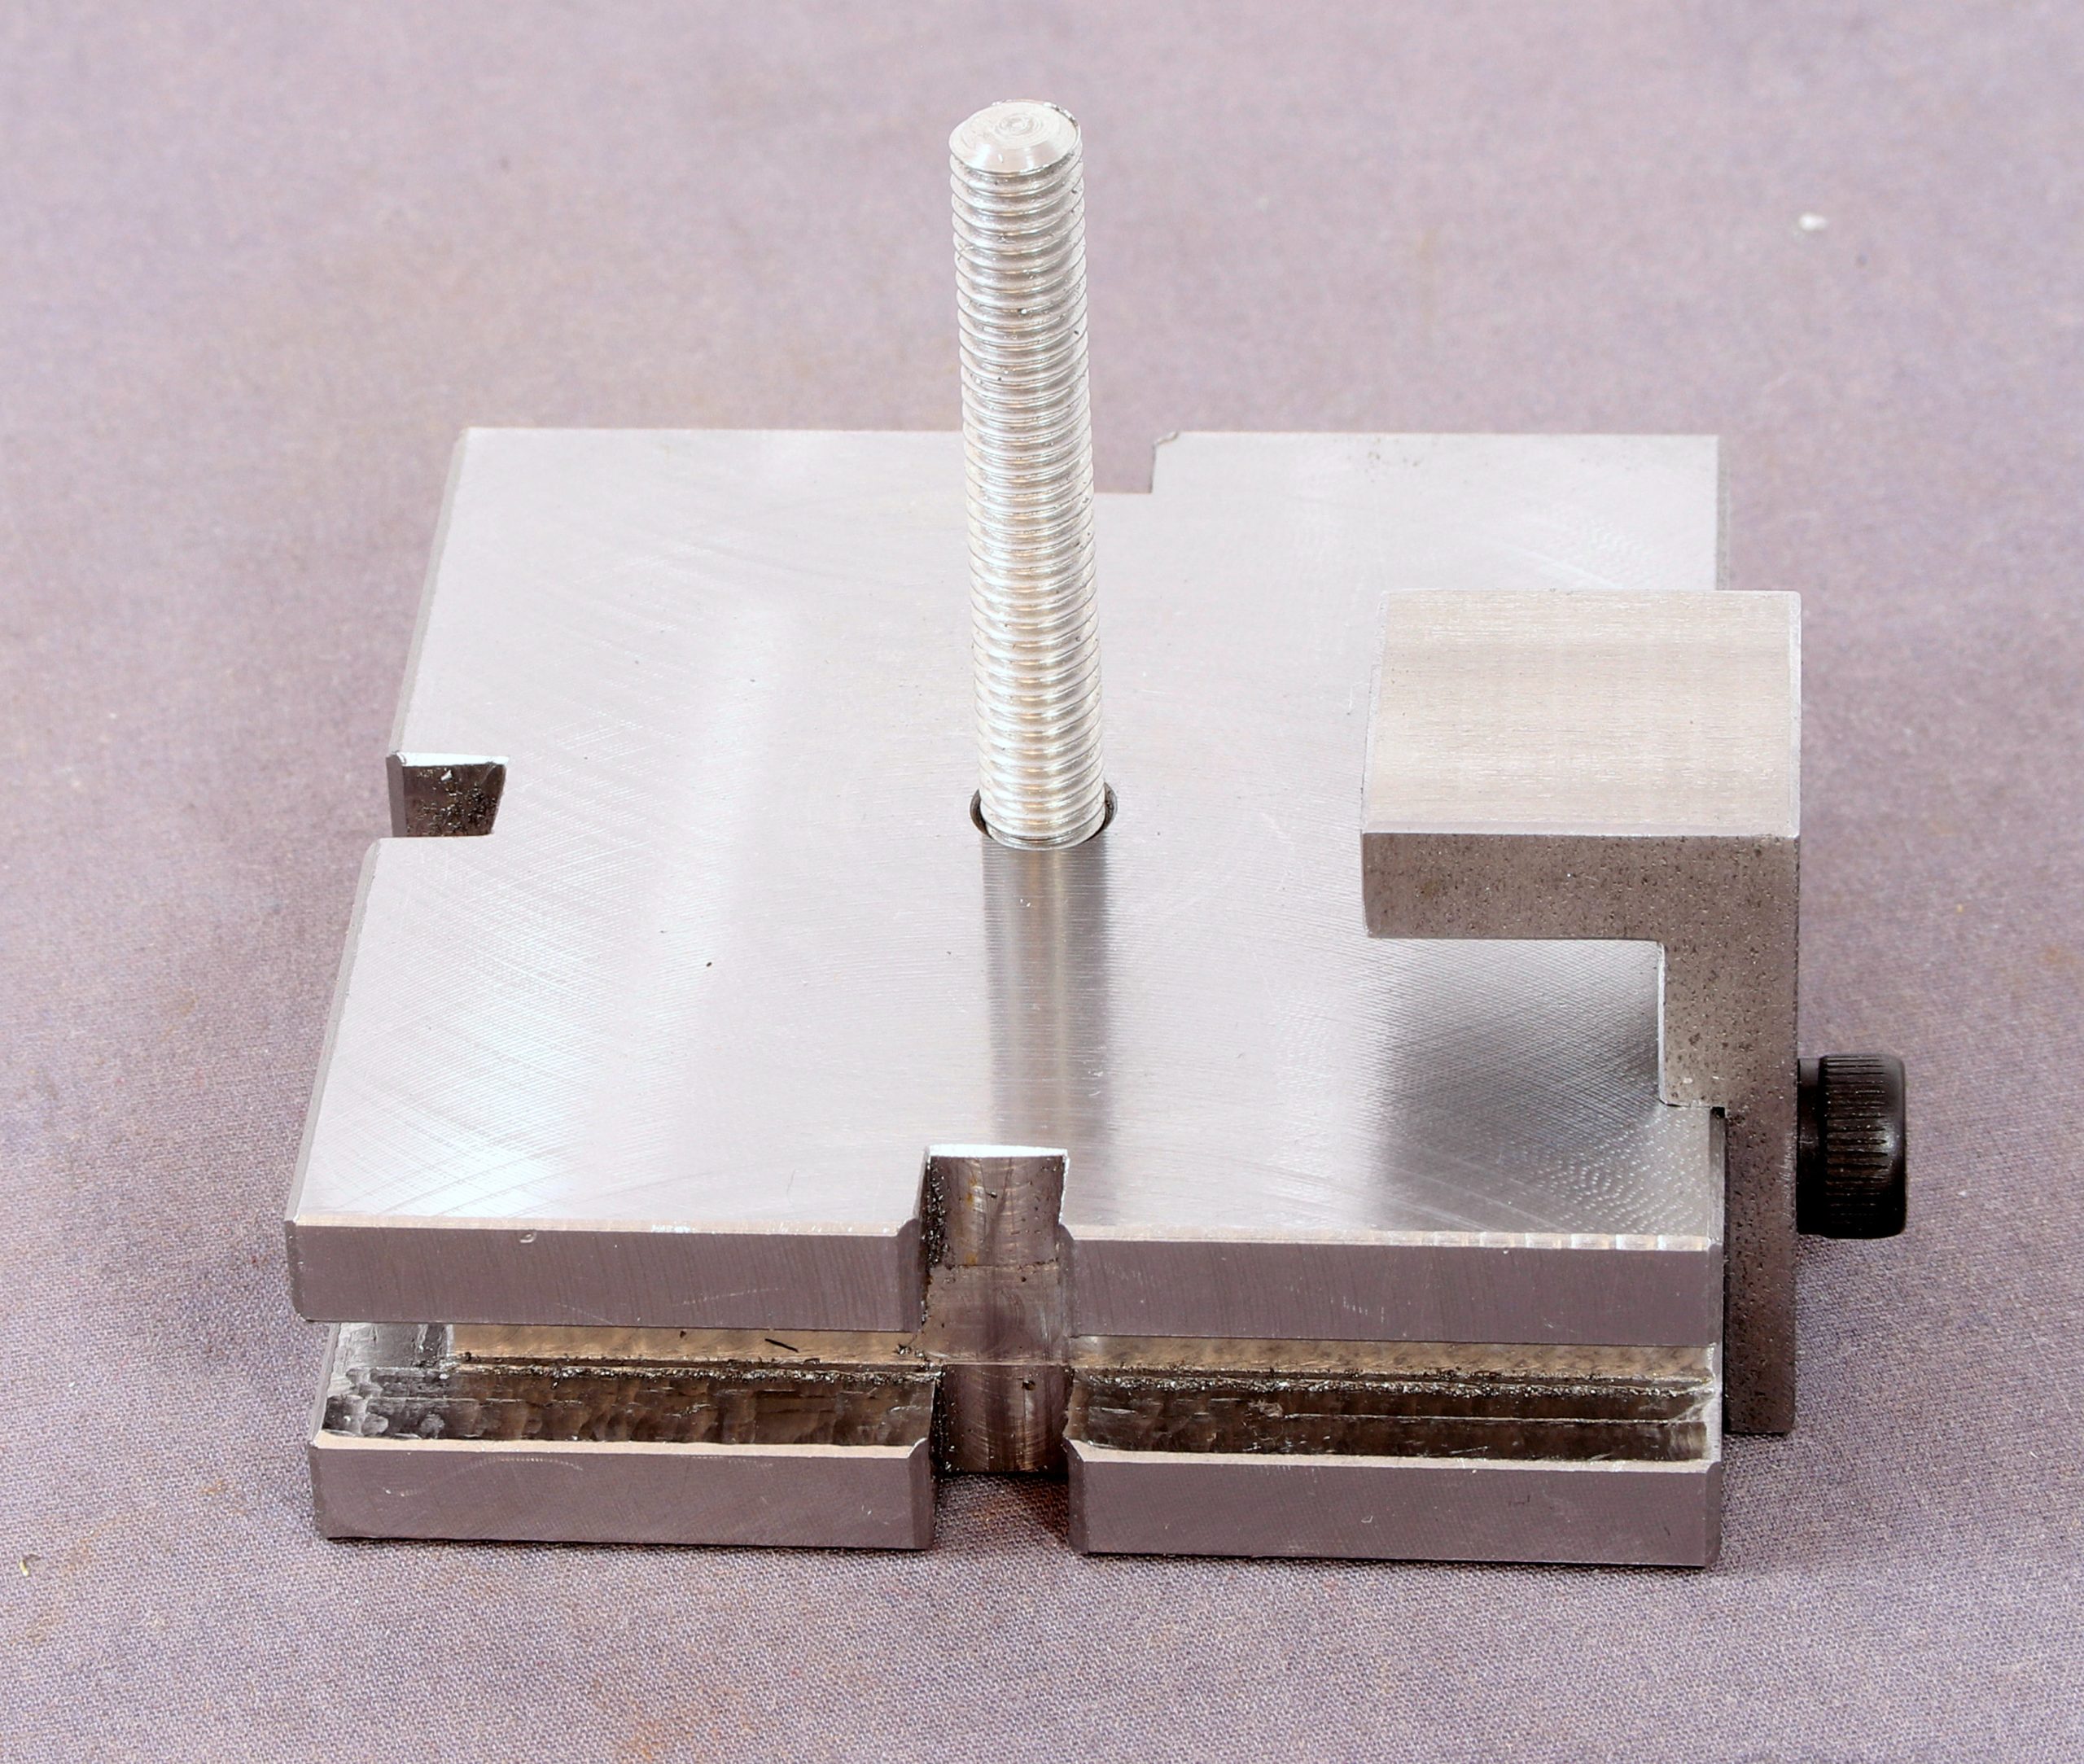
Here we have the assembled tool with the knob and nut in place I made the nut a little bigger than the plan called for so I have something to grab hold of.

I also ended up with a spare plain knob which will go in the spares box.

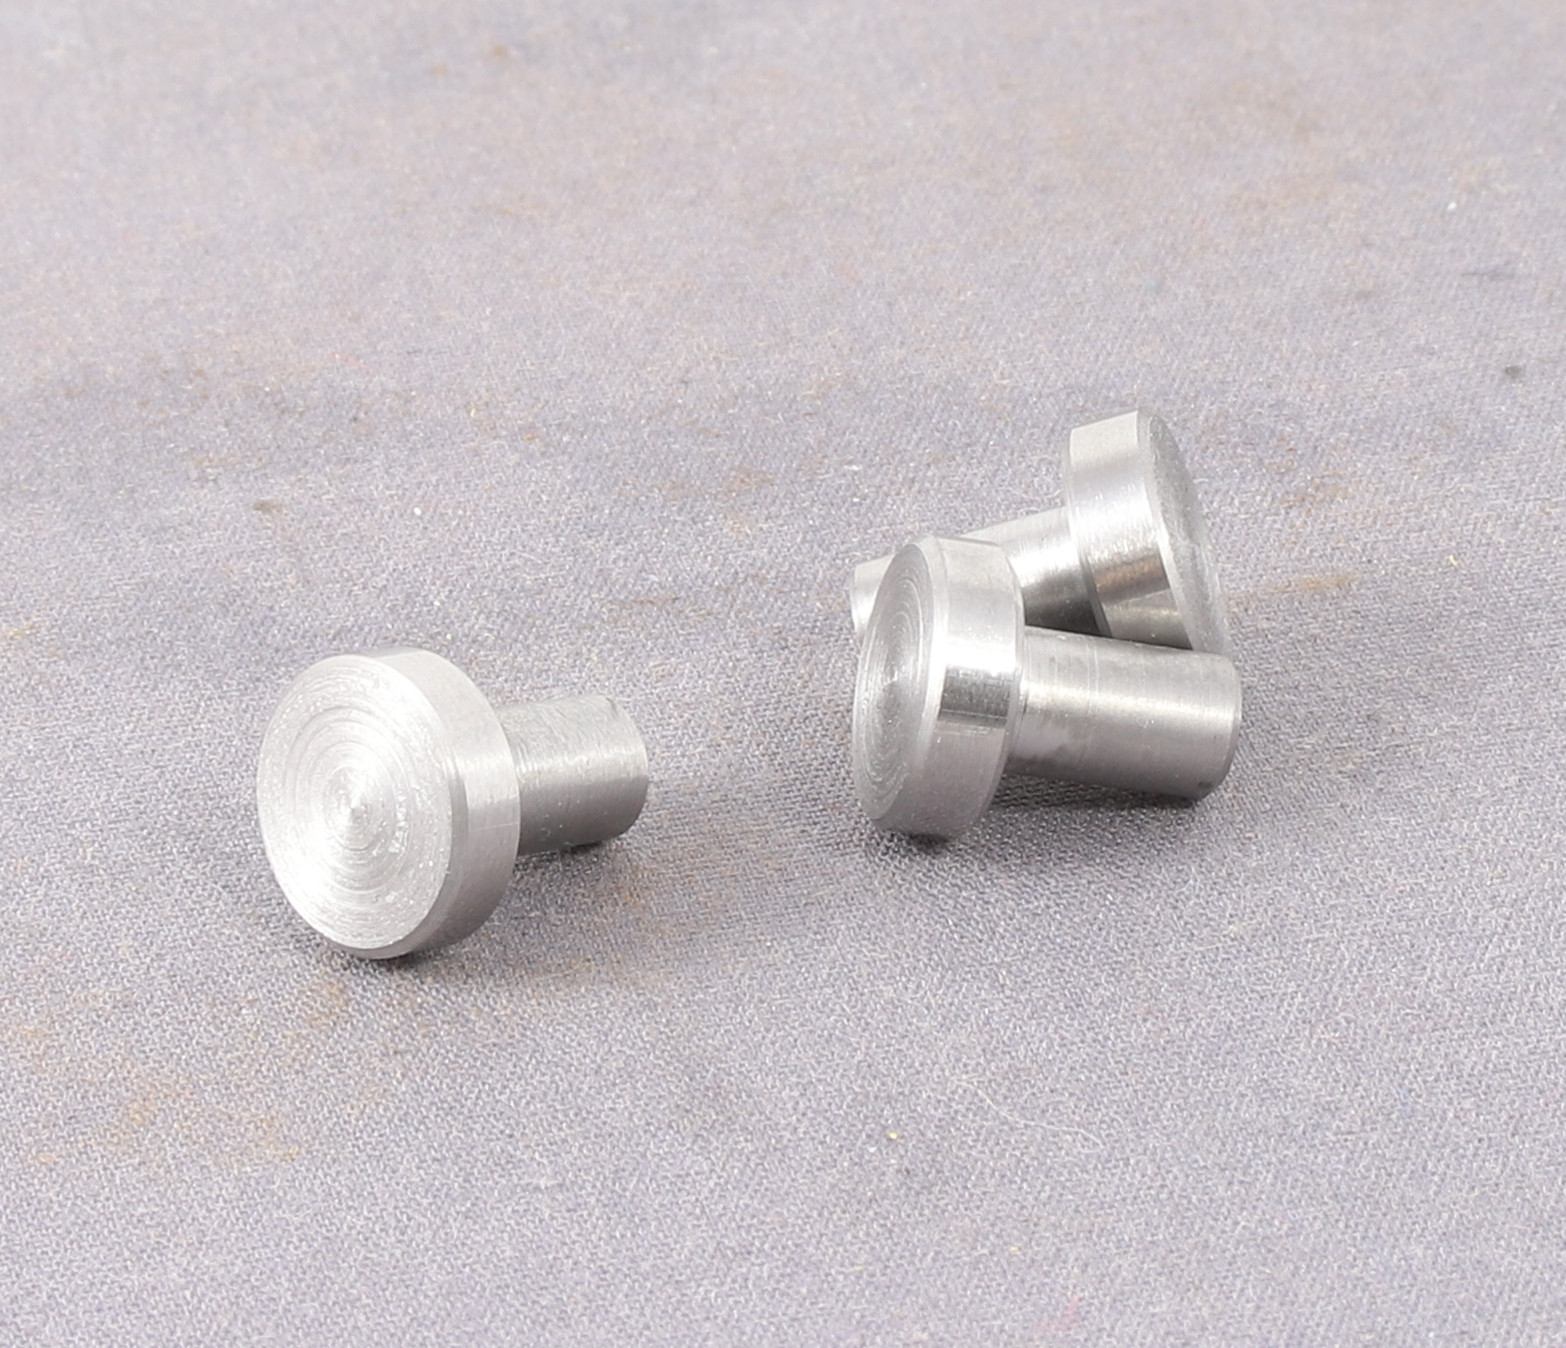
Next up are the very last bits to make which are the drill guide bushings. These are turned from the provided silver steel rod and the idea is that once drilled to the appropriate size you harden them to prevent wear over time.

Hemingway Finger Plate – for Holding and Drilling Small Workpieces

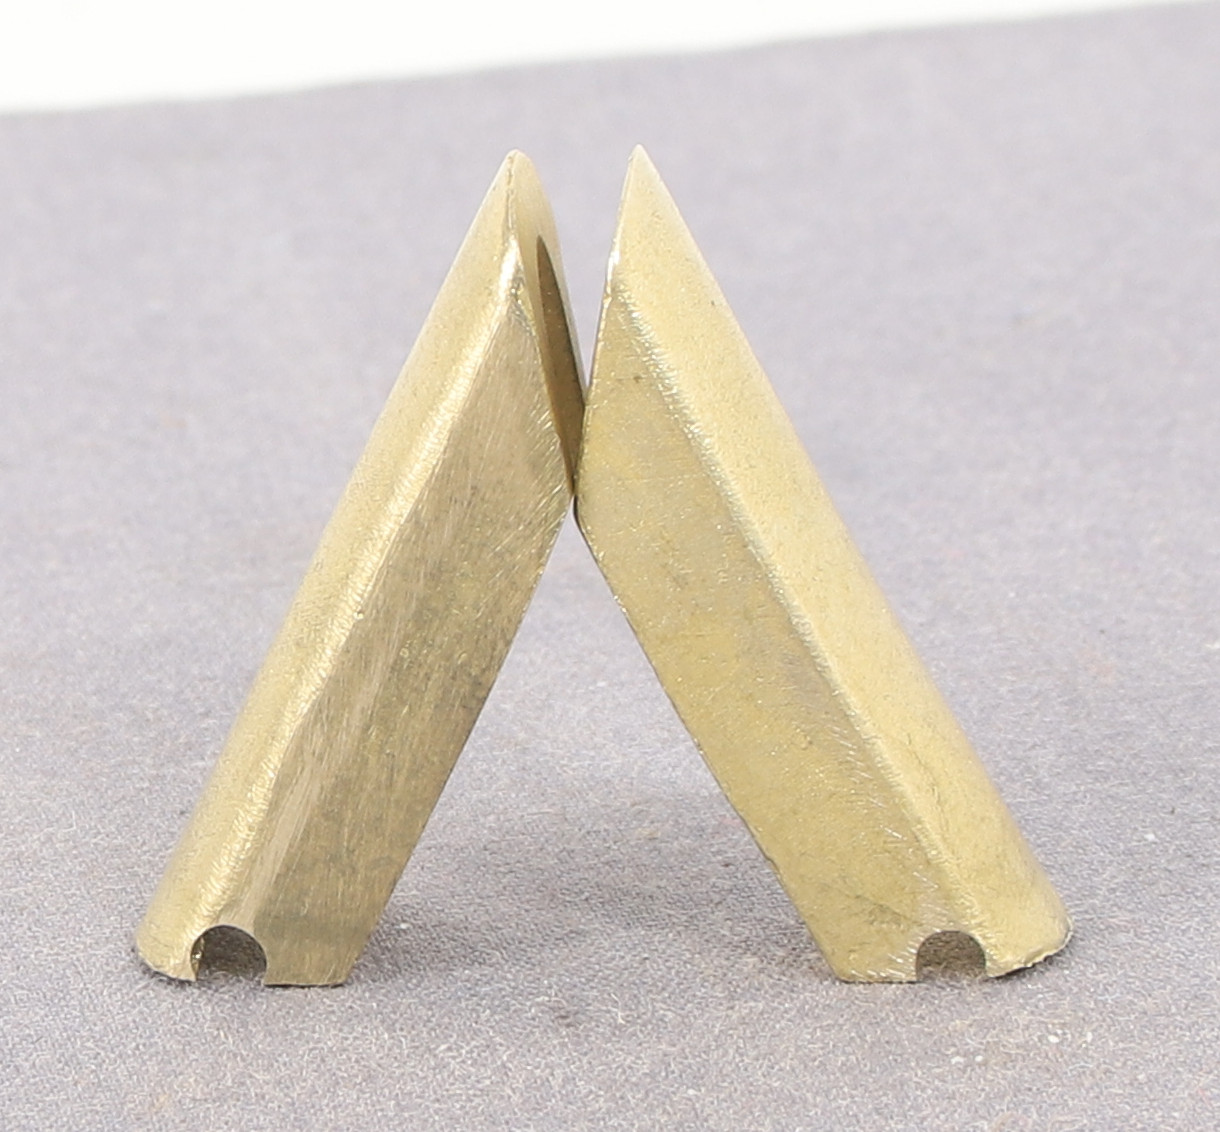
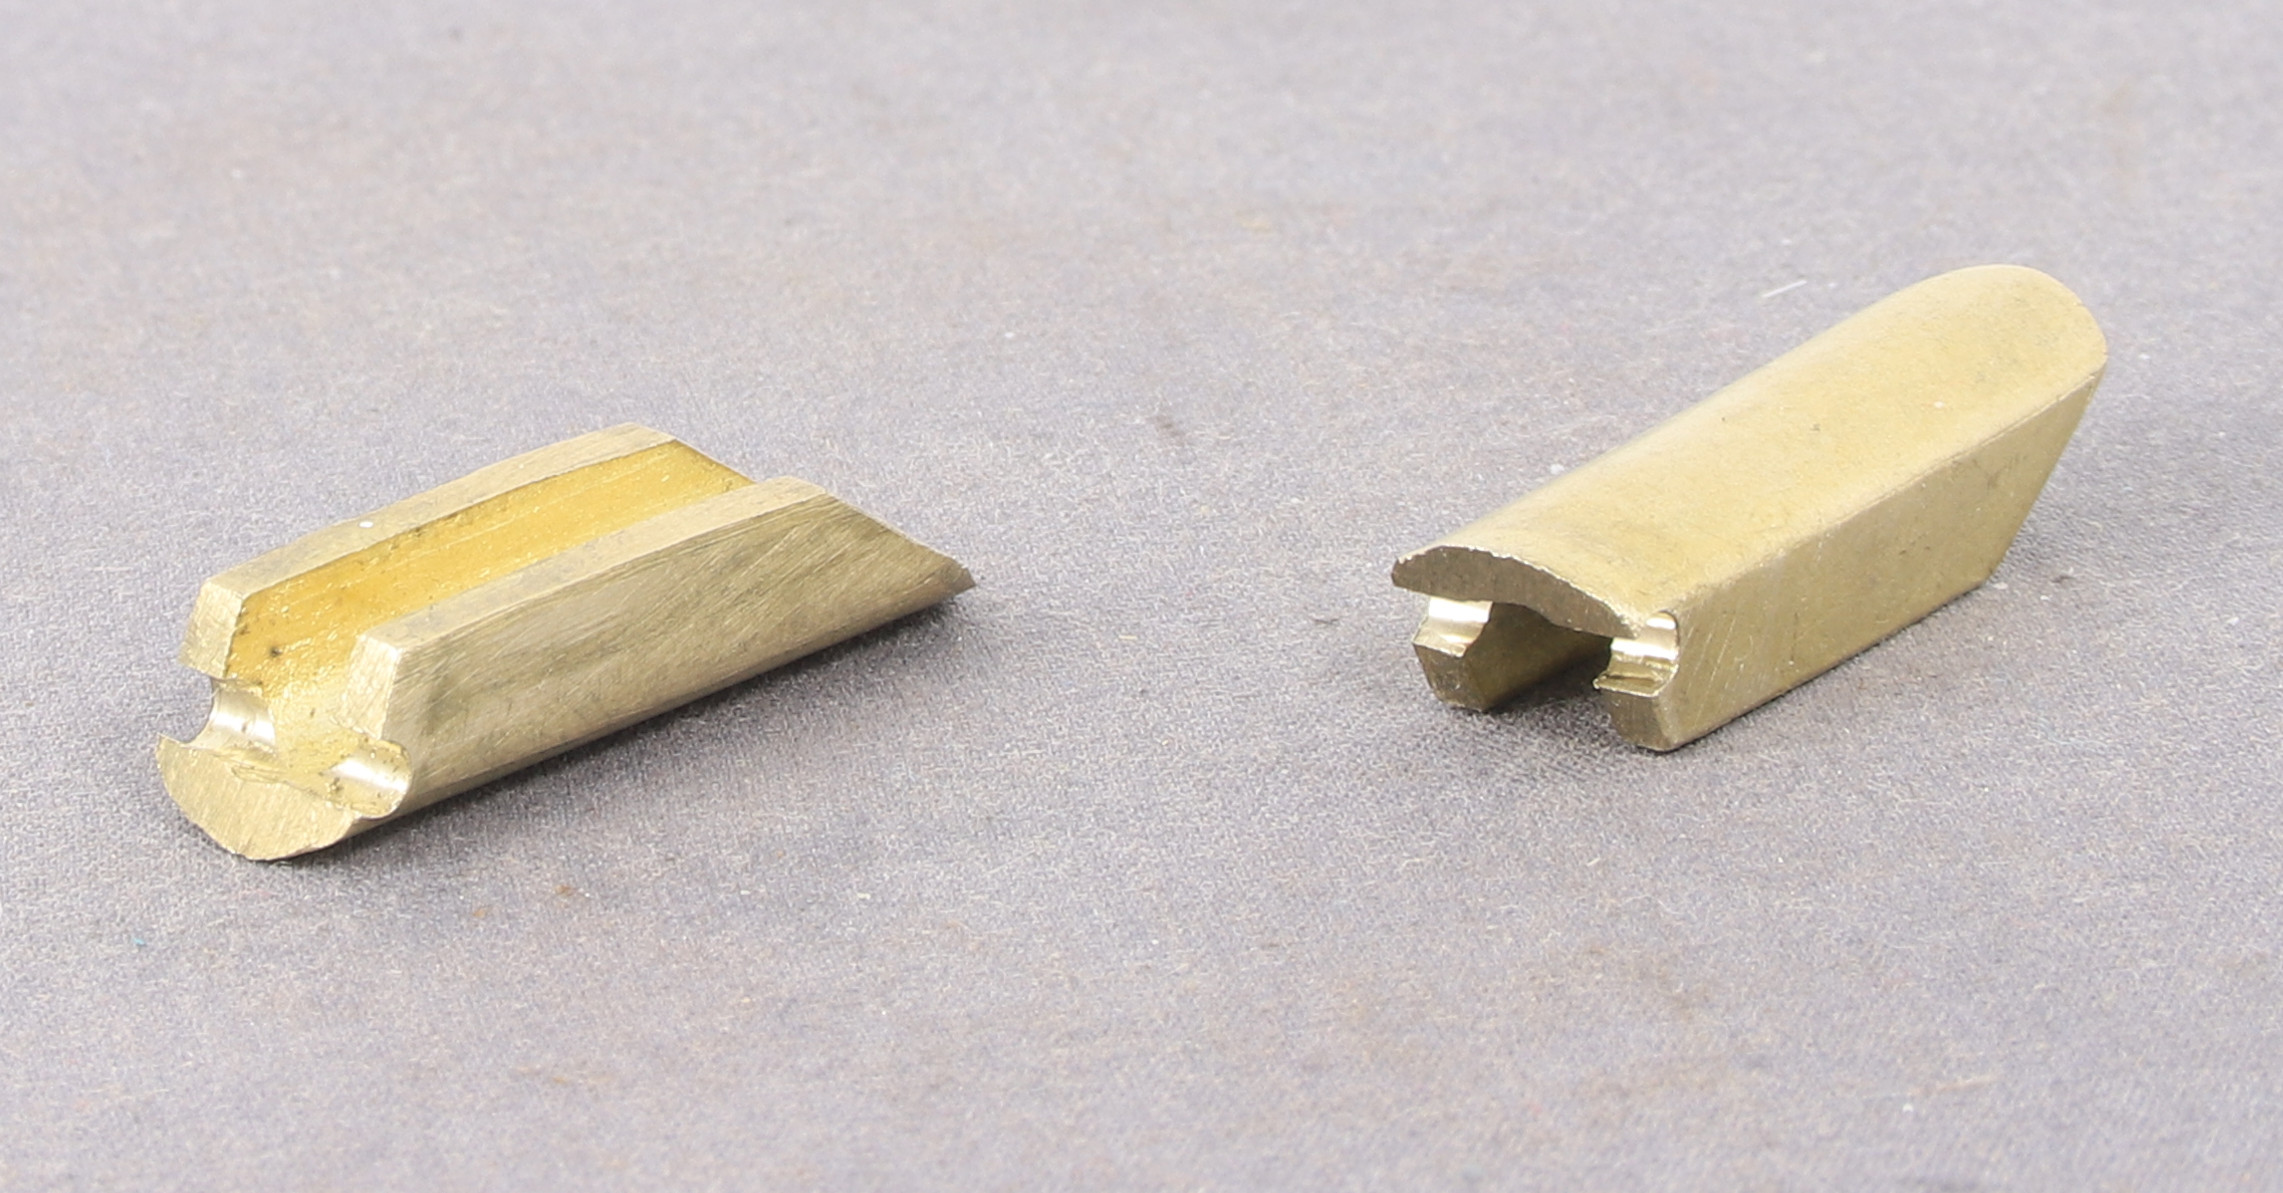
Returning to the 8F after fitting Digital readouts to my Lathe I decided to do more work on the loco body before completing the detailing of the frames. One of the next steps is to drill or mill out the hole in the bottom of the steam pipes adjacent to the smokebox which were apparent on some locos but not all. Mine is to be one of those with the holes.

The next question was how on earth would I hold them to mill/drill them as they are quite an irregular shape.

After a bit of deliberation and trying out of angle blocks I remembered that the year before last my son had bought me a couple of Hemingway Toolro0m kits and one of the is a Finger Plate. For those wishing to see it in detail follow this link – https://www.hemingwaykits.com/HK1390

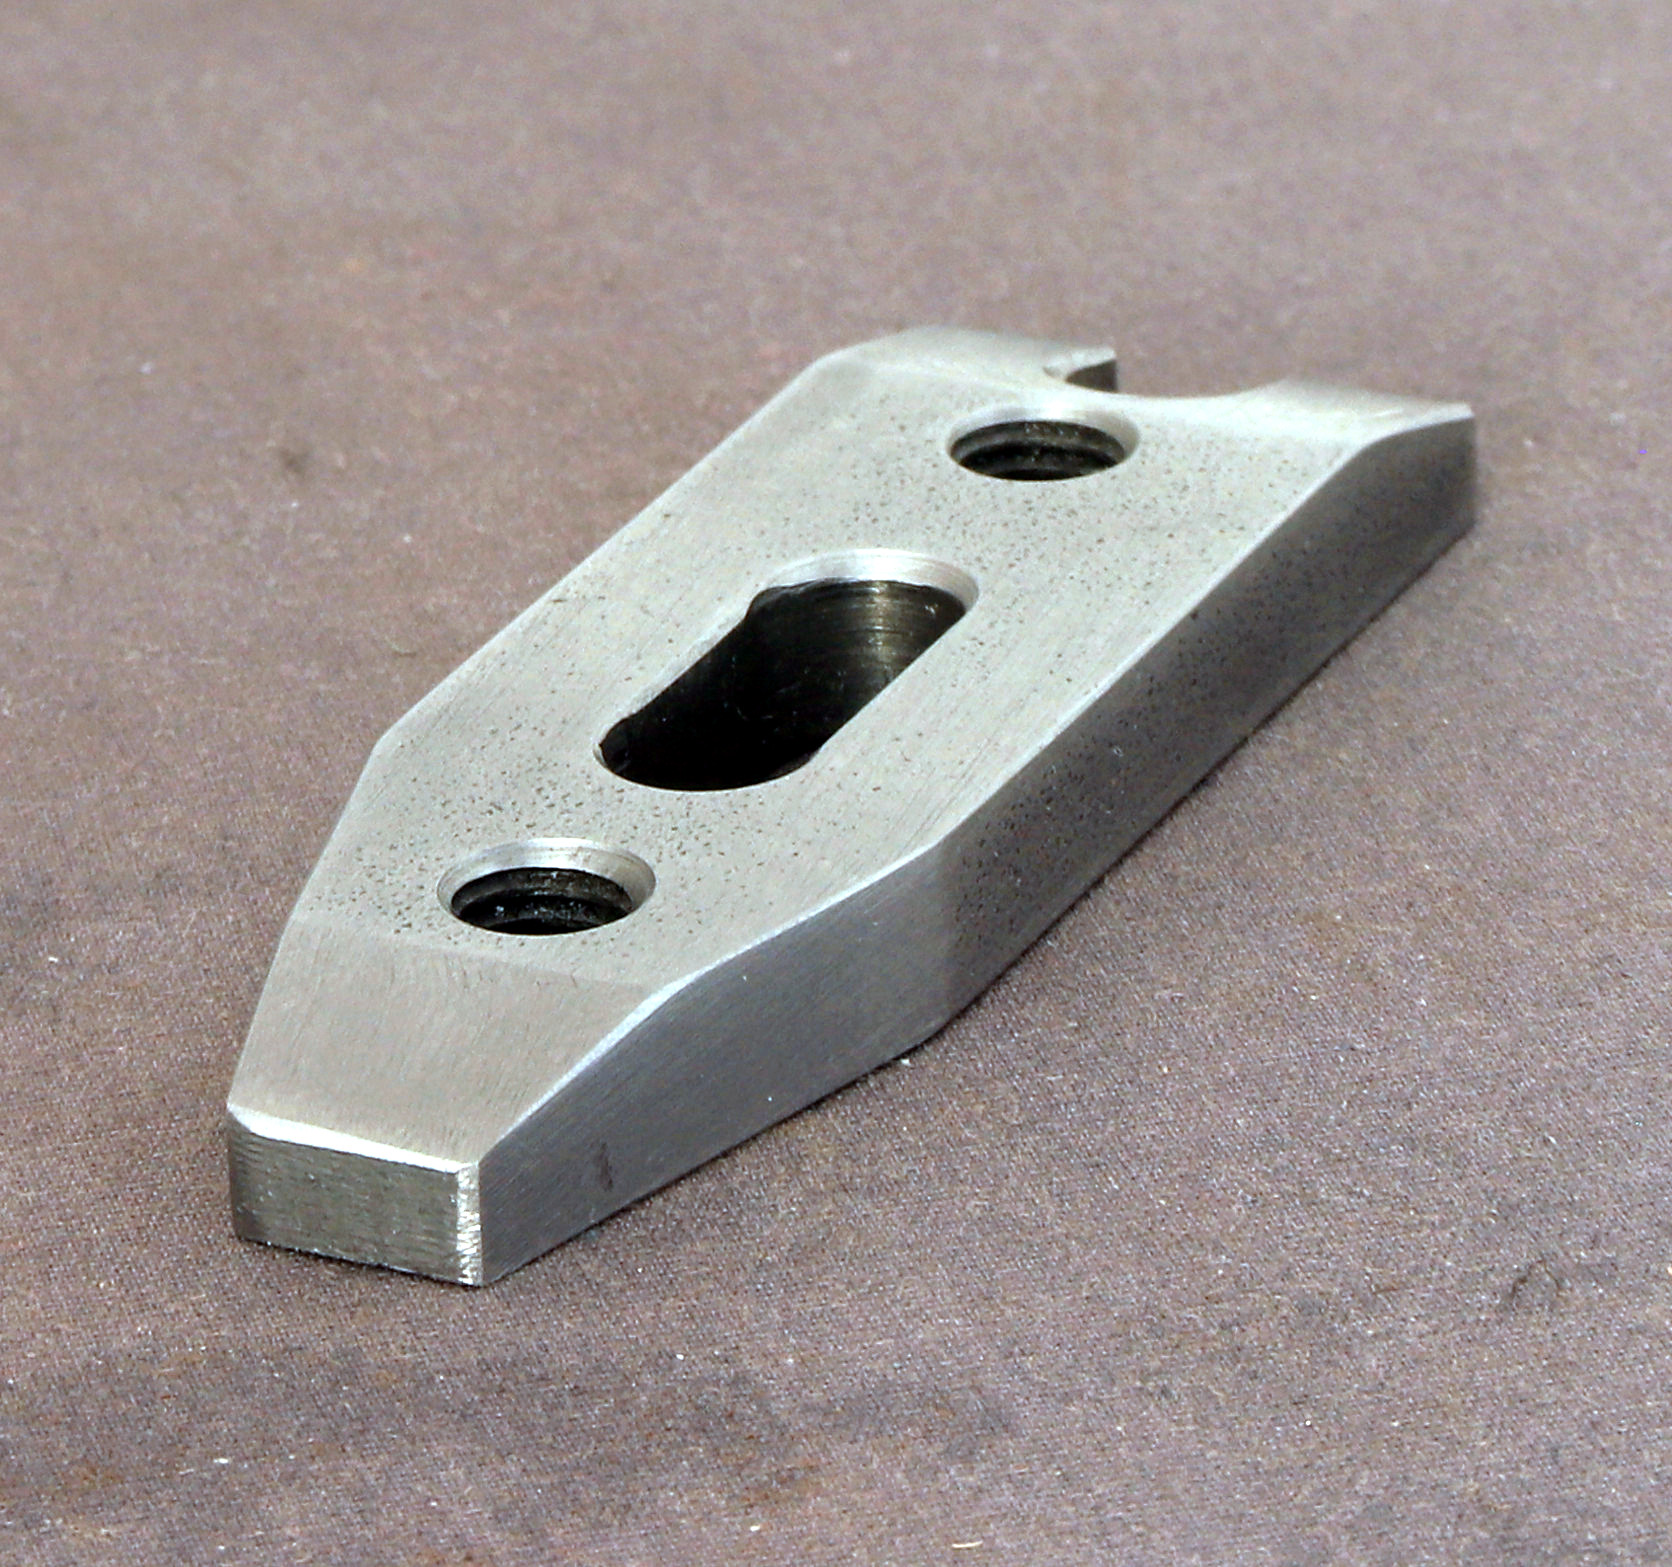
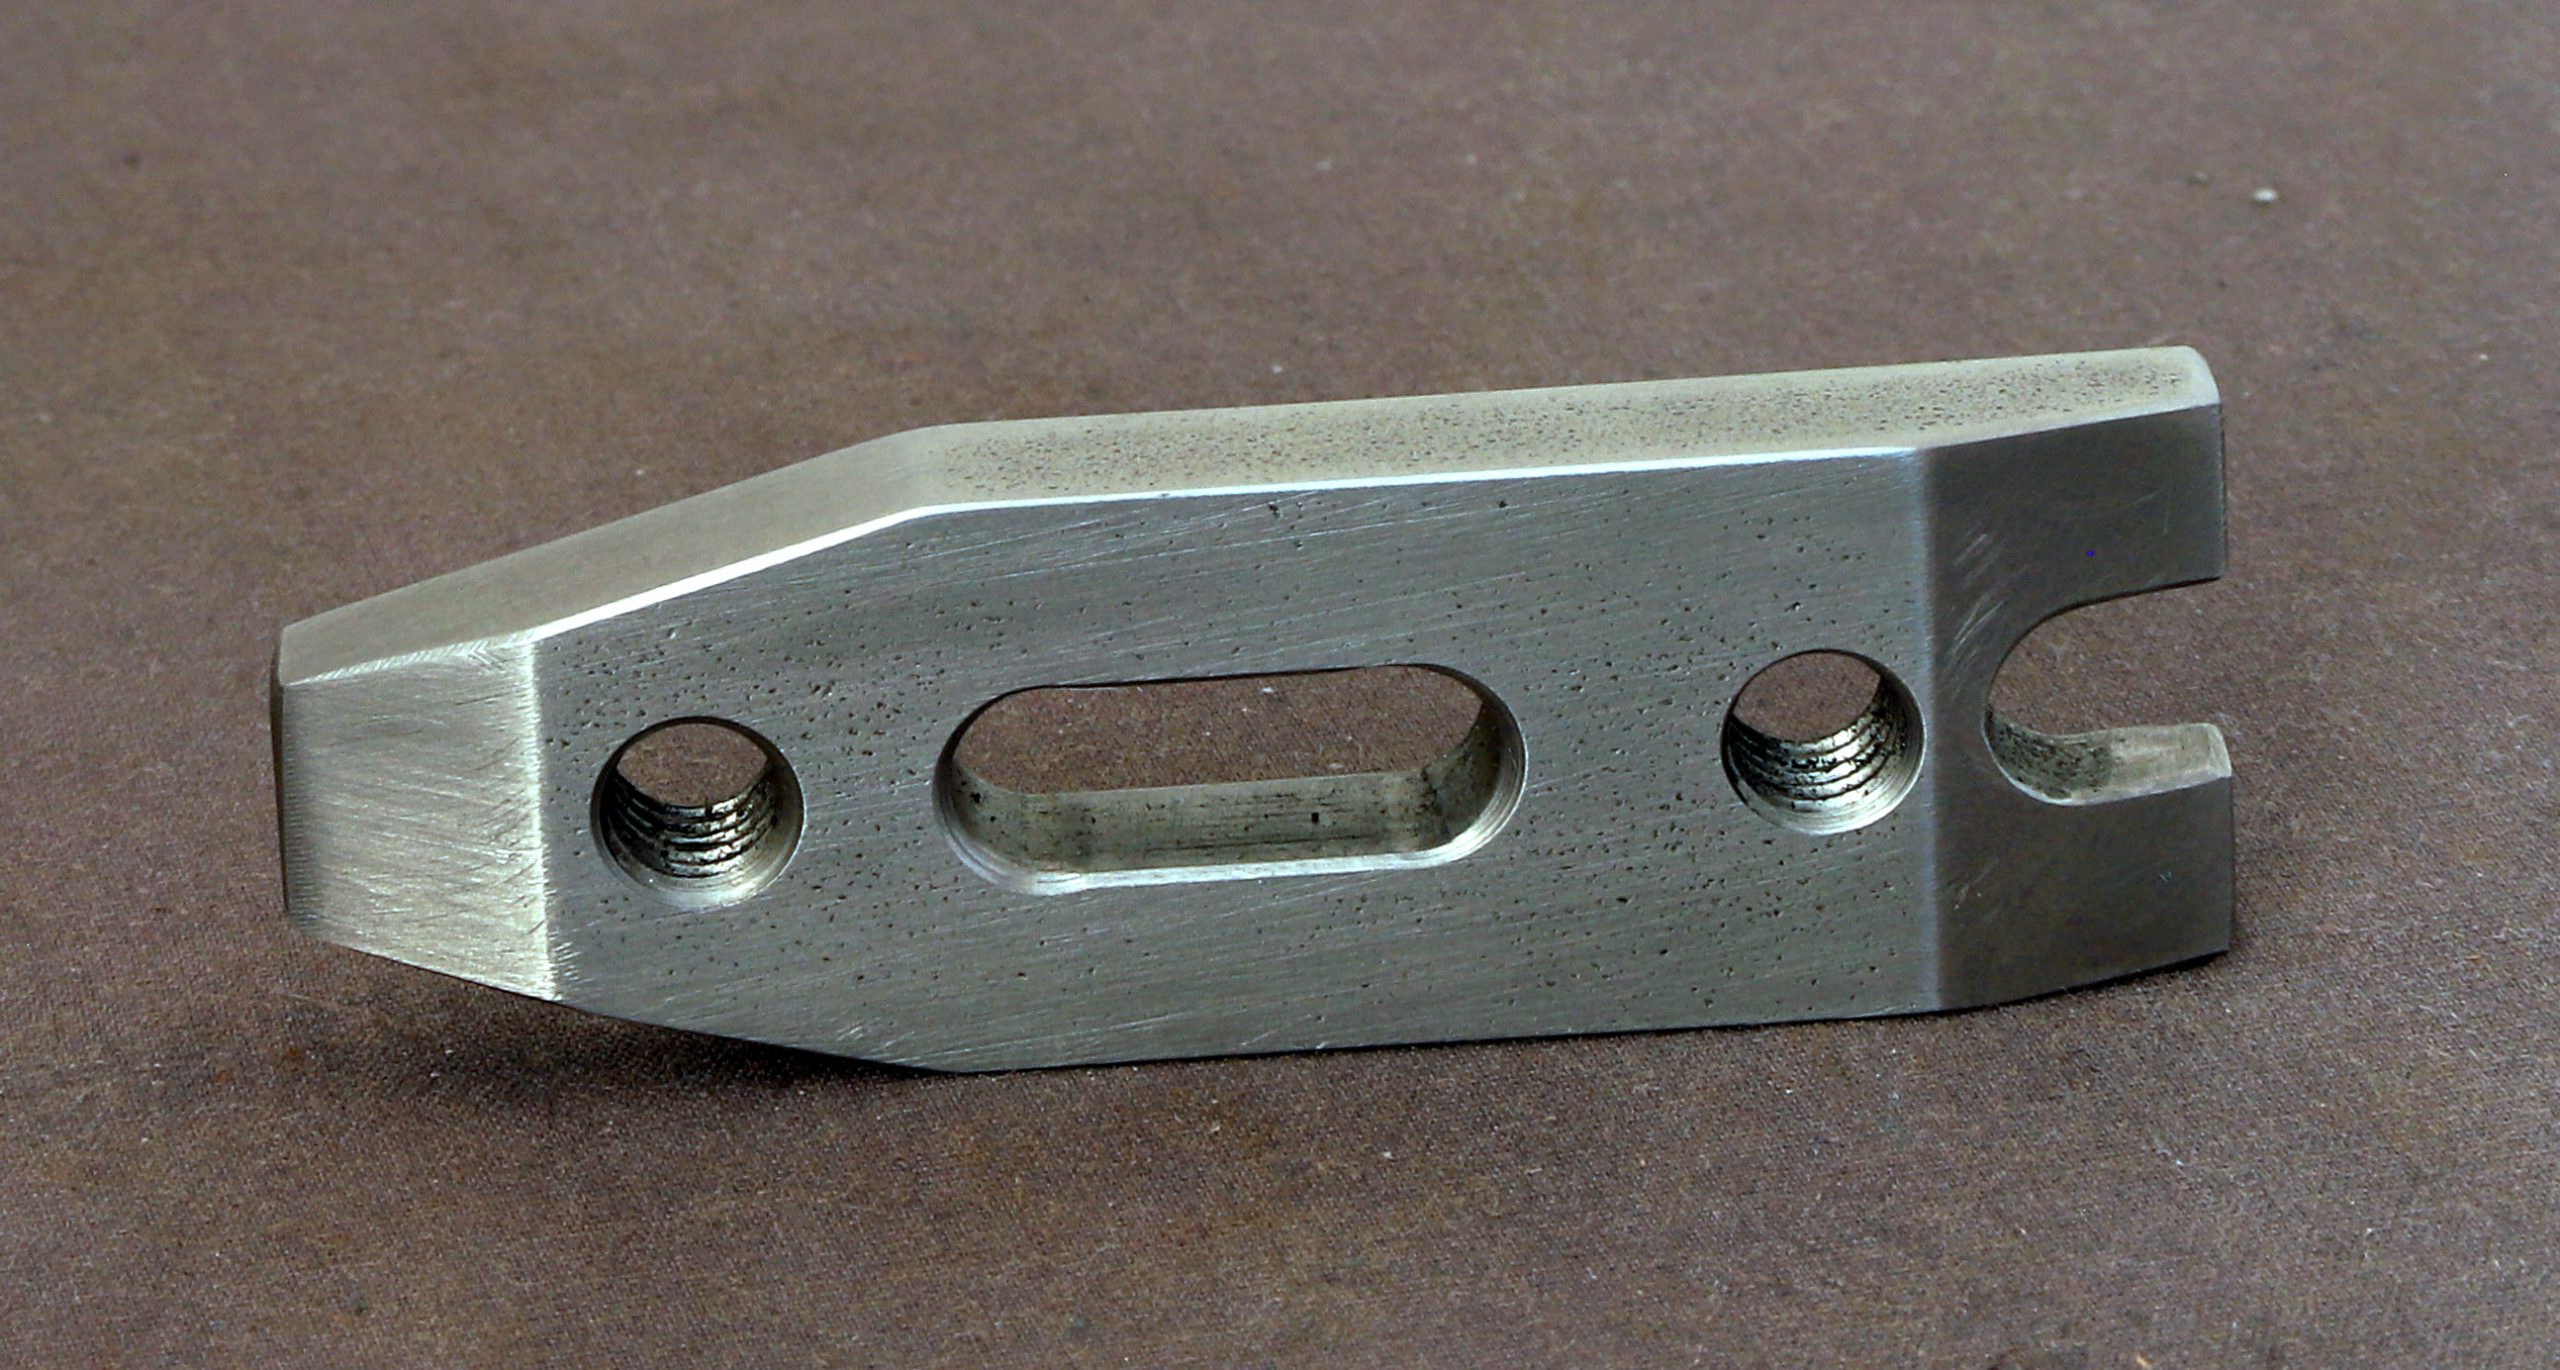
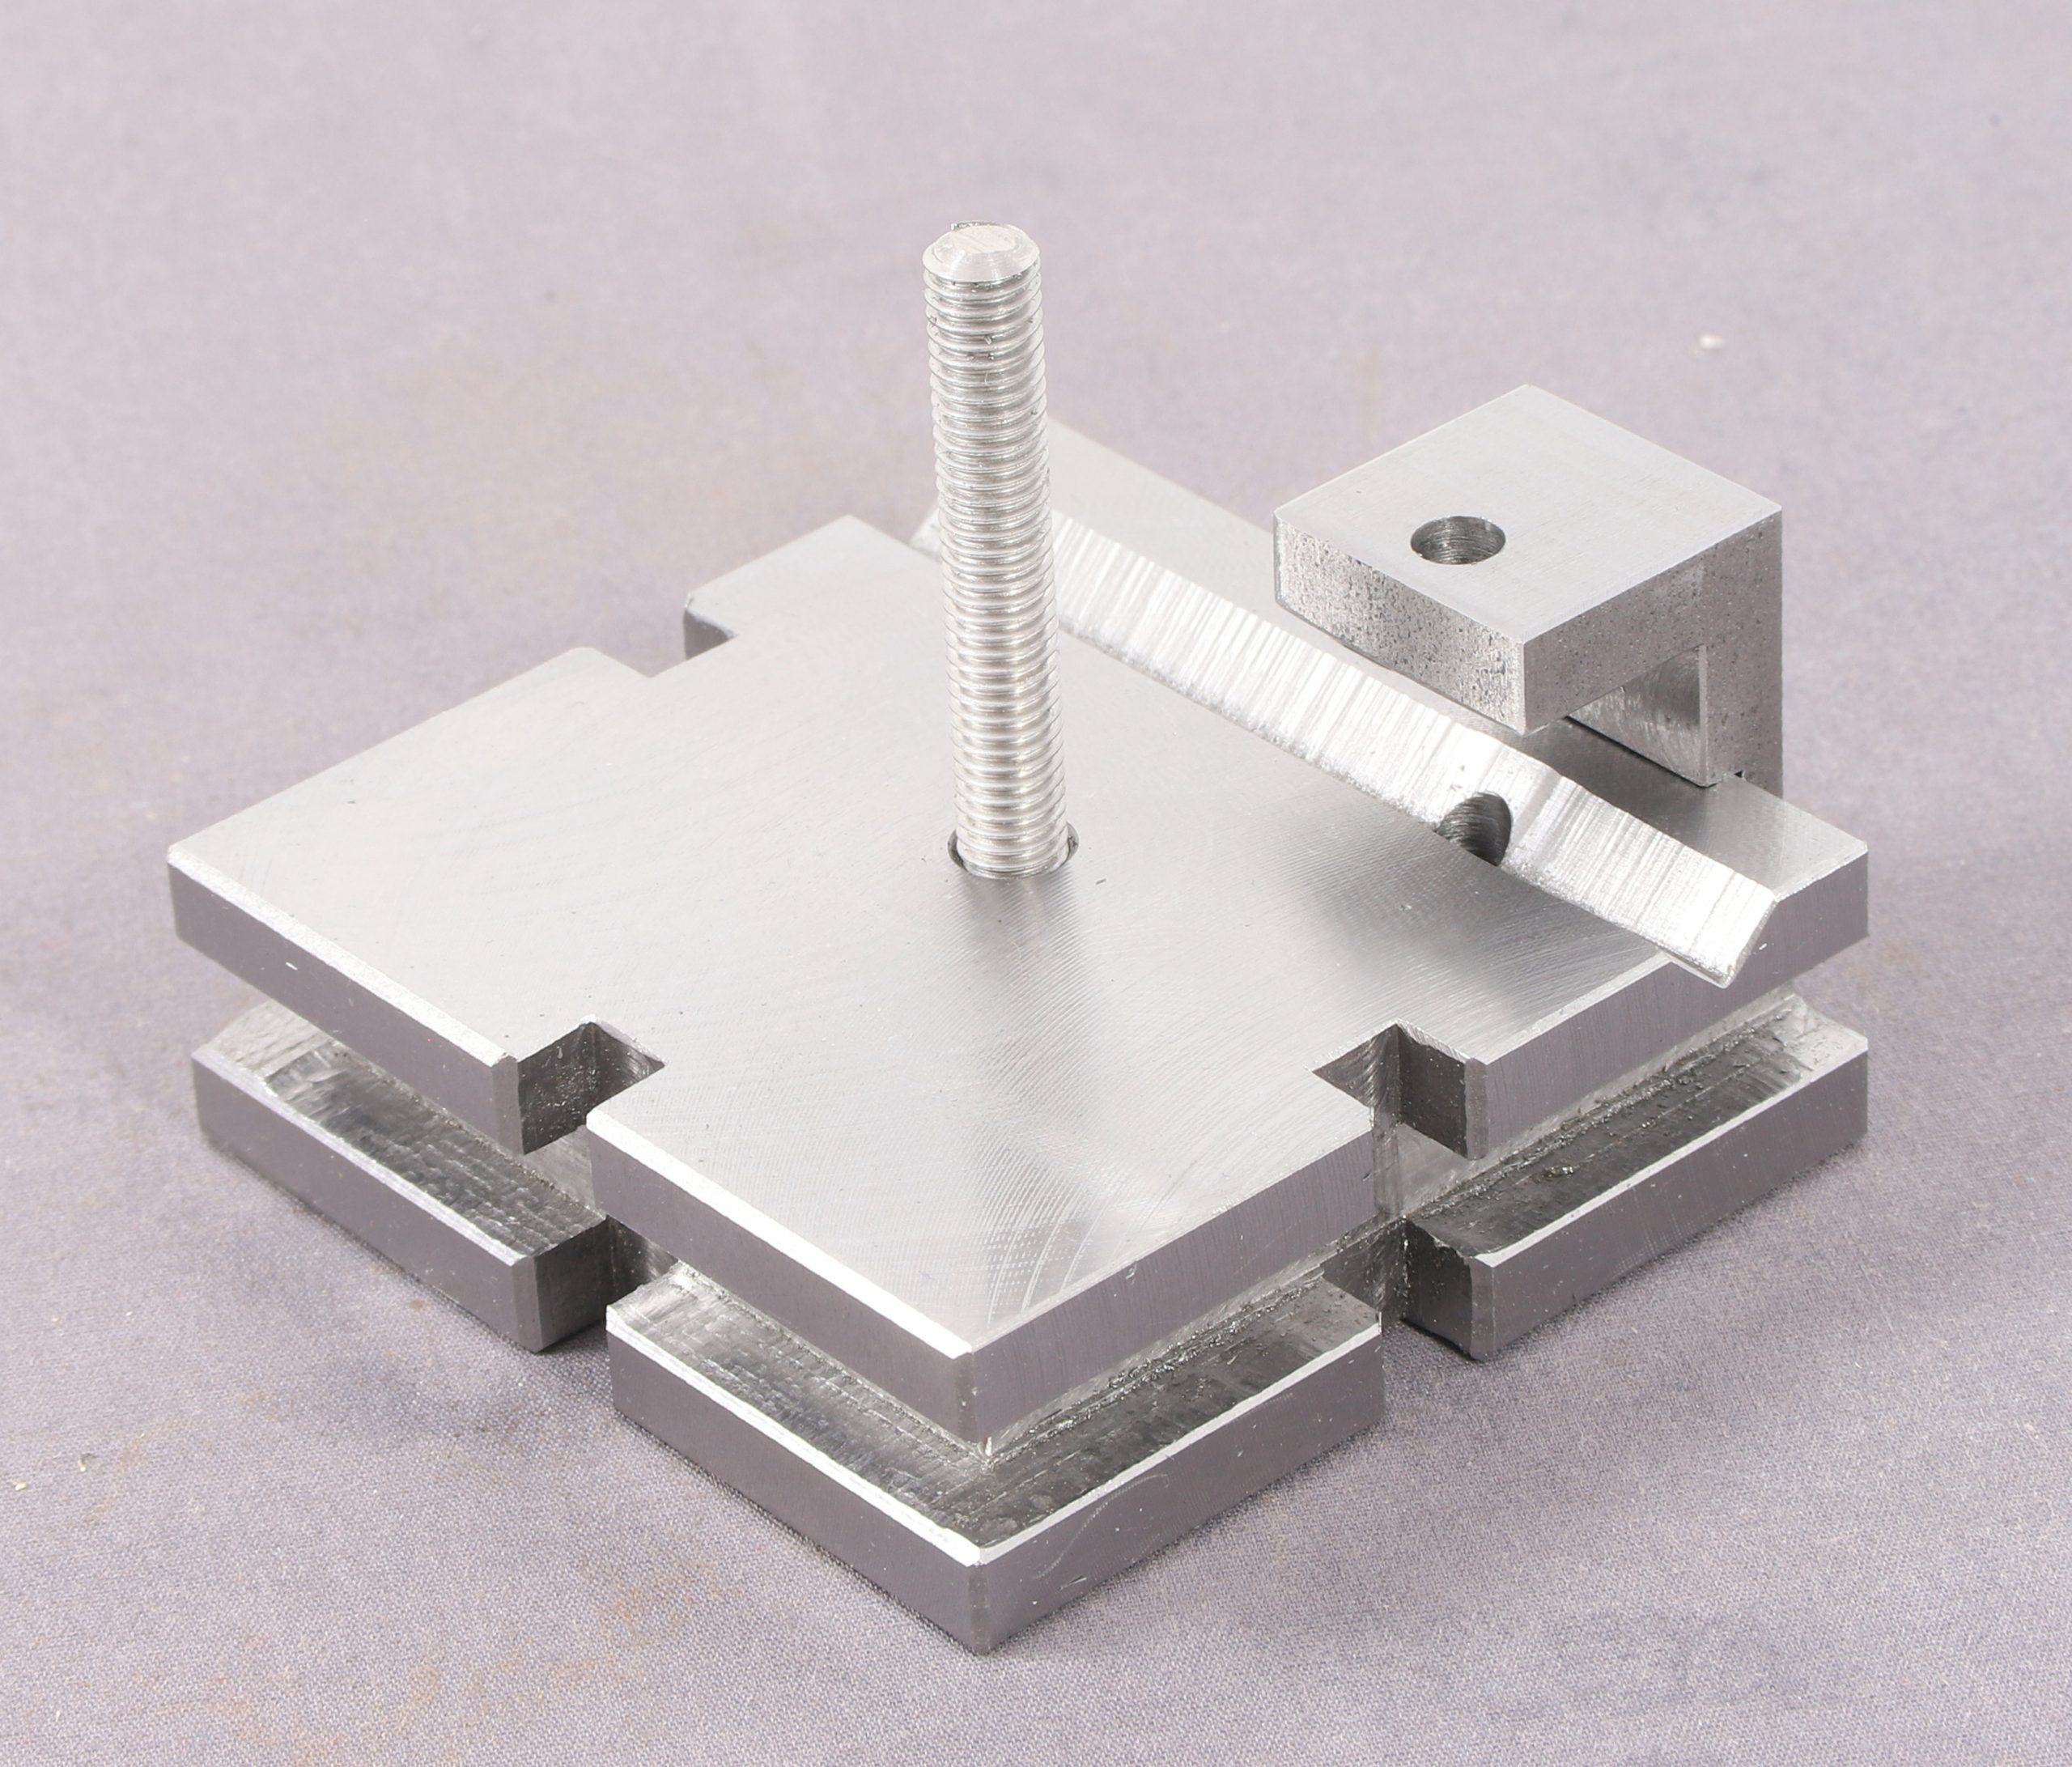
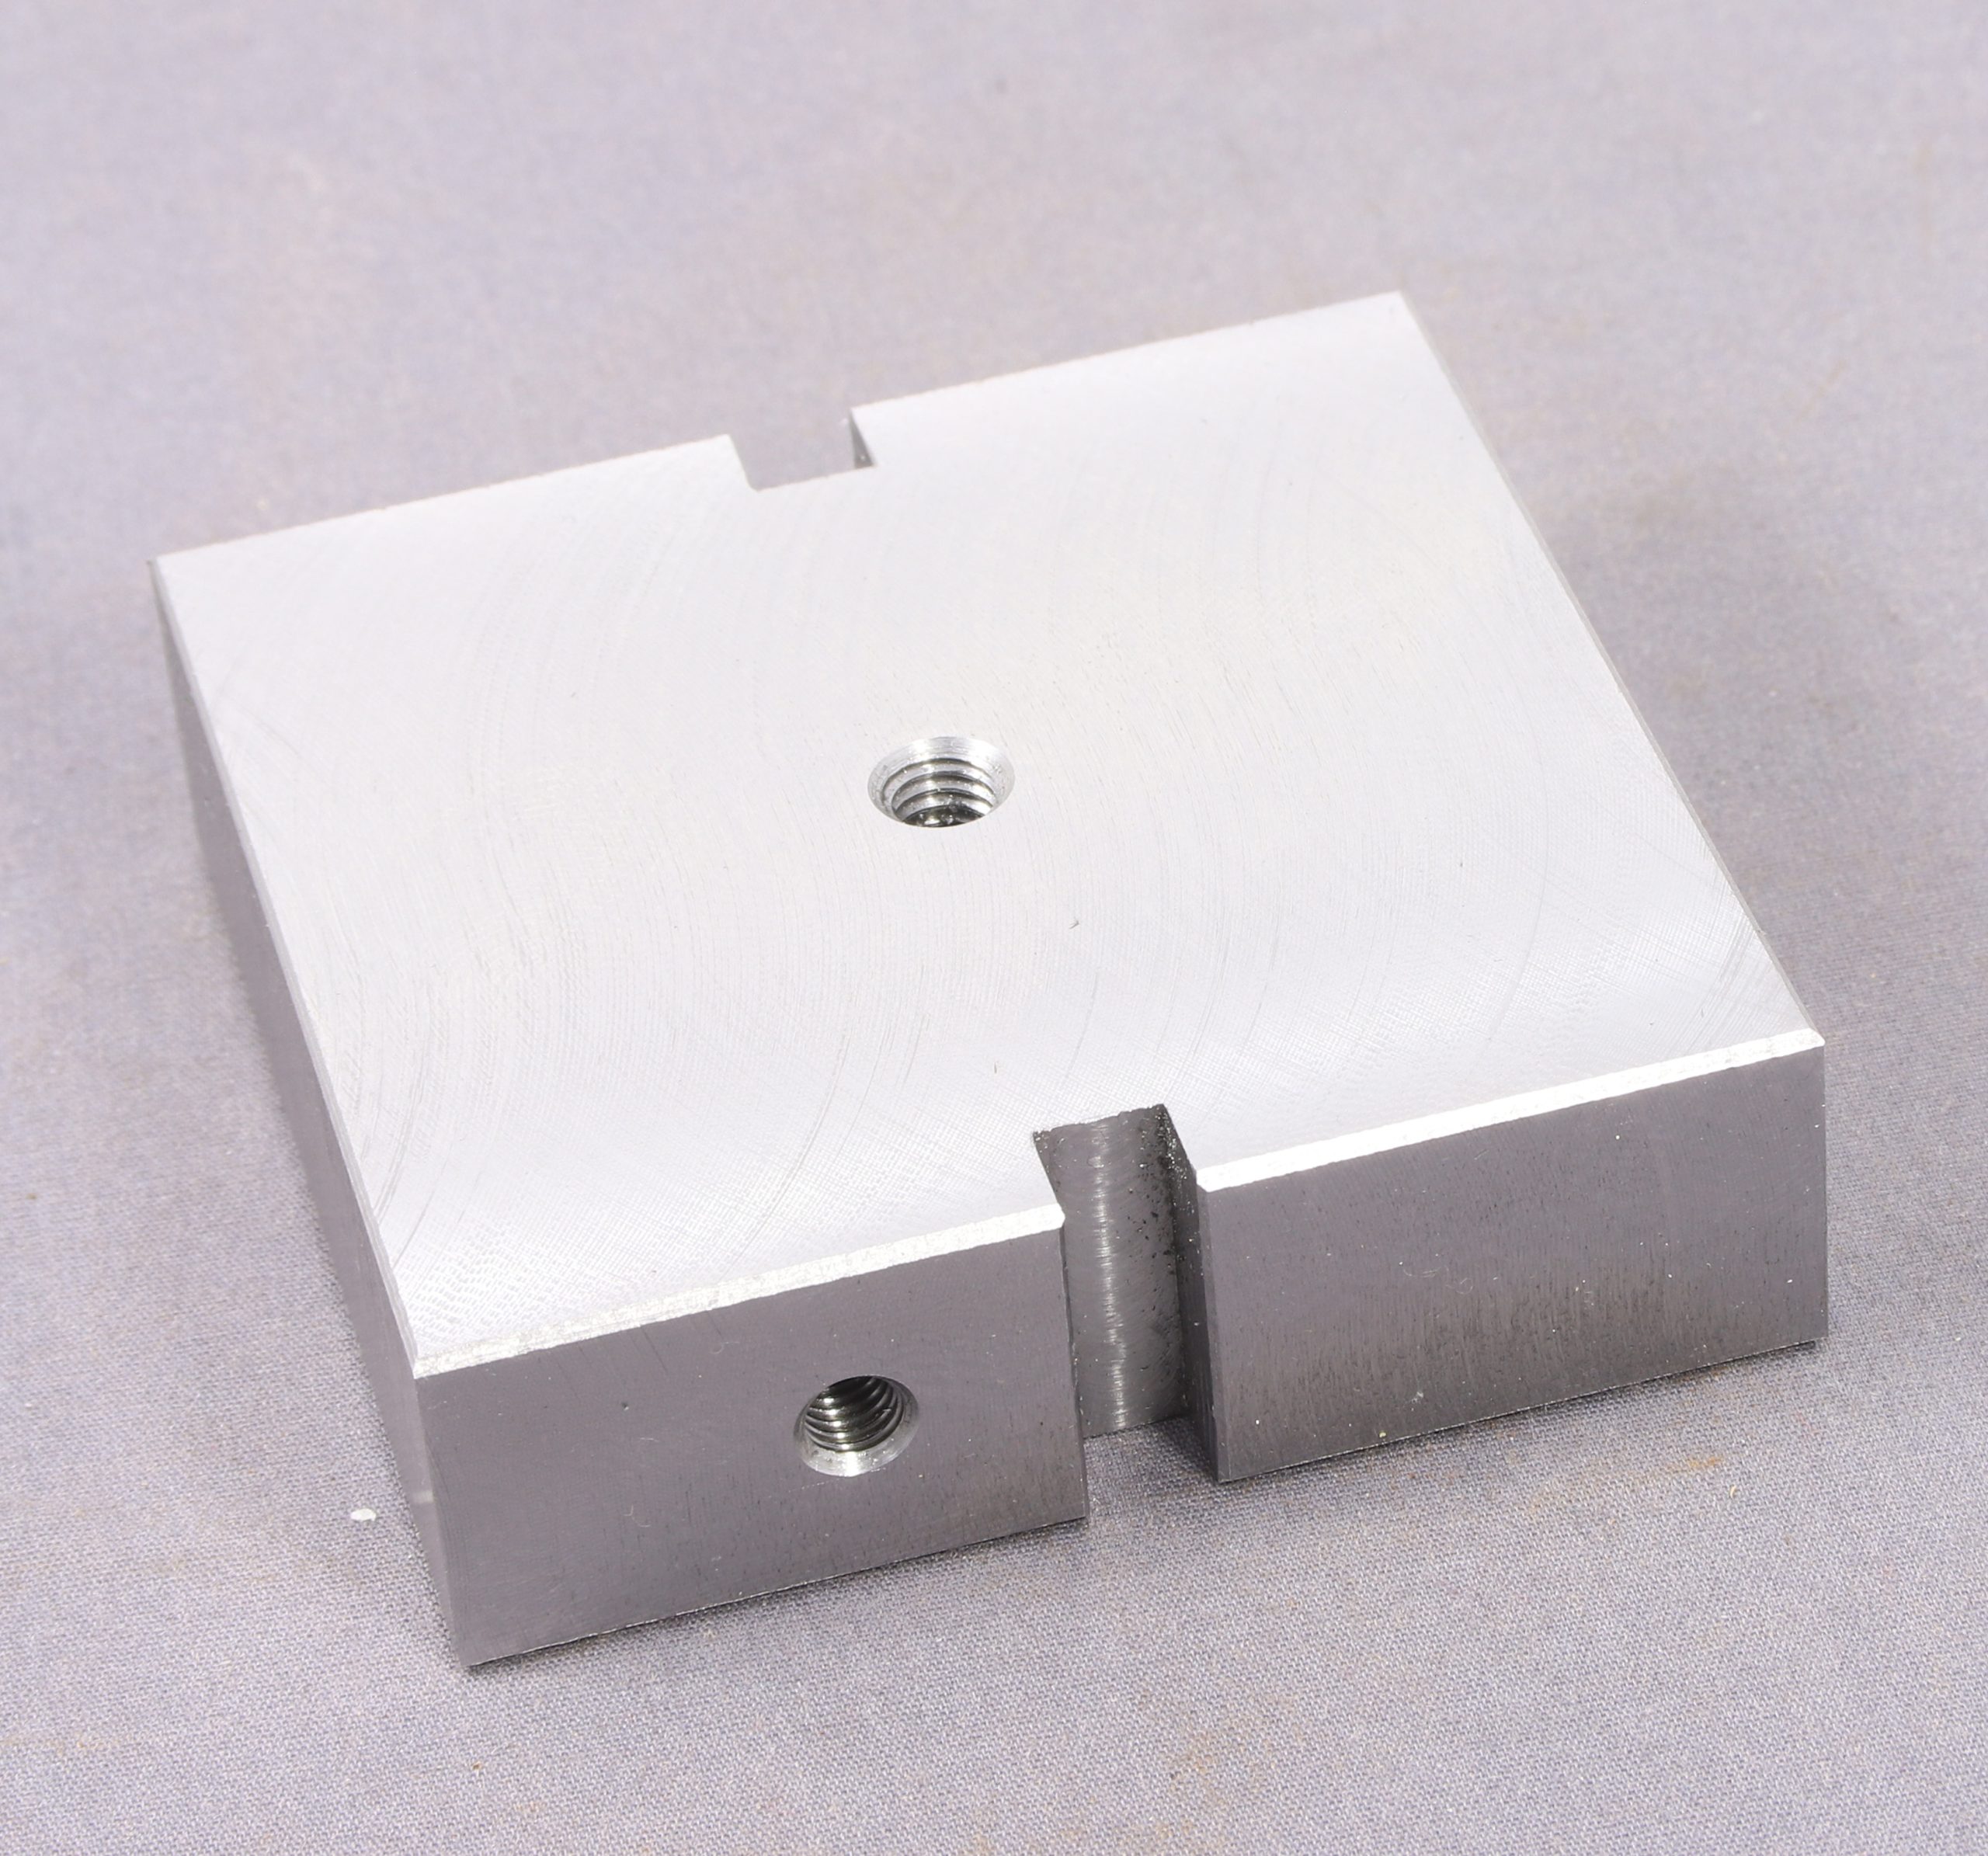
I dug it out and made a start on machining it yesterday afternoon. – Below is where I got to on preparing the base plate when I packed in for the day.

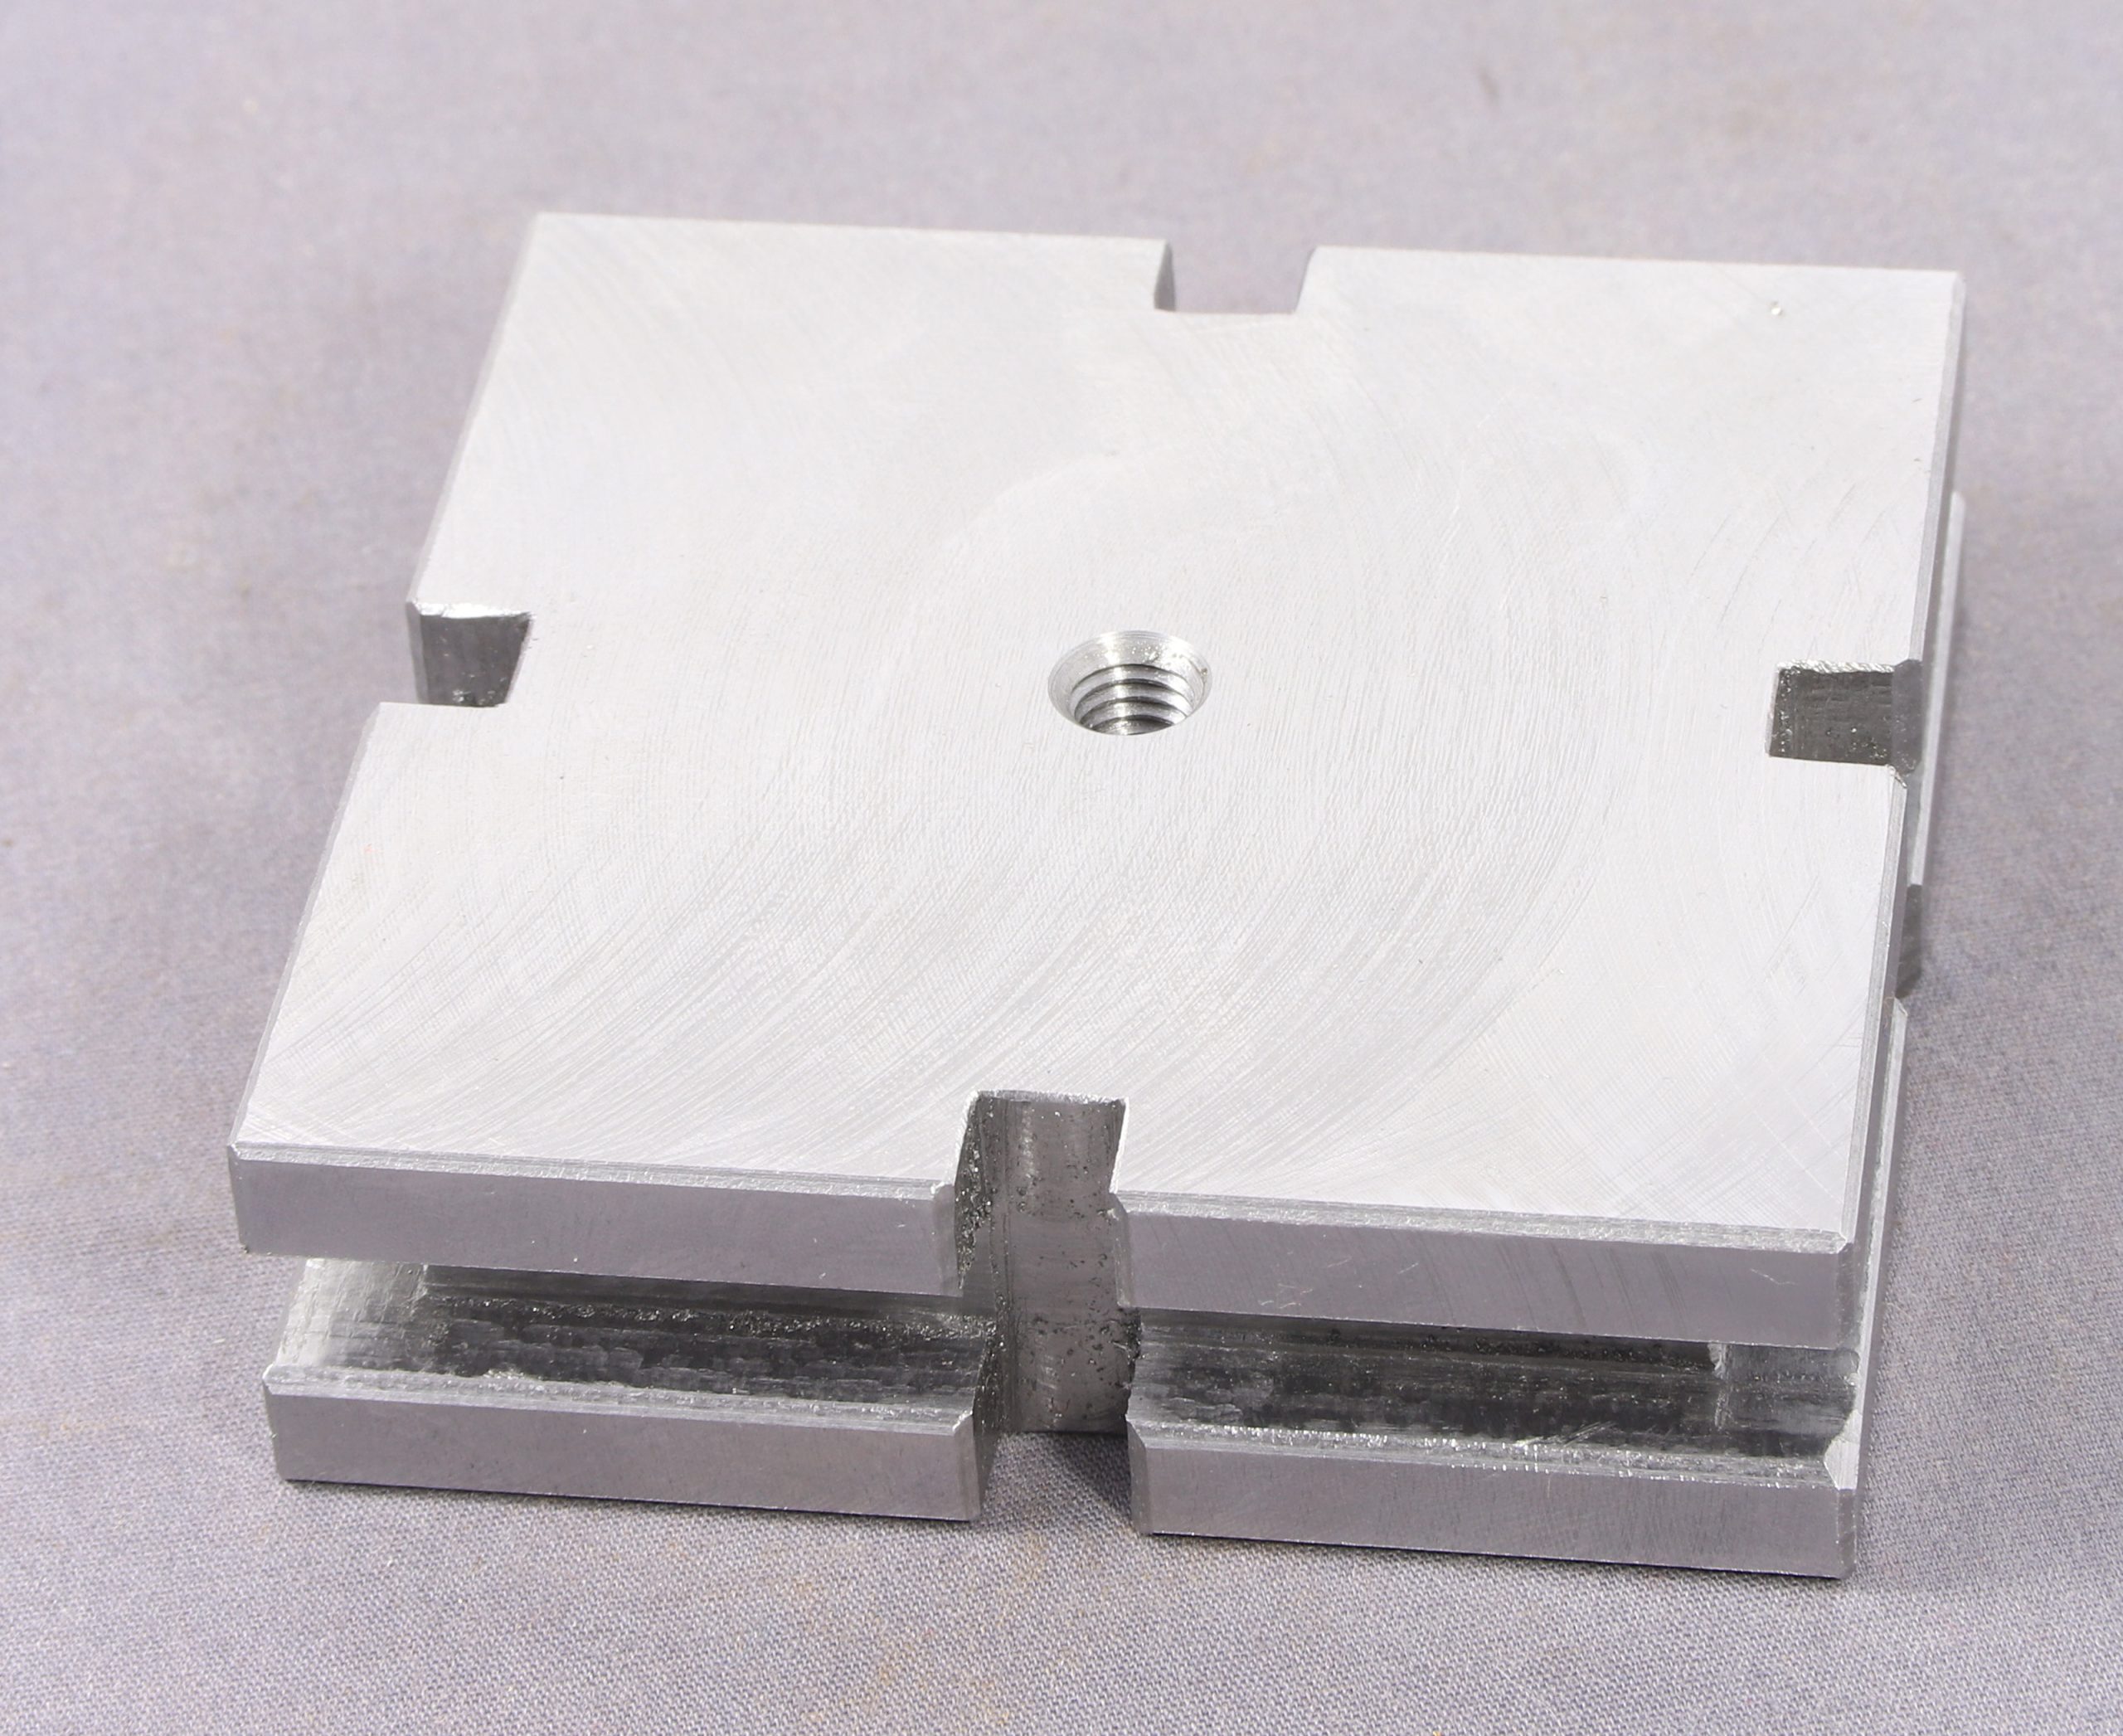
This morning I did more and this is where I got to by just after lunch. There is a still another groove to go into the base plate but I need to make another part (drill guide post) which will allow me to tie the position of the drill guide post to the V groove which is designed for drilling through the centre on the side of round stock.

Next up is the drill guide post but that will have to wait until I have had a coffee.